

October 5, 2020
General Electric Repair
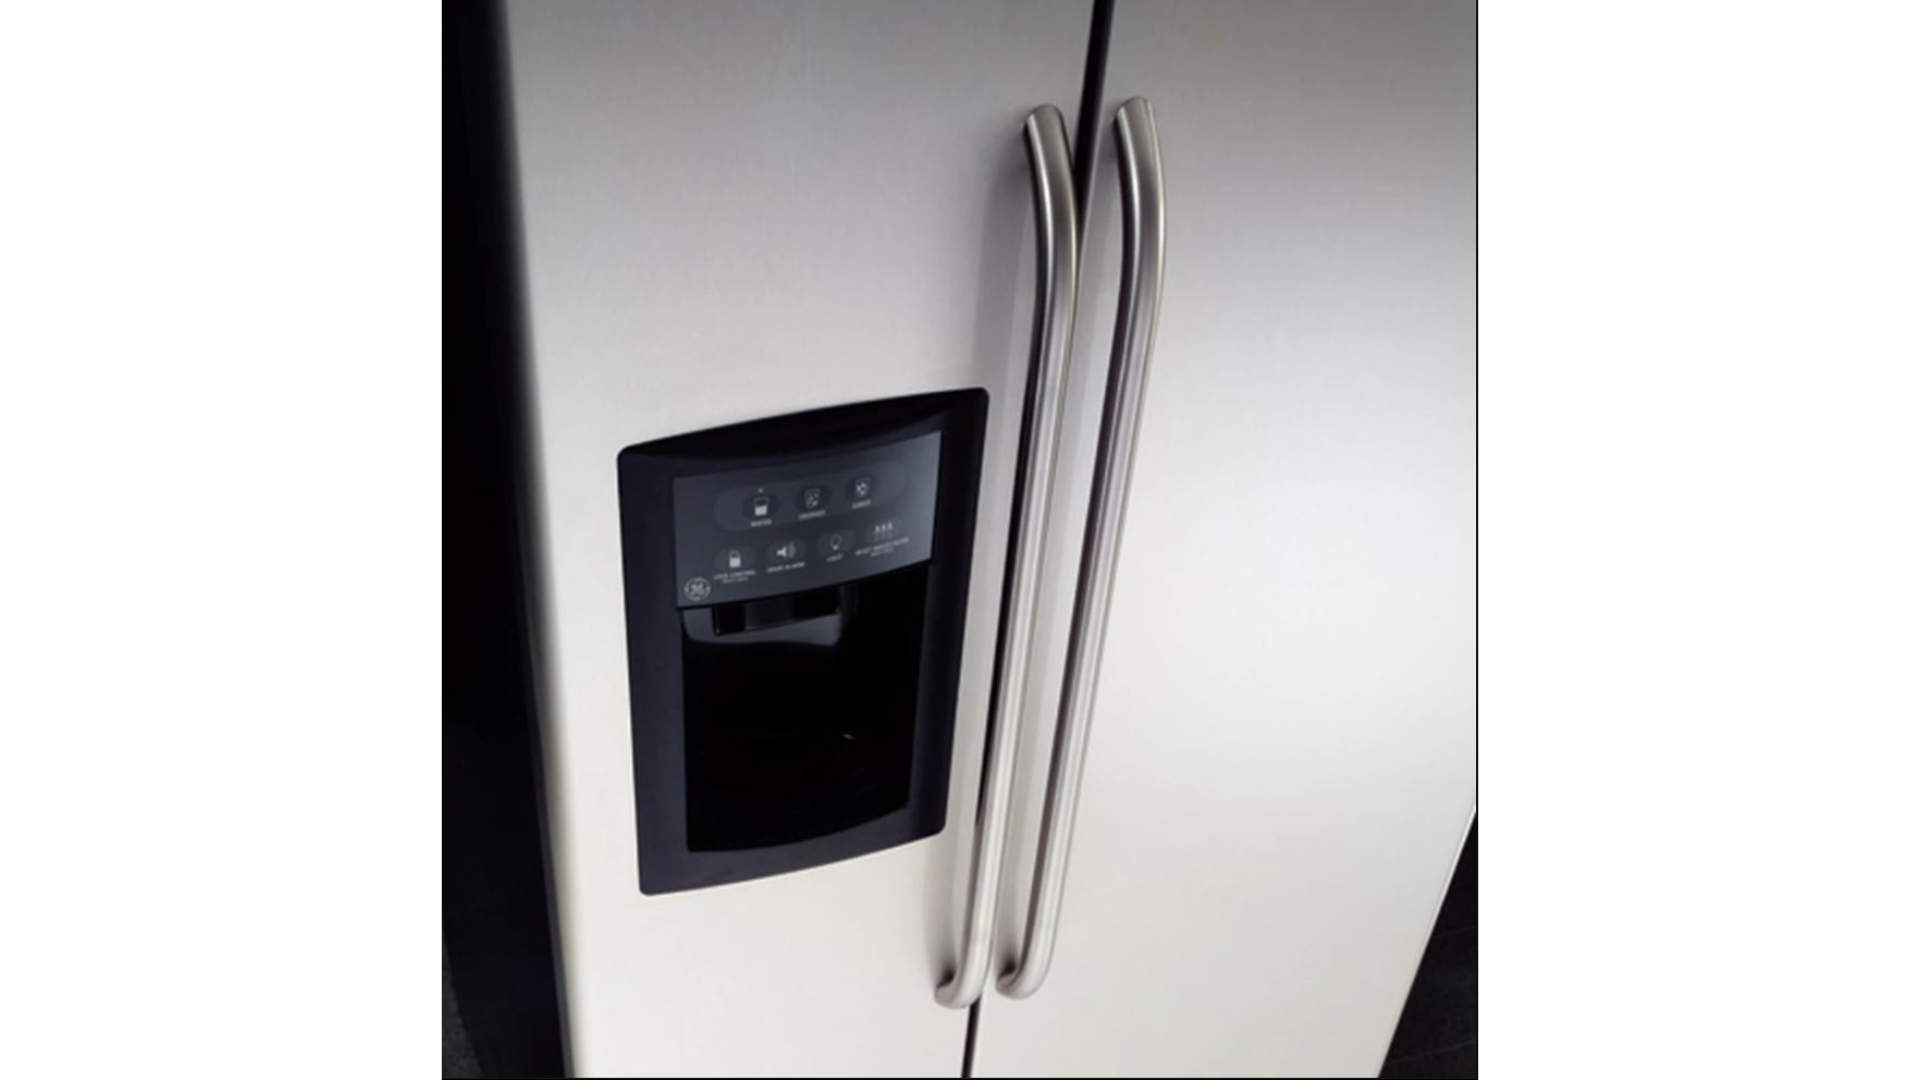
The ice maker in your GE refrigerator model DSS25KSRSS is made up of a number of intricate mechanisms that ensure your cup is filled with either cubed or crushed ice every time you activate its lever. Unfortunately, it only takes one damaged part to interfere with the ice maker’s ability to dispense ice. If your appliance is making ice, but no ice comes out when you depress the lever, a defective helix lock plate is the likely culprit.
Due to years of use, the opening in the lock plate can become rounded, which leads to the helix rotating freely. That unobstructed rotation prevents ice from traveling into the ice chute, and then into your glass. Luckily, replacing the helix lock plate will resolve this issue. Keep reading, for a step-by-step replacement guide.
Appliance Repair Safety Tips
- Never begin a repair before disconnecting your appliance’s power source. To do so, either unplug the appliance or switch it off at your home’s circuit breaker. If you are working on an appliance that is connected to a water source, be sure to locate the water valve and turn it off.
- Wearing work gloves and safety goggles during a repair will ensure your hands and eyes are protected.
- If you run into any obstacles while fixing your appliance, please stop what you are doing, and contact a professional appliance repair technician to complete the repair.
How to Replace the Helix Lock Plate in Your GE Refrigerator
- Open the freezer door and remove the ice bin by pushing up on the back of the bin and sliding it forward.
- Place the ice bin on a flat work surface, so you can disassemble it.
- Using a Phillips screwdriver, unthread the four screws holding the ice bin’s outer shelf to the ice bin. Next, separate the shelf from the ice bin.
- Turn the ice bin upside down, and remove the screw that secures the actuator arm to the ice bin assembly.
- On the opposite side of the actuator arm, press down on and remove the actuator spring. Then, head back to the other end of the arm and push the ice bin door up. This will allow you to unhook the front end of the actuator arm.
- Now flip the ice bin assembly right side up.
- At this point, you’ll need to separate the auger assembly from the ice bucket. To do so, at the front of the assembly, release the locking tabs holding the two components together by inserting a screwdriver on each side. Once the screwdrivers have created a small gap between the bucket and auger assembly, push up on the auger and lift it out of the bucket.
- Place the auger assembly down and remove the drive cup from the back of the component.
- At the front of the auger assembly, use a flat head screwdriver to take off the e-clip, and then remove the washer behind the e-clip.
- Take off the auger assembly’s front cover.
- Underneath the cover on the auger shaft, you’ll find a number of spacers and teeth. To remove these, place a rubber band around the top and bottom blades. This will keep the spacers and teeth together, so you won’t need to reinstall them one by one during reassembly. Once the rubber bands are on, use a pair of pliers to loosen up the nut at the front of the auger shaft. Then, slide the teeth and spacers off the shaft. If the last spacer still remains on the shaft, remove it before proceeding.
- Take the crusher cover off the auger.
- Next, slide the helix and the helix locking plate off the auger. Then, separate the locking plate from the helix.
- We suggest inspecting the helix to ensure it isn’t damaged before continuing on. If the helix is broken, you’ll need to order a new part before putting your ice bin assembly back together.
- If the helix is intact, grab your new helix lock plate and center it on the helix. Then, slide the helix and the lock plate back onto the auger.
- Start putting the auger assembly back together by placing the crusher cover on-top of the helix.
- Next, slide the first spacer onto the auger shaft. Then, put the rest of the spacers and teeth back on the auger. Once the parts are in place, reattach and tighten the nut at the front of the auger shaft. Take off the rubber bands holding the spacers and teeth together.
- Replace the auger’s front cover, and then reinstall the washer and e-clip to secure the cover.
- Before inserting the drive cup, rotate the auger to ensure it moves freely. If it does, reinstall the drive cup.
- Retrieve the ice bucket and place the auger assembly inside the bucket.
- Flip the ice bucket assembly upside down and push open the ice door. Then, hook the actuator arm back onto the door.
- Insert and tighten the screw that secures the arm. Head to the other end of the arm and reattach the actuator spring.
- Grab the ice bin’s outer cover and reattach it to the ice bin by replacing the four screws your took out earlier.
- Now that the ice bin assembly is back together, put it back into your freezer and close the door.
- To finish up your repair, plug-in your refrigerator and turn its water supply back on. Wait for a new batch of ice to be made, and then try filling a cup with ice. If ice cubs are released when you push the dispenser lever, the new helix lock plate has fixed your ice maker malfunction.
If replacing the helix lock plate doesn’t resolve your ice maker’s issue, a problem with the micro switch, the dispenser control board, or the dispenser actuator could possibly be behind the malfunction. If you need help diagnosing and repairing your refrigerator’s ice maker, please contact us today, and one of our highly trained technicians will come out to inspect your appliance.

Apr. 09, 2024
Your Guide to Whirlpool Microwave Replacement Parts

Apr. 09, 2024
What to Do When Your Kenmore Dryer Won’t Start

Apr. 09, 2024
How to Resolve the LG Washer LE Error Code

Mar. 06, 2024
Why Does My Oven Smell Like Gas? Causes and What to Do

Mar. 06, 2024
Maytag Dryer Not Heating? Here’s How to Fix It

Mar. 06, 2024
6 Common Reasons Your Speed Queen Dryer Isn’t Heating

Feb. 05, 2024
8 Reasons Your Samsung Refrigerator Is Not Cooling

Feb. 05, 2024
9 Most Reliable Washer and Dryer Brands

Feb. 05, 2024
How to Get Ink out of Your Dryer the Easy Way

Jan. 03, 2024
Why Is My Fridge Making Noise That Stops When the Door Is Open?

Jan. 03, 2024
Frigidaire Refrigerator Error Code H1: Causes & Solutions

Jan. 03, 2024
How to Clean a Dryer Vent Without Moving the Dryer

Dec. 11, 2023
9 Reasons Your LG Refrigerator Isn’t Cooling

Dec. 11, 2023
LG Refrigerator Not Making Ice? Here’s What To Do!

Dec. 11, 2023
How to Clean Your Dryer Lint Trap (Step-by-Step)
631 - 286 - 7899Text or ring! ring!