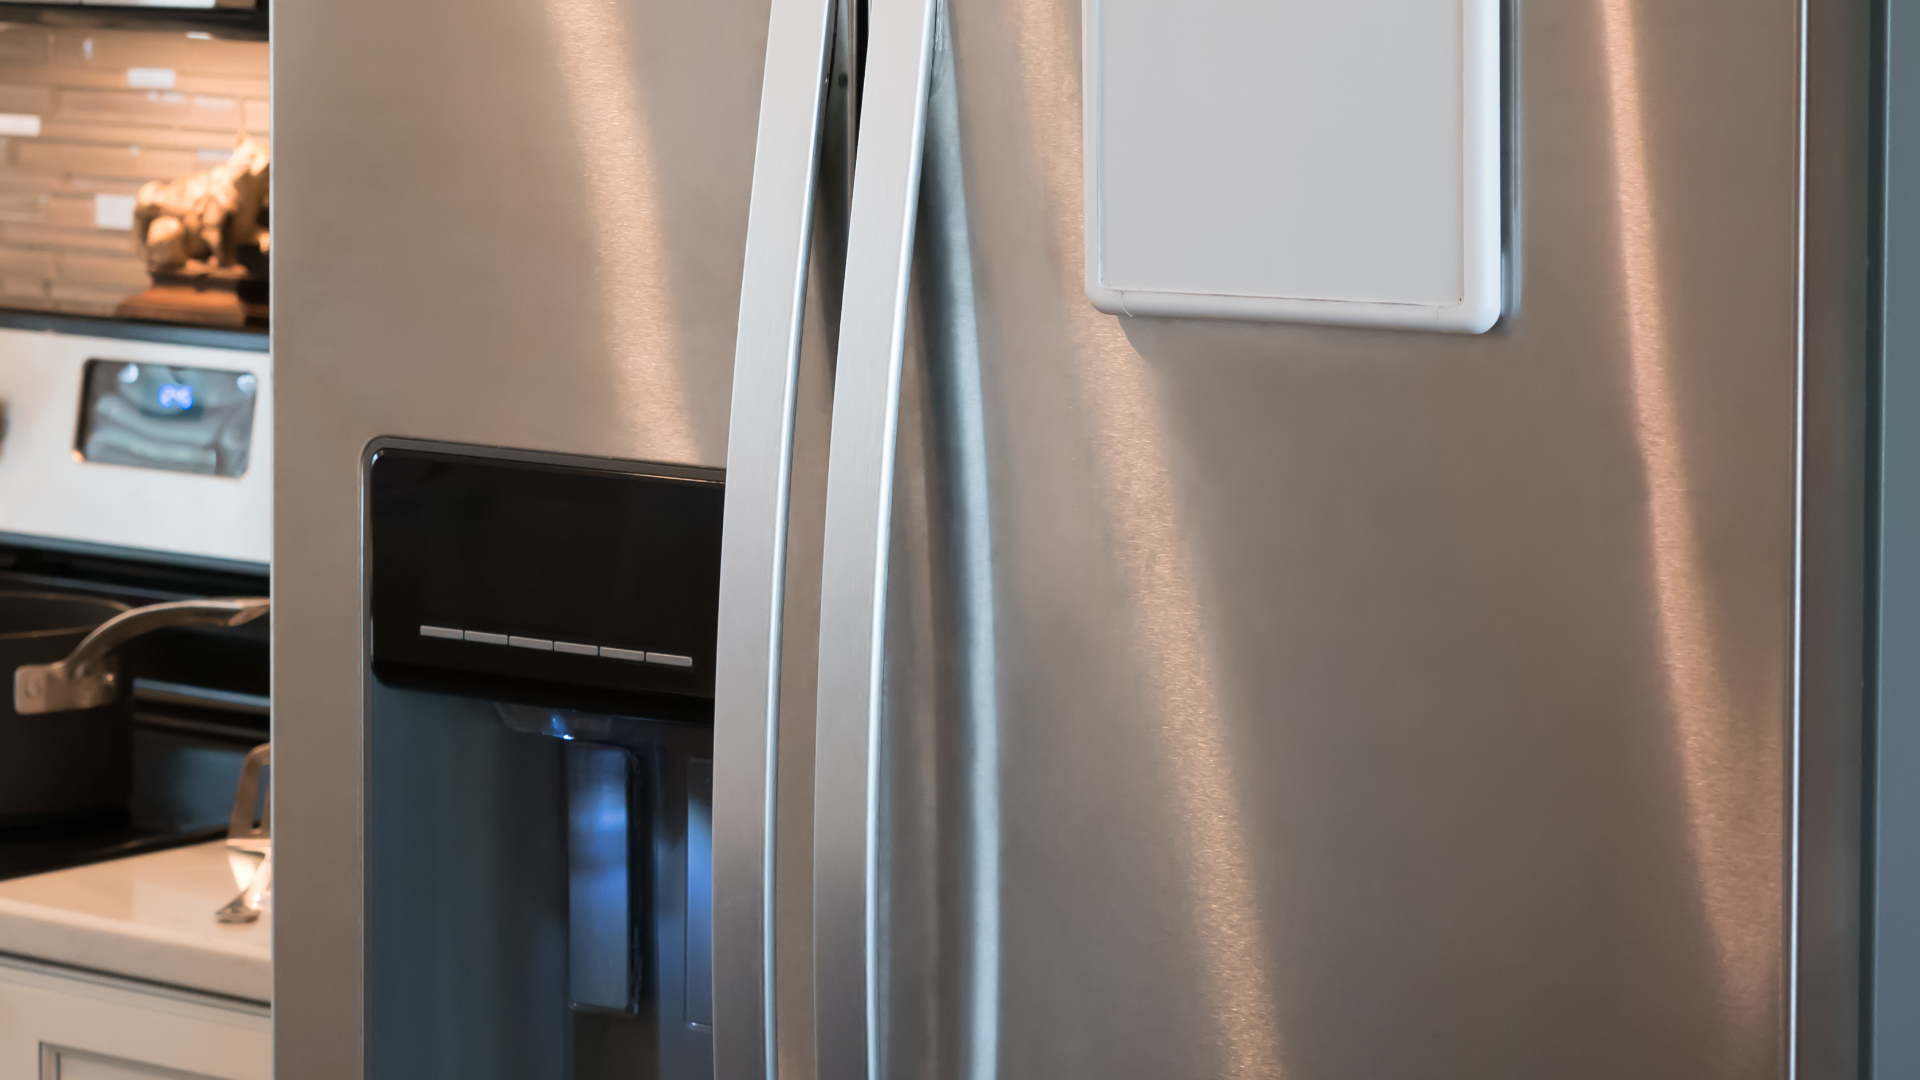
Who doesn’t love the convenience of an ice maker? Unfortunately, like any other mechanism, your KitchenAid refrigerator model KSCS25INSS00 ice maker can malfunction, meaning you’re left trying to pinpoint the component causing the issue. If you’re dealing with an iceless, ice maker, there’s a good chance either the control module or the ice maker thermostat is faulty. Luckily, replacing the broken part will have your ice maker up and running in no time.
Appliance Repair Safety Tips
- As with any appliance repair, unplugging your refrigerator and turning off its water supply should be done before you begin replacing the malfunctioning part.
- Wearing gloves and safety goggles will protect your hands and eyes while you work to repair your ice maker.
- If you run into an issue while fixing your ice maker, please stop what you’re doing and contact a professional appliance repair technician to finish the job.
The Ice Maker Control Module
Your ice maker is equipped with a control module. The module has two important jobs. Its first job is sending power to the refrigerator’s water inlet valve, which then opens to transfer water to the ice tray or ice mold. The control module’s second job is releasing the ice when the mold or tray reaches 15 degrees Fahrenheit. If the part is malfunctioning, a signal will not be sent to the water inlet valve, meaning the ice maker will no longer produce ice.
How to Replace the Ice Maker Control Module in Your KitchenAid Refrigerator
- Open the freezer door and remove the ice bin assembly door, and then, lift up the ice maker arm.
- Take out the shelf that sits above the ice maker assembly. Next, slide out the ice bin, so you have complete access to the ice maker assembly.
- Find the screw that sits underneath the ice maker and secures the assembly to the freezer wall. Then, unthread the screw. Once you’ve taken the lower screw out, loosen the top screws and lift the ice maker assembly up and off the mounting screws.
- Now, pull out the ice maker plug from the freezer wall by using a flathead screwdriver to disengage the plugs locking tab.
- To access the control module, place the ice maker assembly on a flat surface, and remove the cover located at the front of the assembly.
- Behind the cover, you’ll find the control module. Before you can remove the module, disconnect the wire harness that runs to the back of the component. Then, unthread the three screws that hold the module to the ice maker assembly. Next, pull out the shutoff arm, which sits in a small hole on the back of the control module housing. Now simply pull the control module out of its housing on the ice maker assembly.
- Grab the new ice maker control module, and push it into its housing on the ice maker assembly. To secure the component, rethread its screws, reconnect its wire harness, and place the shutoff arm into the hole on the back of the housing. Then, replace the control module cover.
- Reinstall the ice maker by plugging its wire harness into the freezer wall. Next, set the assembly onto its upper mounting screws, and then tighten the screws before inserting the lower mounting screw.
- With the ice maker assembly reinstalled, replace its ice bin and push the ice makers shut off arm down.
- To finish up, insert the shelf above the ice maker and reattach the ice maker door.
The Ice Maker Thermostat
The ice maker control module works in conjunction with the ice maker thermostat. The thermostat detects the temperature inside the ice maker mold. When the temperature is cold enough, the thermostat sends a message to the control module to dump the ice out of the mold and begin filling the mold with water to make new ice. If the thermostat is faulty, it will not properly detect the temperature inside the ice mold, meaning no new ice will get made.
How to Replace the Ice Maker Thermostat in Your KitchenAid Refrigerator
- Open your freezer door. Take out the door covering the ice maker assembly and remove the shelf that sits above the ice maker. Push the ice maker shut off lever up.
- Pull the ice bin out and take out the bottom screw that secures the ice maker to the freezer wall. Next, partially unthread the top mounting screws. Then, lift the ice maker assembly up and off the screws. Finish removing the ice maker by pulling out its plug from the freezer wall.
- Now place the ice maker assembly on a solid surface and take off the parts front cover. Next, disconnect the wire harness that runs to the front of the assembly, and remove the ice maker shut off arm.
- Unthread the screws that secure the control module to the ice maker, and then take out the screws that hold the control module housing to the ice maker assembly.
- The ice maker thermostat sits on the backside of the control module housing. To remove the thermostat, push on the pins sticking out of the front of the housing.
- Before inserting the new thermostat, remove the old thermostat mounting clips which are located in the control module housing, with a pair of small pliers.
- Place the new retaining clips in the housing and install the new thermostat.
- In order for the thermostat to work properly, you’ll need to place a small amount of alumilastic on the back of the part.
- Once the alumilastic is applied, place the control module housing back on the ice maker mold. Then, secure the housing to the mold by replacing the screws.
- Next, reinsert the control module and rethread the screws that hold the component in place. Then, reconnect the wire harness and the ice maker shut off valve. Finish putting the ice maker assembly back together by replacing its front cover.
- Reinstall the ice maker by plugging its wire harness into the back of the freezer. Then, secure the assembly to the sidewall by tightening the top and bottom mounting screws.
- To complete your repair, reinsert the ice bin, the ice door, and the top shelf.
If neither the control module nor the ice maker thermostat are behind your ice maker malfunction, please contact us today, and we’ll be happy to help you diagnose and repair the issue.

Your Guide to Whirlpool Microwave Replacement Parts
What to Do When Your Kenmore Dryer Won’t Start
How to Resolve the LG Washer LE Error Code
Why Does My Oven Smell Like Gas? Causes and What to Do

Maytag Dryer Not Heating? Here’s How to Fix It
6 Common Reasons Your Speed Queen Dryer Isn’t Heating
8 Reasons Your Samsung Refrigerator Is Not Cooling

9 Most Reliable Washer and Dryer Brands

How to Get Ink out of Your Dryer the Easy Way

Why Is My Fridge Making Noise That Stops When the Door Is Open?
Frigidaire Refrigerator Error Code H1: Causes & Solutions
How to Clean a Dryer Vent Without Moving the Dryer
9 Reasons Your LG Refrigerator Isn’t Cooling
LG Refrigerator Not Making Ice? Here’s What To Do!


