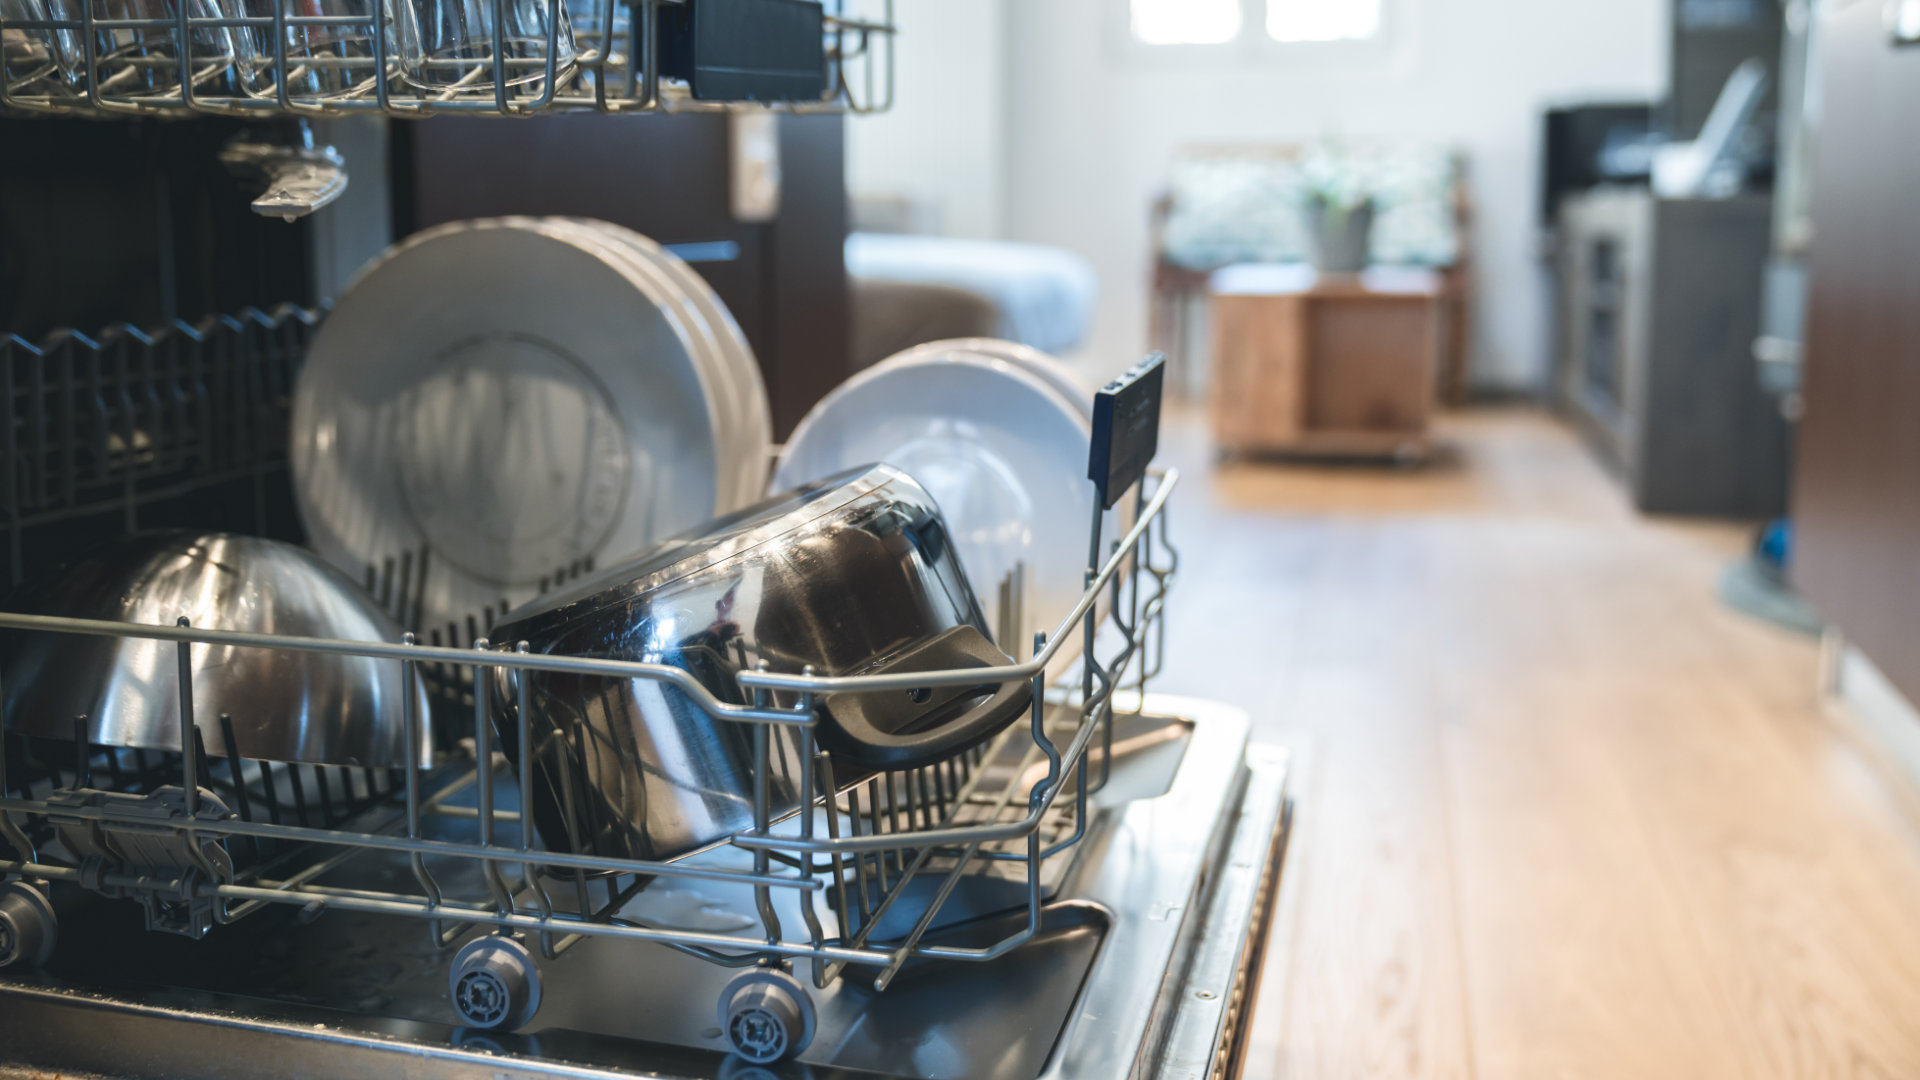
Your dishwasher is an essential part of daily life. Without it, you’re up to your elbows in soapy water for an hour every day. So if your dishwasher starts to fail, having a few quick repair tricks up your sleeve can be incredibly handy. Most people know how to check the soap compartment and the rack tracks. But when you’ve spent years working with dishwashers, you learn the quick at-home ways to solve their common problems. If you’re ready to do a little hands-on maintenance, you can repair many of your likely dishwasher problems quickly at home.
We’ve put together eight handy tips to expertly repair your dishwasher at home in most cases.
1. Paperclip Spray Arm Cleaning
Homes that have chalky minerals in the water (a majority) will slowly leave a built-up in the small nozzles of the dishwasher sprayer arm. This can restrict water flow and cause your dishes not to be clean after a cycle. There are several ways to clean a sprayer arm that is not spraying, as this is usually caused by hard water. The quickest way to get your sprayer arm back into working order is with a paperclip.
Get a paperclip and unfold one end so that it’s a spear with a handle. Then poke the long end into each nozzle-hole of the sprayer arm. If the paperclip doesn’t work, try a safety pin instead, with the tapered end. This will clear out the sediment in the nozzles and may get your sprayer arm spraying with full-force again.
2. Flush the Supply Tube and Drain Hose
It’s always a good idea to flush the tubes. If you’re having trouble with hose clogs or if you just have reason to disconnect the hoses, flush them. Sediment from hard water can build up in the supply tube, and all sorts of food debris can build up in the drain tube. Cleaning those out will increase the lifespan and performance of your dishwasher.
Place one end in the sink or a tub and run fresh, hot water through the tube. Vinegar is also a good idea to flush the tubes. Your goal is to dissolve and clear out anything that has built up in the hoses.
3. Have a Towel On-Hand
Any repair in the kitchen or near water should have a towel in your list of supplies. A towel is a pad to kneel on, a mop for spills and floods, and can help you clear out the bottom of the dishwasher if it won’t drain. A towel can contain a mess or protect something breakable. So when repairing your dishwasher, keep at least one towel nearby. Pick a towel that you are OK with getting stained. Some In DIY households, there is often a second separate set of towels for repair work that are sturdy but not for bath or swimming use anymore.
4. Use Vinegar on Everything
Many of the problems dishwashers experience relate to hard water. Vinegar breaks down the harmless chalky minerals like calcium and magnesium, which leave a residue called scale. Scale builds up on the inside of pipes and tubes. It can notoriously create a cap that blocks nozzles inside your dishwasher. Scale can also leave a chalky, dry-feeling residue on your skin, clothes, and hair where hard water is used.
Vinegar melts the minerals that make water hard and is the go-to solution for kitchen and bathroom clogs. Anything that stops flowing water correctly, detach it and soak it in vinegar. Or run vinegar through it. Run your dishwasher with an upright cup of vinegar in the top tray. Soak your sprayer arms in vinegar. If this has a positive effect, use vinegar periodically to counteract the build-up of your local water.
5. Check Latches and Tighten Screws
Grab your screwdriver set and inspect the dishwasher. Check the door latch to see if the dishwasher closes properly. Then look for any mounting screws inside or around the dishwasher and lightly hand-tighten them. If they were loose, re-secure the screw to correct any misalignment in the dishwasher. You might find a broken, blocked, or clogged piece along the way that can reveal the source of your troubles.
This kind of repair is most effective for mechanical and alignment problems that would be corrected with more secure components. But it’s a good troubleshooting step to take when repairing your dishwasher’s poor performance.
6. Use Fridge Door Gasket Care Tricks
Dishwashers spray water at high velocities inside the chamber, so they need a water-tight gasket on the door. Look closely and you’ll find a gasket that is, essentially, a smaller version of the refrigerator gasket. It can also be treated using the same tricks. All the same troubleshooting steps that are more commonly written about for fridge door gaskets work with the dishwasher.
Start your gasket care by wiping down the gasket with a rag or sponge. Get the whole surface and inside the grooves. Use mild dish soap to clean out all the old grit, grease, and spills that might have built upon the gasket.
If the gasket is hard or dry, get a small amount of petroleum jelly and rub it along the length of the gasket. This will help it moisturize and soften to form a water-tight seal.
If the gasket is damaged or twisted, you can detach it and install a new door gasket.
7. Unscrew and Clean Individual Pieces
Dishwasher pieces are prone to clogs and build-up. Remember, your dishwasher is cleaning off food residue which can form blockages, paste, and even water-tight gel. The things that wash off your dishes have to be filtered and drained through your dishwasher. So individual parts can get dirty.
If you’re having trouble, just unscrew or unclip the pieces and wash them individually. Use hot water, dish soap, and vinegar to clean out all the residue. Then put the pieces back together. In many cases, this will provide an improvement in dishwasher performance.
8. Remember to Unplug the Washer for Electrical Repairs
Finally, be cautious if you start performing repairs on electrical systems in your dishwasher. Always unplug the dishwasher and/or turn off the dishwasher’s breaker before opening a panel or touching a wire. Don’t put yourself at risk of shock, burns, or electrocution. There are many aspects of a dishwasher that can be fixed at home with the right parts and the right guide. But always exercise safety first.
For more repair guides, insights, and appliance technician assistance, contact us today!

Your Guide to Whirlpool Microwave Replacement Parts
What to Do When Your Kenmore Dryer Won’t Start
How to Resolve the LG Washer LE Error Code
Why Does My Oven Smell Like Gas? Causes and What to Do

Maytag Dryer Not Heating? Here’s How to Fix It
6 Common Reasons Your Speed Queen Dryer Isn’t Heating
8 Reasons Your Samsung Refrigerator Is Not Cooling

9 Most Reliable Washer and Dryer Brands

How to Get Ink out of Your Dryer the Easy Way

Why Is My Fridge Making Noise That Stops When the Door Is Open?
Frigidaire Refrigerator Error Code H1: Causes & Solutions
How to Clean a Dryer Vent Without Moving the Dryer
9 Reasons Your LG Refrigerator Isn’t Cooling
LG Refrigerator Not Making Ice? Here’s What To Do!
