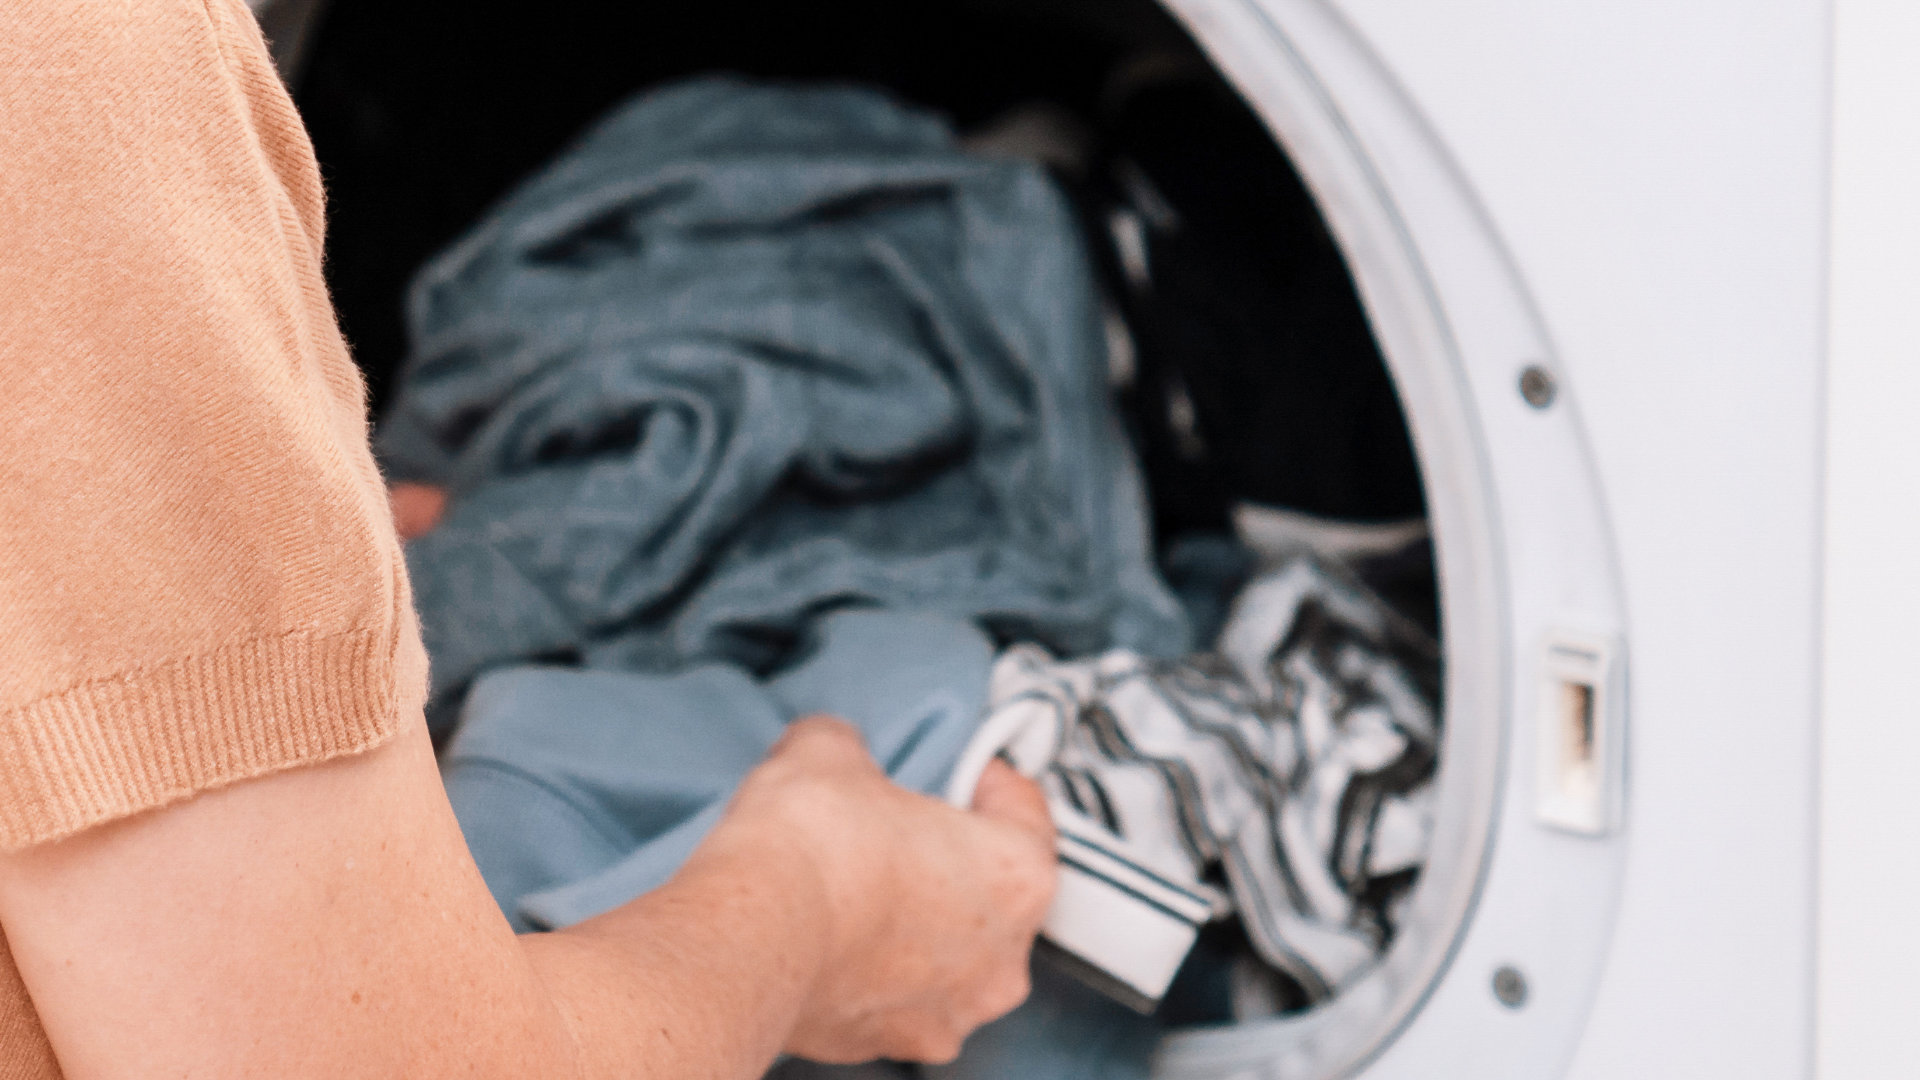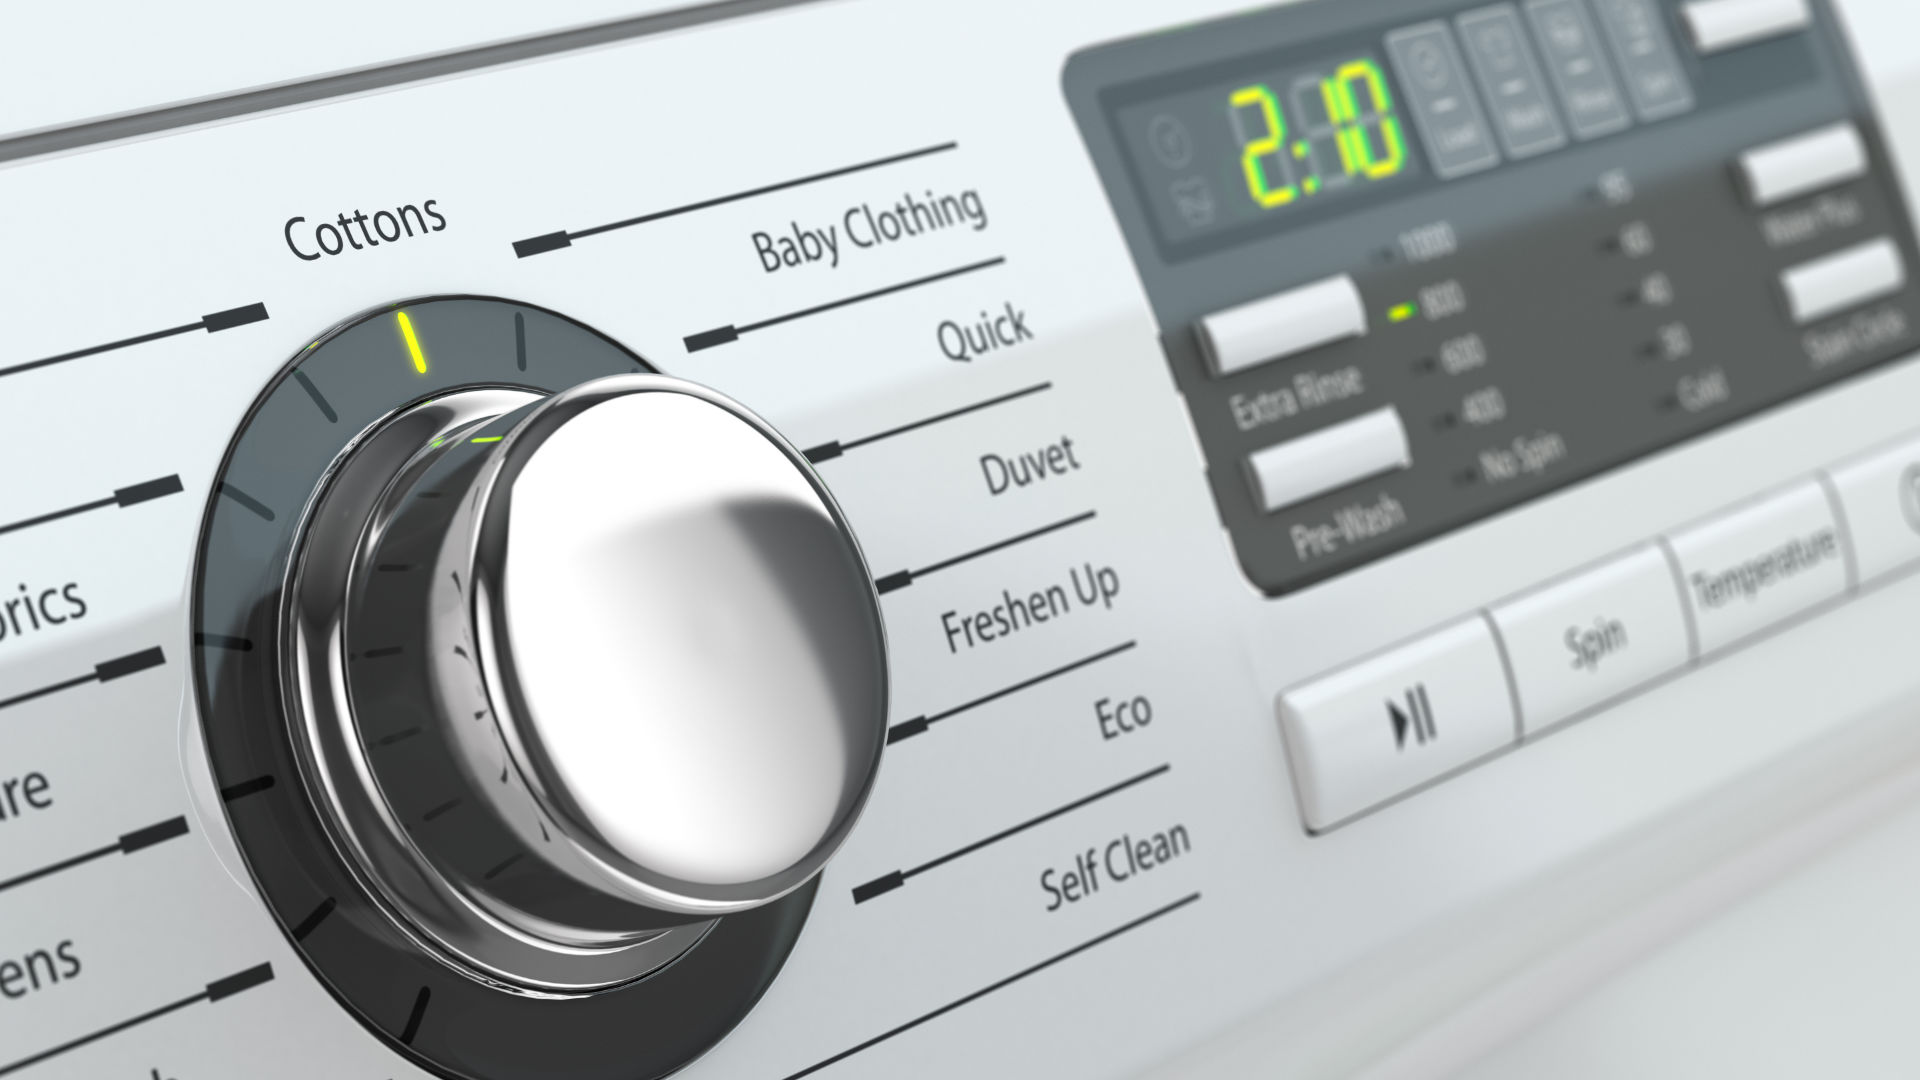
Your washer and dryer timing can shape your whole day. Many people get a feel for how long each cycle takes and build the home chore cycle around that. It’s always best when the washer and dryer take almost exactly the same amount of time, or you can predict when each will be done and ready to move forward. Unfortunately, when your dryer isn’t drying properly, it throws off your whole system.
Not only do you have to run the dryer twice instead of once, but your clothes might not even be dry at the end of the second cycle. If you’re considering hanging up a clothesline, wait a minute and do a little troubleshooting first. There are several things you can do safely at home to fix a dryer not drying before calling for repairs or resorting to backyard drying.
Empty the Lint Trap
Start with the lint trap. It’s amazing how many people forget this simple, daily maintenance step. The lint trap is either in the bottom of the dryer door pocket or in the back-right corner of your dryer top panel. Pull it out by the lip-handle and roll all that lint off the screen. This lint is collected when the clothes tumble and help keep lint out of the airflow duct. However, if it gets blocked, it’s like putting a thick sweater over your vents; no air can flow and clothes can’t get dry.
Cleaning the lint trap is often the first and best way to turn your dryer from a chamber of damp clothes back into a drying machine. You will open up the airflow and let your dryer do its thing again.
Clear the Lint Trap Assembly
Next, while your lint screen is still out, take a look inside the lint trap assembly. Look where the lint screen goes, using a flashlight or your phone to get a good view. Is it packed with lint? If so, there’s another part of your problem. This can happen, especially if the lint trap is not cleaned often enough. When damp lint builds up inside the dryer channel, it can reduce air flow just like a clogged screen. Use a long pipe cleaner, drain zip-it, or another device to remove lint from this area or open your lint assembly to access and clean the duct.
Shake Out the Flexible Duct
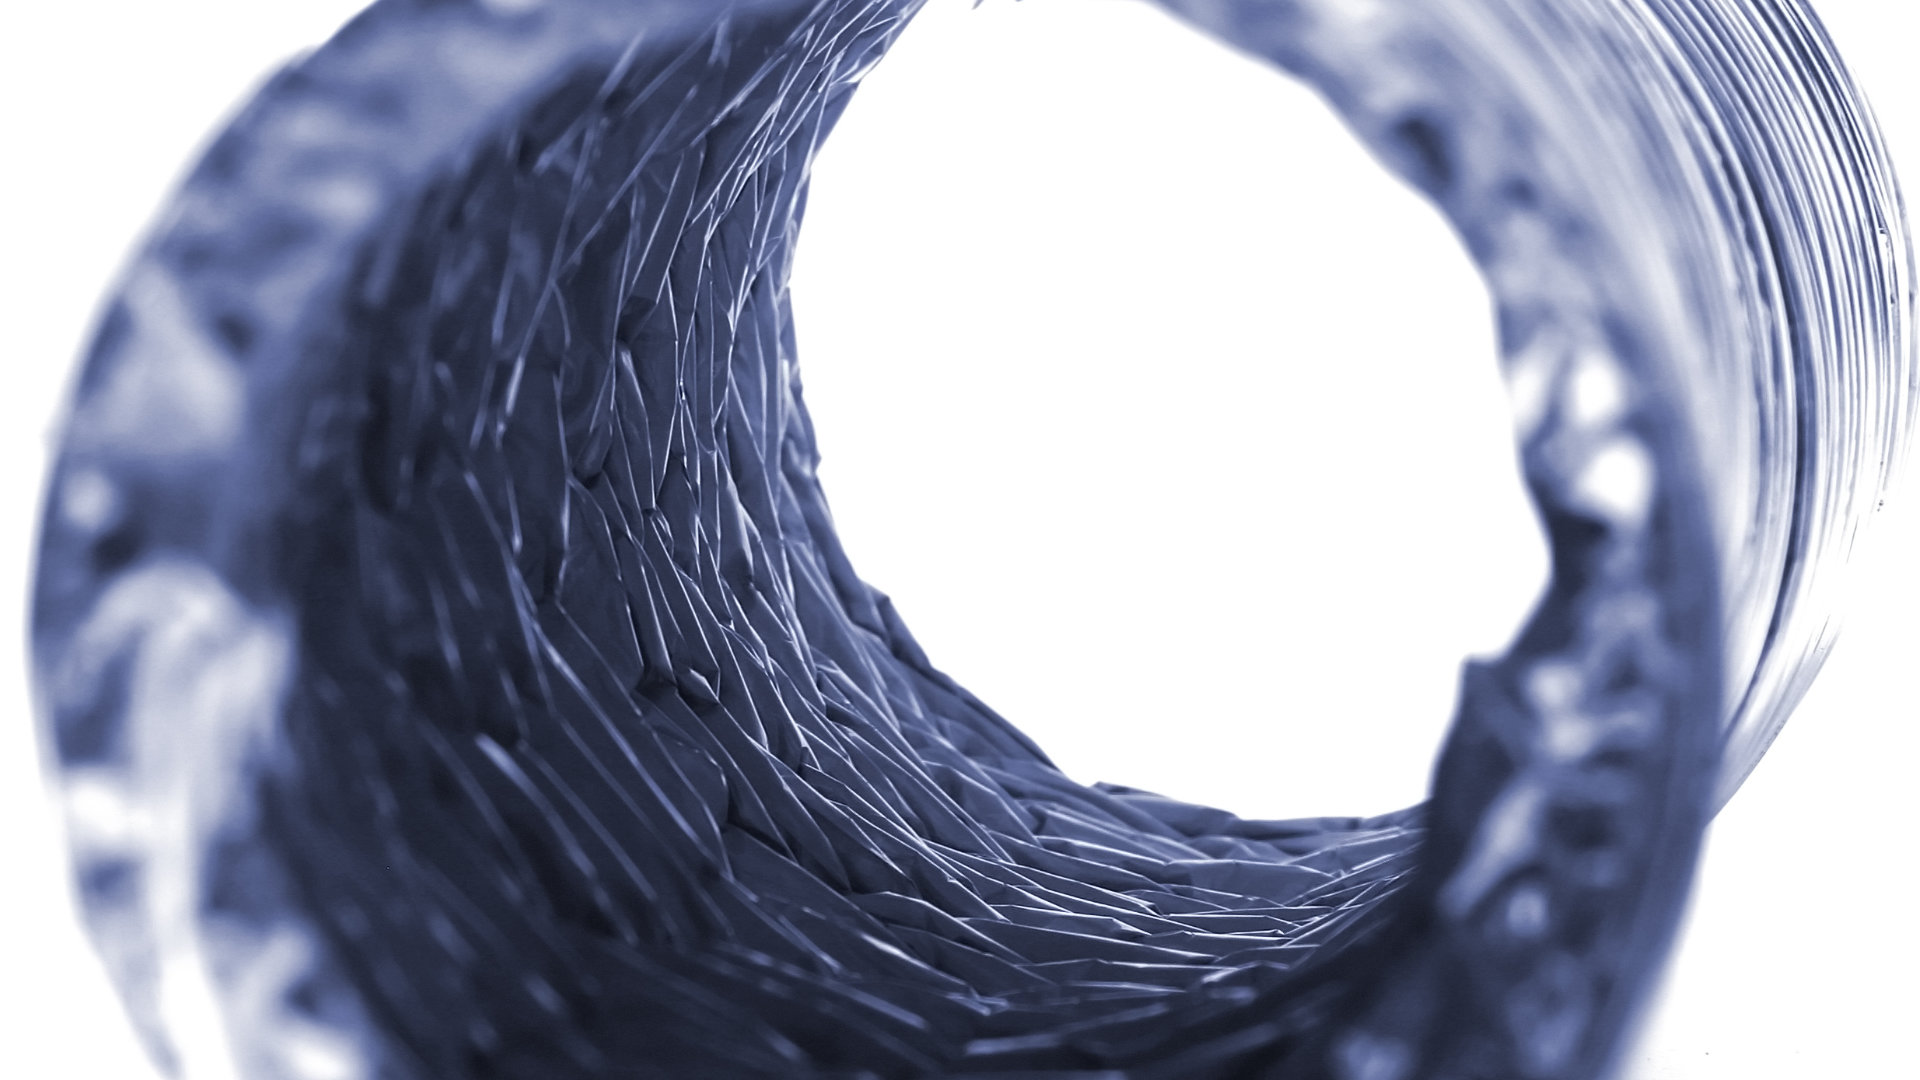
The next suspect is the duct behind your dryer This is usually a shiny flexible cylinder that carries warm, damp air out of the dryer along with some amount of lint. The lint screen helps to keep this channel clean, but lint does build up inside the flexible duct. In addition, flexibility can be a problem. If the duct is pinched, damaged, or twisted it can constrict airflow and reduce the drying capabilities of your dryer.
Start by straightening and expanding the duct. Make sure the dryer is positioned to leave plenty of room for the duct and that the duct is expanded to allow air through without obstruction. Try running your dryer and see if the problem has improved. If necessary, reinforce the space behind your dryer to keep it from wiggling into crushing the duct again.
Next, if that doesn’t work, detach both ends of your flexible duct and shake or scoop out the lint. Removing lint from the duct can make a big difference in dryer efficiency.
If the duct is damaged, replace it with a new one. Cut the duct so there is some slack (to move the dryer around) but not so long that it curls and pinches itself.
Check the Outflow Vent
Now, look into the vent from the duct to the outside of the house. If you don’t have this vent, that’s half your problem and would also explain a muggy laundry room. Your dryer needs a clean, direct vent to the outside to allow moist air from drying clothes to escape. Check where your dryer duct connects to the wall and clean that vent, if necessary. Then trace the vent to the outside and make sure the external vent is not clogged by dirt, leaves, trash, or lint. Then make sure the path in-between is clear.
Balance Your Laundry Loads
If you’ve done every lint and airflow related fix available and your laundry is still coming out damp, it’s time to re-strategize. In some cases, you can improve drying by sorting your laundry by weight.
Wash towels and jeans in a heavy load that will take a similarly long time to dry. Then wash lightweight fabrics together and they will dry together much more quickly. As you may have noticed, one towel or pair of jeans in a lighter load can cause the entire bunch to dry more slowly.
Another trick is to throw a dry towel into a damp load. The towel will absorb some of the moisture, then help the entire load to dry. This works best when the laundry is about halfway dry.
Check Mid-Cycle for Heat
Your problems may alternately relate to dryer heat rather than airflow. A dryer that spins but does not get hot enough will dry clothes lowly. The best way to check is when the dryer is mid-way through a drying cycle. Open the dryer and place your hand near the back (but don’t touch the back panel). If you feel heat and/or the clothes are warm, then the dryer heating element is working. If you feel only weak heat or no heat at all, your dryer heating element may need to be replaced.
Call for Repairs
If you’ve gone through all the troubleshooting steps and your clothes are still not dry, it’s time to make a decision Either your dryer is very old and you’re ready to buy a new one or you should call a repair technician. Dryers within 10 years of age can usually be repaired by replacing one or two damaged parts, but knowing what to replace requires testing with a multimeter and safe electrical work.
Older dryers may be worth replacing, as they have an increased chance of stacked failures. However, a sturdy old dryer with a single malfunction is also often quite repairable. For more information or to consult on your dryer’s performance and repair options, contact us today!

Your Guide to Whirlpool Microwave Replacement Parts
What to Do When Your Kenmore Dryer Won’t Start
How to Resolve the LG Washer LE Error Code
Why Does My Oven Smell Like Gas? Causes and What to Do

Maytag Dryer Not Heating? Here’s How to Fix It
6 Common Reasons Your Speed Queen Dryer Isn’t Heating
8 Reasons Your Samsung Refrigerator Is Not Cooling

9 Most Reliable Washer and Dryer Brands

How to Get Ink out of Your Dryer the Easy Way

Why Is My Fridge Making Noise That Stops When the Door Is Open?

Frigidaire Refrigerator Error Code H1: Causes & Solutions
How to Clean a Dryer Vent Without Moving the Dryer
9 Reasons Your LG Refrigerator Isn’t Cooling
LG Refrigerator Not Making Ice? Here’s What To Do!
