Are your clothes emerging from the dryer still damp? It can be frustrating, but don’t panic and go out and buy a brand-new dryer! There are several easy to fix reasons why your dryer may not be drying optimally. Read on for five easy fixes for a dryer that is not drying clothes properly.
1. Make sure you are using your dryer correctly
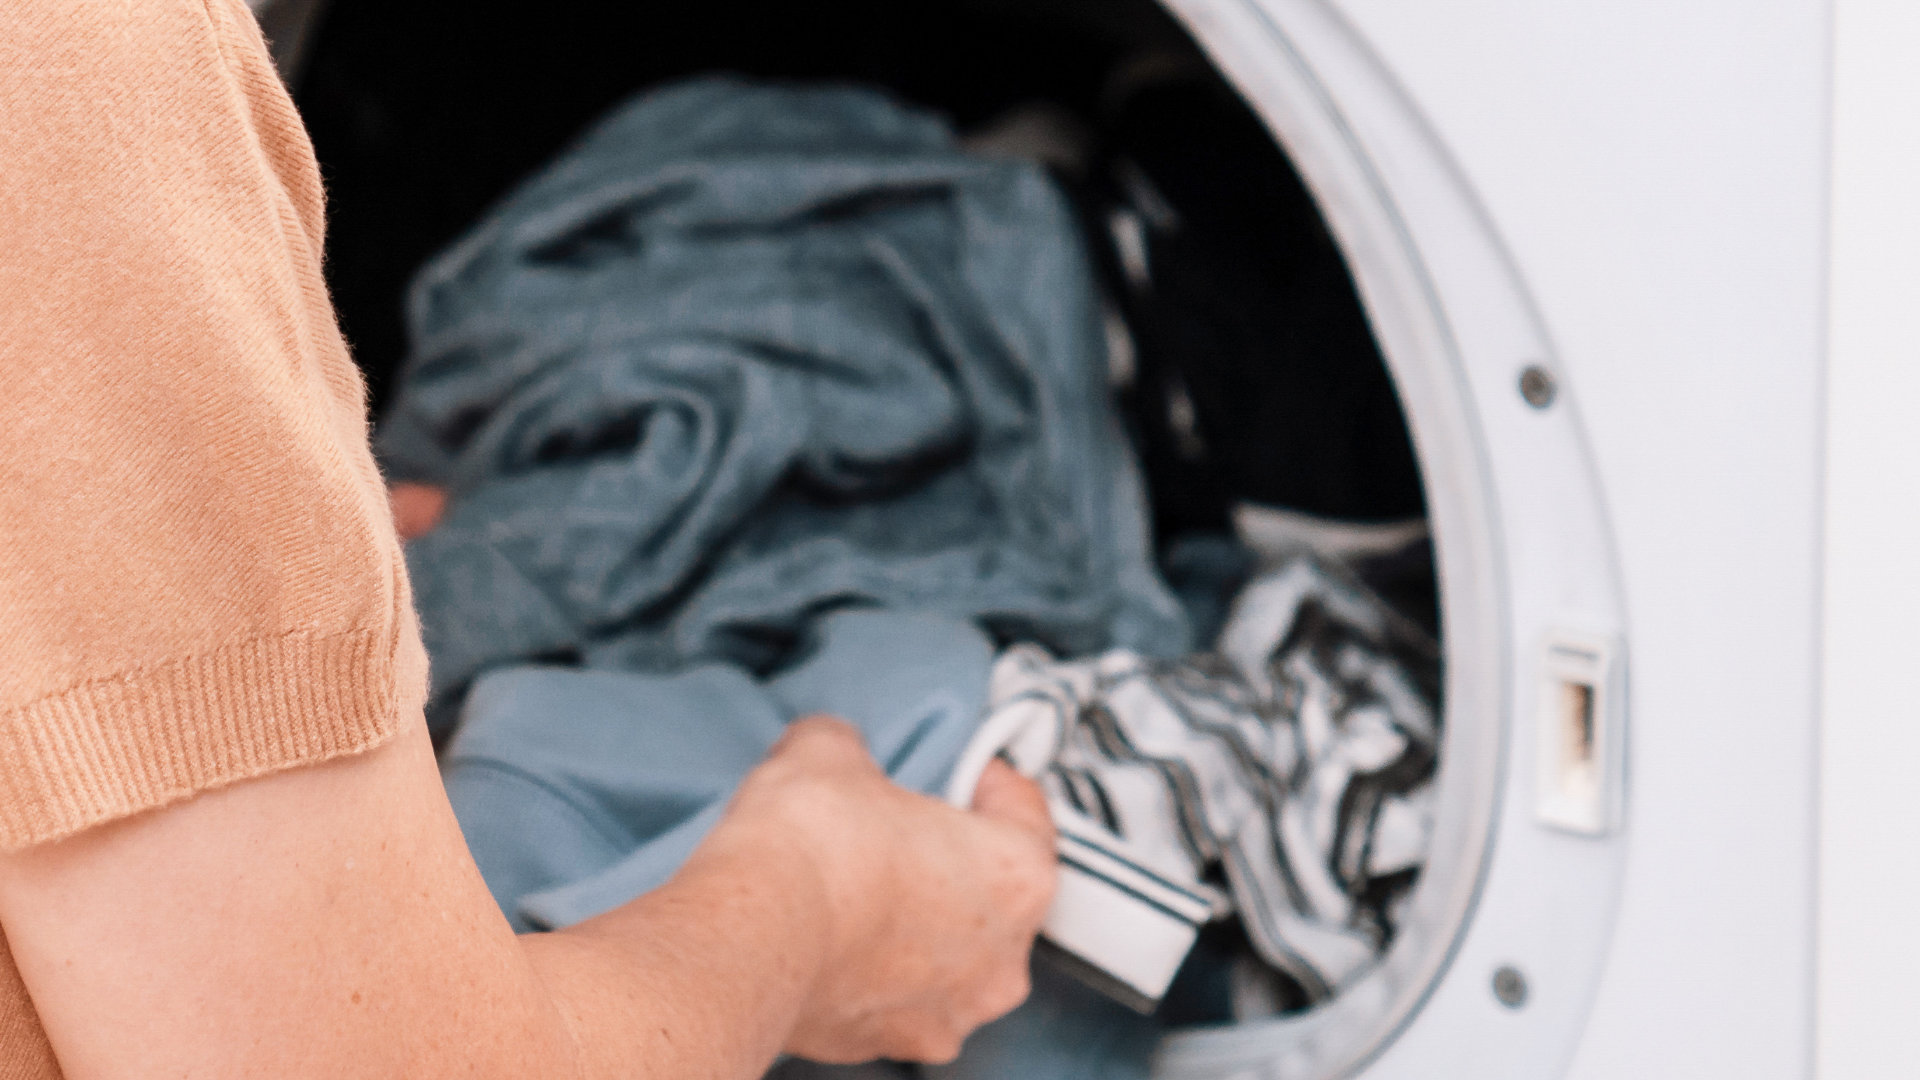
User error can often be the cause of a dryer that is not working correctly. The two main causes of user error are overloading the machine and using the wrong drying settings.
Be aware of load size
This is a common issue because it is so easy to do—who wants to run two loads in the dryer when you can cram everything into one? It will undoubtedly save you time!
However, cramming too many clothes into the dryer reduces the airflow required to properly dry clothes, which could explain why your clothes are hot but not dry. Overloading also causes the dryer to work harder, consumes more energy, and lengthens the drying time.
It is best not to fill the dryer drum more than three-quarters of the way.
Check the drying settings
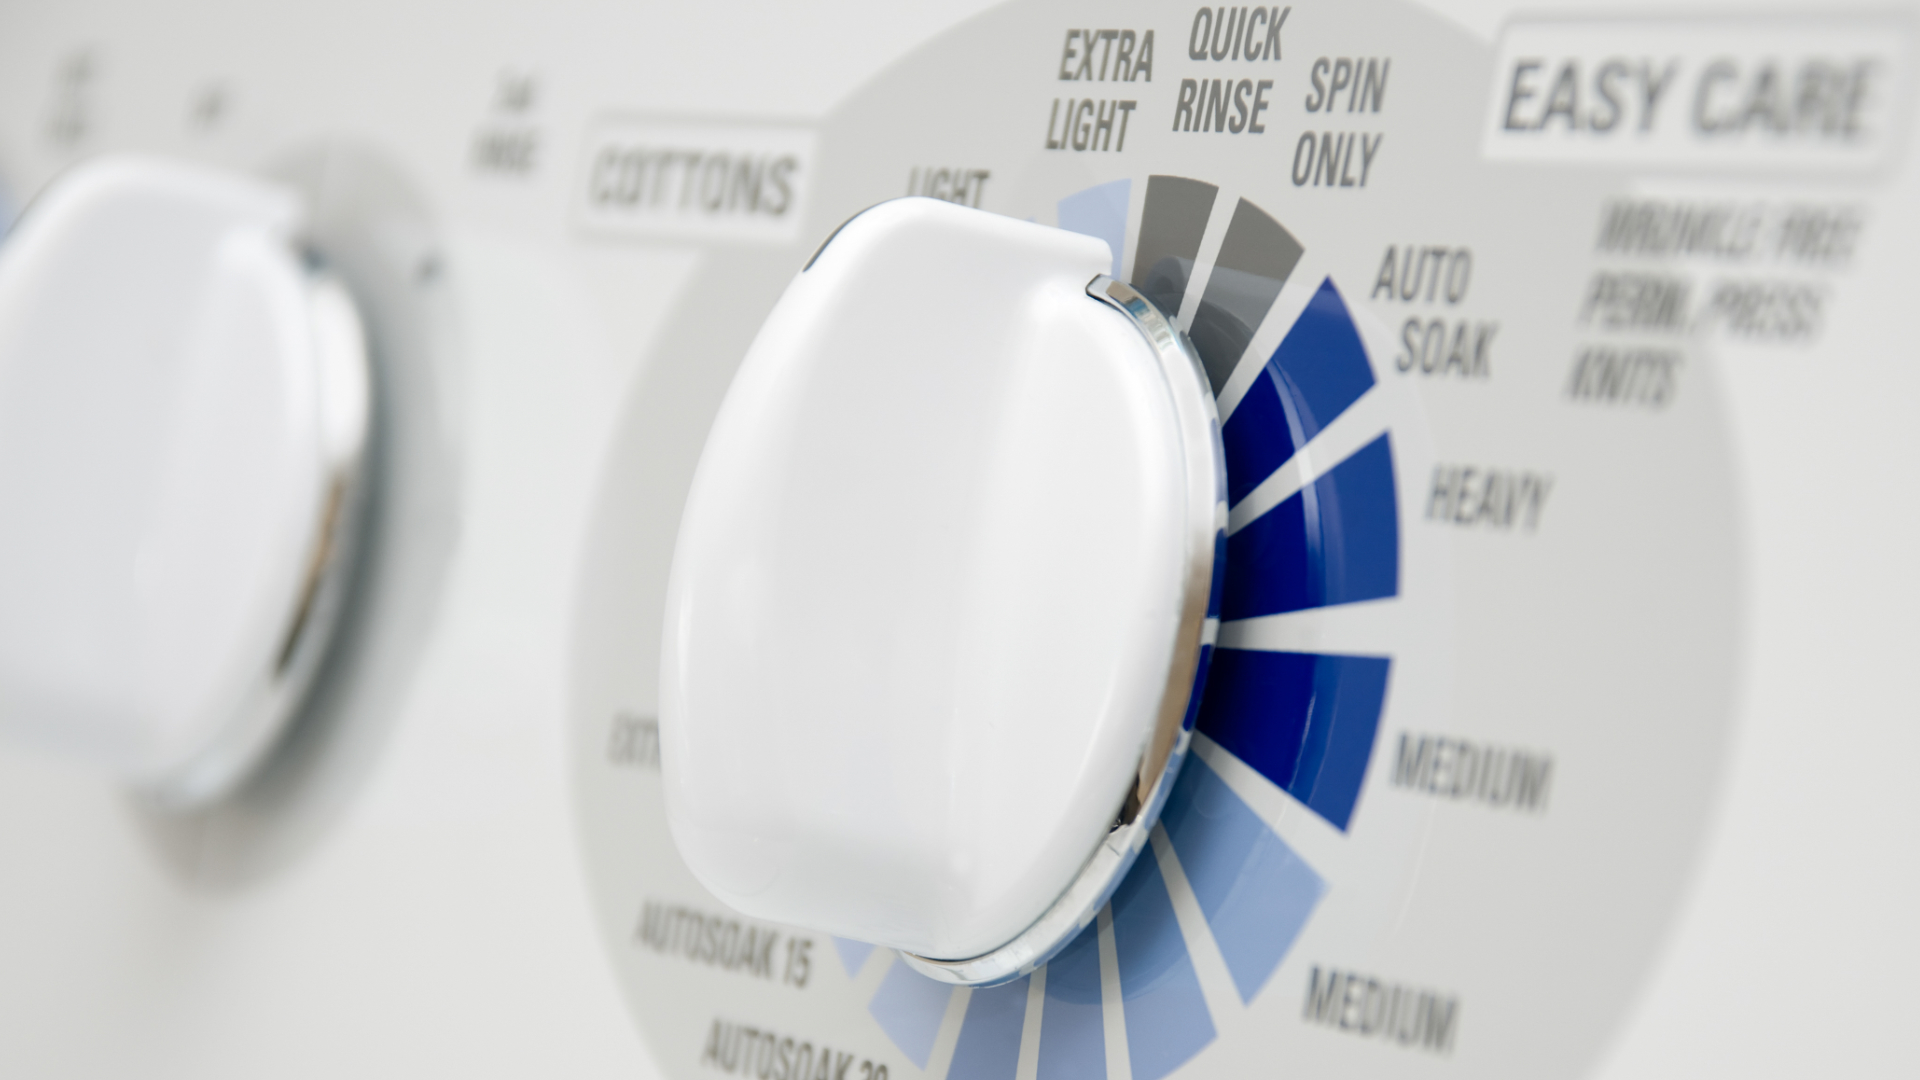
Using the wrong dryer setting for your laundry can significantly lengthen the drying time. For example, if you choose the air-dry or gentle cycle for a heavy load, your laundry may come out damp because you selected an insufficient setting.
Check the laundry symbols on your clothes to ensure you’re not using too much or too little heat. They will advise you on the best dryer setting.
2. Check the heat is working
Turn on the dryer for five to ten minutes to ensure that the heat is working. You can hold your hand under the outside exhaust vent to check air movement. If the heat is working, the air should be warm. If your dryer is not heating but still operational, this could mean the heating element or thermal fuse may be faulty.
In this case, you should consult your user manual to determine the next steps. If you feel comfortable replacing the broken piece yourself, go ahead and do so—you can order a replacement part from your dryer manufacturer. If this is not something you feel confident doing, you can contact an expert to help you.
3. Clean the lint trap
A clogged lint filter can reduce airflow and make a dryer incapable of drying clothes efficiently. This problem can be resolved by thoroughly cleaning the lint filter and filter housing.
Cleaning the lint filter
- Remove the lint filter and brush away any remaining lint
- To thoroughly clean the filter, use an old toothbrush, hot water, and dish detergent
- Before replacing the filter in the dryer, make sure it is completely dry
Cleaning the filter housing
- After removing the filter, use a flashlight to inspect the filter’s plastic housing. At the bottom, there will most likely be a lot of lint. This can disrupt airflow and reduce your system’s efficiency.
- Straighten a wire coat hanger, or use a length of wire if you have it.
- Using pliers, make a bend in the wire.
- Insert the bent end of the filter into the filter housing. Hook the lint and slowly pull it out. Repeat until all of the lint has been removed.
- After thoroughly cleaning the lint filter and filter housing, reassemble everything, and check to see if your dryer is now drying effectively. Continue to the next step if it is still not drying properly.
4. Clean the dryer vent
If you have cleaned the lint out of the lint filter and filter housing and still find your dryer is not drying properly, there may be another place where lint buildup is causing a problem—the dryer vent! Luckily, it is an easy problem to fix.
Unplug the dryer
Because you will be disassembling the dryer vent, it is critical that you disconnect your dryer from its power source. You should also move it away from the wall so that you can easily access the back of your dryer.
Find the dryer vent
A vent line will be attached to the back of your dryer if it is vented to the outside.
Remove the dryer’s vent line from the back. The vent pipe or vent line should easily pull away from the back of your dryer.
Examine the dryer for lint
Look inside the dryer where the pipe was attached before inspecting the vent pipe. If you notice any lint or debris in the opening, remove it with your hand or a clean, dry cloth.
Clean the duct pipe with a vacuum cleaner
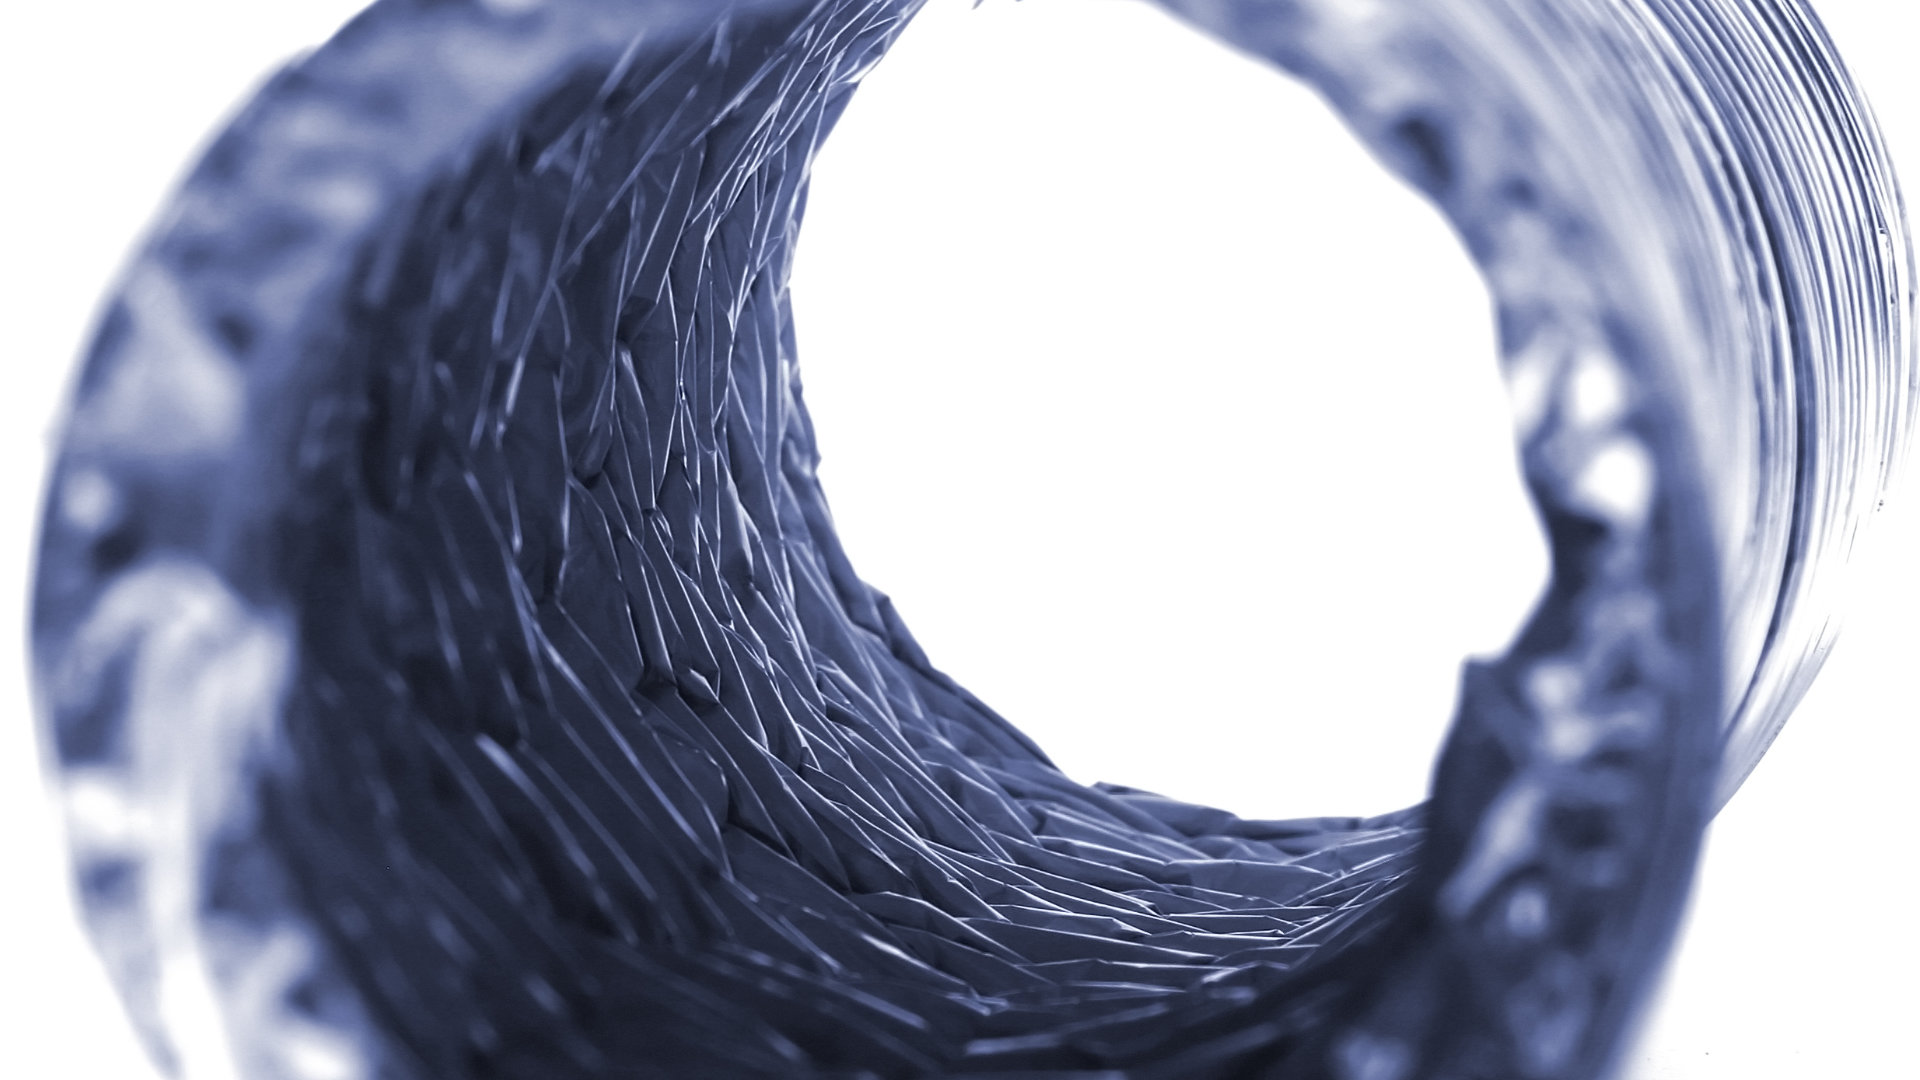
To clean the duct pipe, you’ll need to completely remove it. You must disconnect the other end after removing it from the back of the dryer as described above.
Vacuum as far inside the duct as you can reach at either end with a vacuum with a hose attachment. This should allow you to get rid of any visible lint.
Reassemble your dryer vent and run a test cycle
You should find your dryer is working properly once again.
5. Check the moisture sensor
If the moisture sensor in your dryer is dirty or damaged, it may incorrectly detect that the clothes are dry and stop the dryer cycle too soon.
Overuse of dryer sheets, which can leave a greasy residue on the moisture sensor, is one cause of this. Fortunately, cleaning the moisture sensor is a simple and effective solution.
Inside your dryer drum, look for the moisture sensor. It is made up of two parallel, shiny metal strips that are about four inches long and are usually located on the drum side of the plastic filter housing.
To clean the metal strips, use a paper towel and rubbing alcohol and wipe gently. After cleaning the strips, run a test cycle to see if your dryer is now drying clothes properly.

Your Guide to Whirlpool Microwave Replacement Parts
What to Do When Your Kenmore Dryer Won’t Start
How to Resolve the LG Washer LE Error Code
Why Does My Oven Smell Like Gas? Causes and What to Do

Maytag Dryer Not Heating? Here’s How to Fix It
6 Common Reasons Your Speed Queen Dryer Isn’t Heating
8 Reasons Your Samsung Refrigerator Is Not Cooling

9 Most Reliable Washer and Dryer Brands
How to Get Ink out of Your Dryer the Easy Way

Why Is My Fridge Making Noise That Stops When the Door Is Open?

Frigidaire Refrigerator Error Code H1: Causes & Solutions
How to Clean a Dryer Vent Without Moving the Dryer
9 Reasons Your LG Refrigerator Isn’t Cooling
LG Refrigerator Not Making Ice? Here’s What To Do!
