

December 7, 2022
Oven Repair
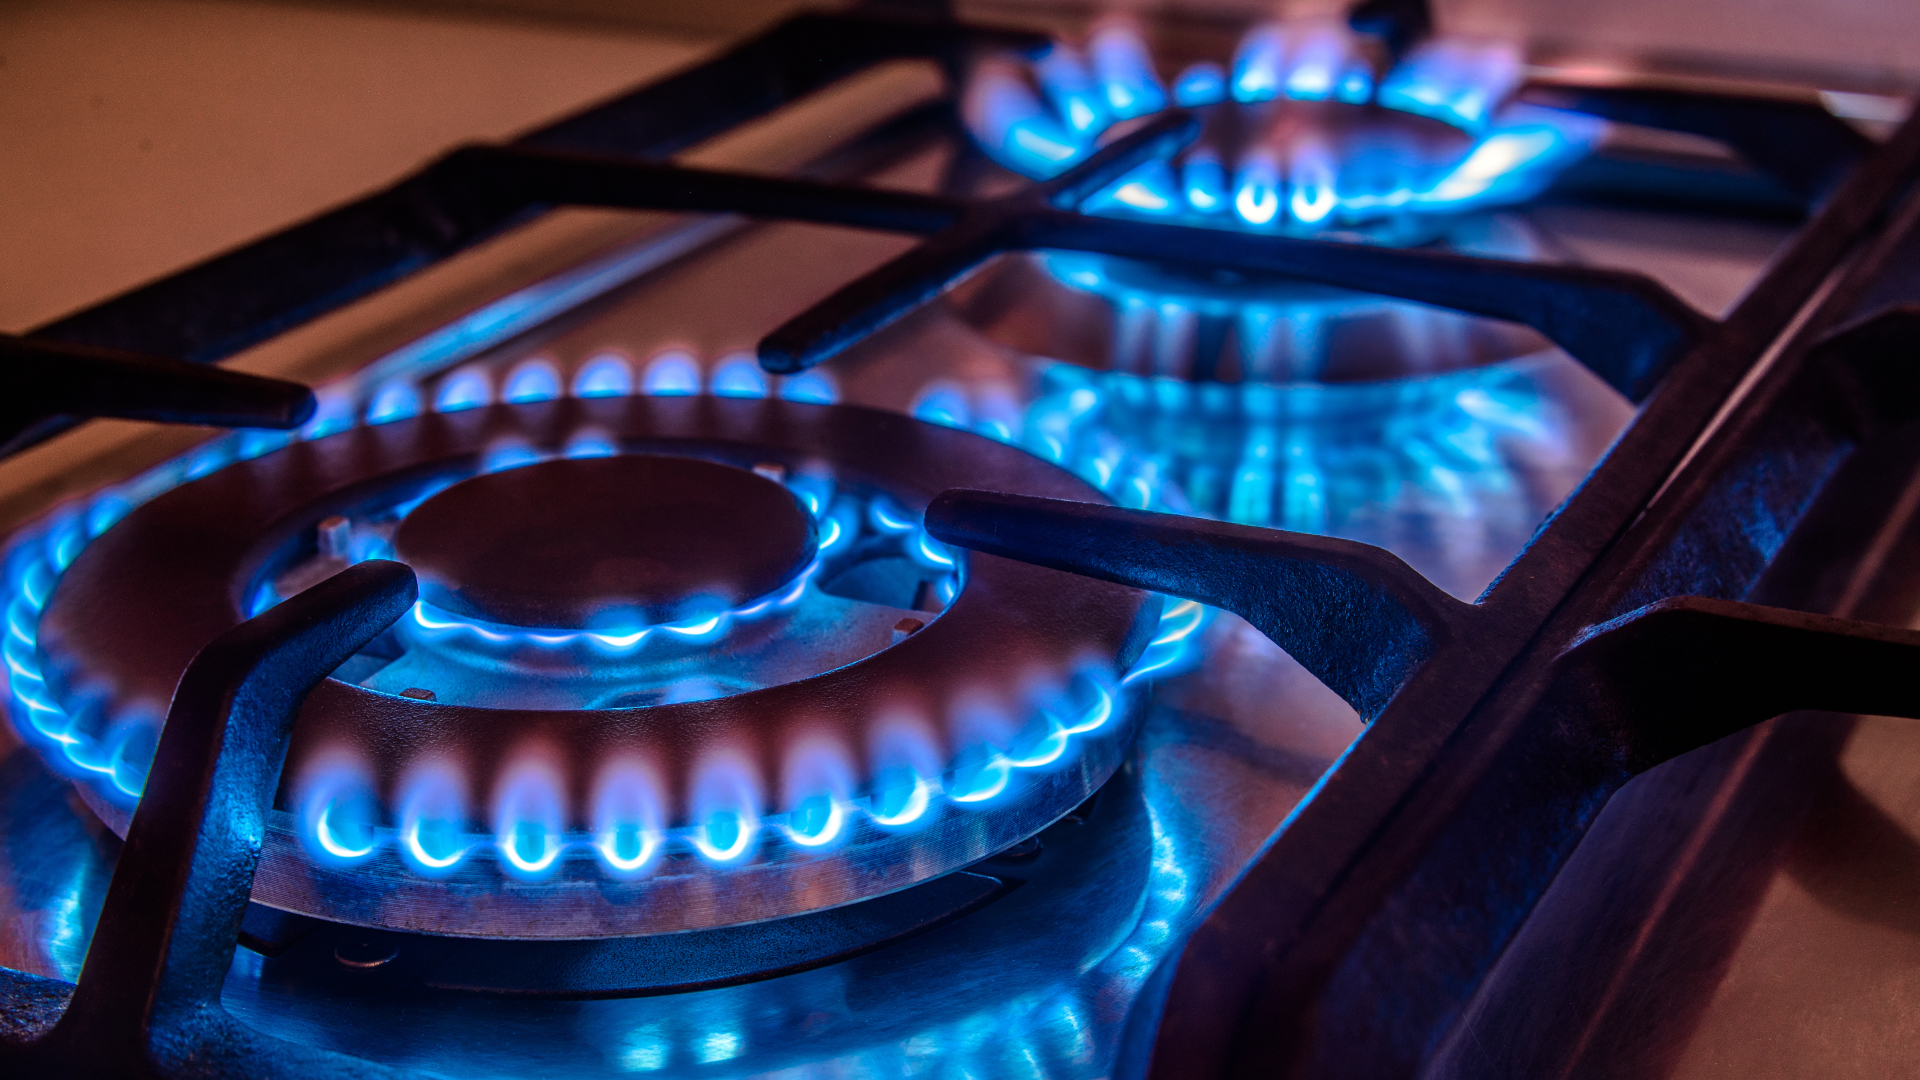
If your gas stove isn’t getting hot enough, this guide is for you. To help you find the cause of the problem and fix it, we discuss all the common reasons for why this might be happening and then provide some tips for how to rectify the problem.
It’s important to solve this issue because excess gas could be flowing into your kitchen and other rooms of your home if your burners aren’t working properly. This can pose a significant safety risk.
If your gas stove isn’t getting hot enough, it’s most likely due to a faulty gas supply, a misaligned gas burner cap, a blocked burner head, or a faulty control valve.
Let’s start with the gas supply.
Step 1 – Check the gas supply
Before you do anything else, make sure the gas supply is turned on correctly. Check each valve is switched on fully and that your stove is getting gas to it. This can be done by simply turning on a burner and making sure you can smell gas or that it ignites. If the stove isn’t getting gas at all, you need to get a technician to come and inspect your gas supply setup. If your stove is getting gas, you can move on to Step 2.
Step 2 – Check the burner cap
If your gas stove isn’t getting hot enough, it could be as simple as the burner caps being misaligned. When this happens, the gas won’t be able to spread evenly so the flame won’t be distributed correctly, resulting in your stove not getting hot enough. The burner caps also protect the parts underneath them, so it’s important to make sure they’re aligned correctly.
Here’s how to check the burner caps:
1. Ignite the flame for the affected burner.
2. Check if the flame is evenly spread or if it’s higher on one particular side. You also want to ensure the flame ignites right away.
3. If the flame isn’t evenly spread or it doesn’t ignite instantly, move the cap around until it’s correctly positioned. If the flame is even and ignites instantly, you can move on to the next step.
4. Once you adjust the burner cap, check if the flame now ignites and operates correctly. If not, move on to the next step.
5. Repeat this process for all affected burners.
Step 3 – Check the burner heads
The next step is to check the burner heads. The heads also help to ensure the flame is evenly spread so you can cook your food at an even heat. On the heads, you can see little holes that gas comes out of, which ignites and turns into an even flame. Sometimes those holes get clogged, which stops the flame from spreading correctly, resulting in your stove not getting hot enough.
Here’s how to check the burner heads:
1. If you haven’t already, ignite the flame for the affected burner. Check if the flame is evenly spread or if it’s higher on one particular side.
2. If the flame isn’t evenly spread, remove the cap and check the holes on the head for any signs of a blockage. If the flame is evenly spread, move on to the next step.
3. If you find any blockages, remove the debris blocking the holes with a soft brush. If that doesn’t dislodge the blockage, you may need to wash them in hot soapy water.
4. Once the debris is cleared, test if the flame ignites evenly on the burner. If not, move on to the next step.
5. Repeat this process for each affected burner.
Step 4 – Replace the control valve
The next step is to replace the control valve. If your gas stove has a weak flame, it could be caused by a faulty control valve. This component is responsible for controlling the gas pressure so the flame can ignite and evenly burn. If the flame isn’t even or flickers on and off, the problem could be with the control valve. Because checking the control valve is difficult, your best option is to replace it and hope that it solves the problem. If you don’t have the expertise or skills to replace the valve, you should call a technician to come and inspect your gas stove.
Here’s how to replace the control valve:
1. Switch the power off to your stove.
2. Switch the gas supply off to your stove.
3. Locate the gas control valve. You can find it behind the burner knobs. To gain access to it, you need to remove the main cover from the stove. If you’re not sure how to do this, your user manual will have a detailed diagram in it of your appliance.
4. Once you locate the control valve, remove the spark switch.
5. Next, remove the screws that hold the control valve in position.
6. Remove the old control valve.
7. Place the new valve into position and secure it with the screws.
8. Reattach all of the components of your gas stove that you removed earlier.
9. Turn the gas and power back on.
10. Check if your gas stove can now heat up correctly. If not, you’ll need to get a technician to come and inspect your appliance.

Apr. 09, 2024
Your Guide to Whirlpool Microwave Replacement Parts

Apr. 09, 2024
What to Do When Your Kenmore Dryer Won’t Start

Apr. 09, 2024
How to Resolve the LG Washer LE Error Code

Mar. 06, 2024
Why Does My Oven Smell Like Gas? Causes and What to Do

Mar. 06, 2024
Maytag Dryer Not Heating? Here’s How to Fix It

Mar. 06, 2024
6 Common Reasons Your Speed Queen Dryer Isn’t Heating

Feb. 05, 2024
8 Reasons Your Samsung Refrigerator Is Not Cooling

Feb. 05, 2024
9 Most Reliable Washer and Dryer Brands

Feb. 05, 2024
How to Get Ink out of Your Dryer the Easy Way

Jan. 03, 2024
Why Is My Fridge Making Noise That Stops When the Door Is Open?

Jan. 03, 2024
Frigidaire Refrigerator Error Code H1: Causes & Solutions

Jan. 03, 2024
How to Clean a Dryer Vent Without Moving the Dryer

Dec. 11, 2023
9 Reasons Your LG Refrigerator Isn’t Cooling

Dec. 11, 2023
LG Refrigerator Not Making Ice? Here’s What To Do!

Dec. 11, 2023
How to Clean Your Dryer Lint Trap (Step-by-Step)
631 - 286 - 7899Text or ring! ring!