

February 13, 2020
Oven Repair
The light inside your oven is one of the most useful little gadgets introduced by cooking-enthusiast engineers. That little light lets you take a look at the food that’s cooking without releasing heat from your oven. You can get the perfect golden-brown when baking ensures that anything warming in the oven isn’t crisping as well. The oven light is fun to play with, useful to use, and we often experience surprising disappointment when it goes out. Whether you’re someone who only occasionally uses the oven light or leaves it on all the time, the process for replacing the light is the same.
You can pretty easily replace your oven light if you’re willing to crawl inside your oven to do a little repair work. Don’t worry, the oven must be cool for this repair to take place.
Collect Your Supplies
It’s always smart to collect all your supplies before beginning a repair. Fortunately, the list for this repair is quite short. The most important part is a replacement lightbulb. You’ll want to check your oven’s make and model to get the right size of lightbulb for a replacement. From there, have a screwdriver handy and put on a pair of protective work gloves.
- Replacement Lightbulb
- Screwdriver
- Work Gloves
Safety First
Let the Oven Cool Completely
Never work on a hot oven. Before you begin this repair, give your oven at least two hours to cool after the last use. If your oven is already cold, that’s fine. While working with a cold oven, be careful not to lean or tug on the elements inside, as they can shatter when cold. It’s vital that your oven be fully cold when you work on it so that there’s no risk of burning on a still-warm surface.
Unplug the Oven or Flip the Breaker
Once your oven is cool (or while it’s cooling) you’ll want to cut power from your oven. Changing the lightbulb is technically an electrical repair, so prevent the risk of shock by turning off the power. If you can reach it, pull the plug from the wall. If you can’t reach the plug, then flip the breaker that powers your oven. Check the oven clock to make sure the power is off.
Clear the Oven
Open the Oven
Open your oven door as far as it will go. You’ll need room to work. If this repair serves too difficult with the door in the way, there are methods to remove the oven door as well. It lifts right off the hinges with the correct technique. Look up removing an oven door to find out more.
Remove the Racks
Wearing gloves to protect your hands, pull out all of the racks inside your oven. Lay them on a towel to avoid damaging or staining your floor. Now might also be a good time to wash your oven racks if you have a sink big enough.
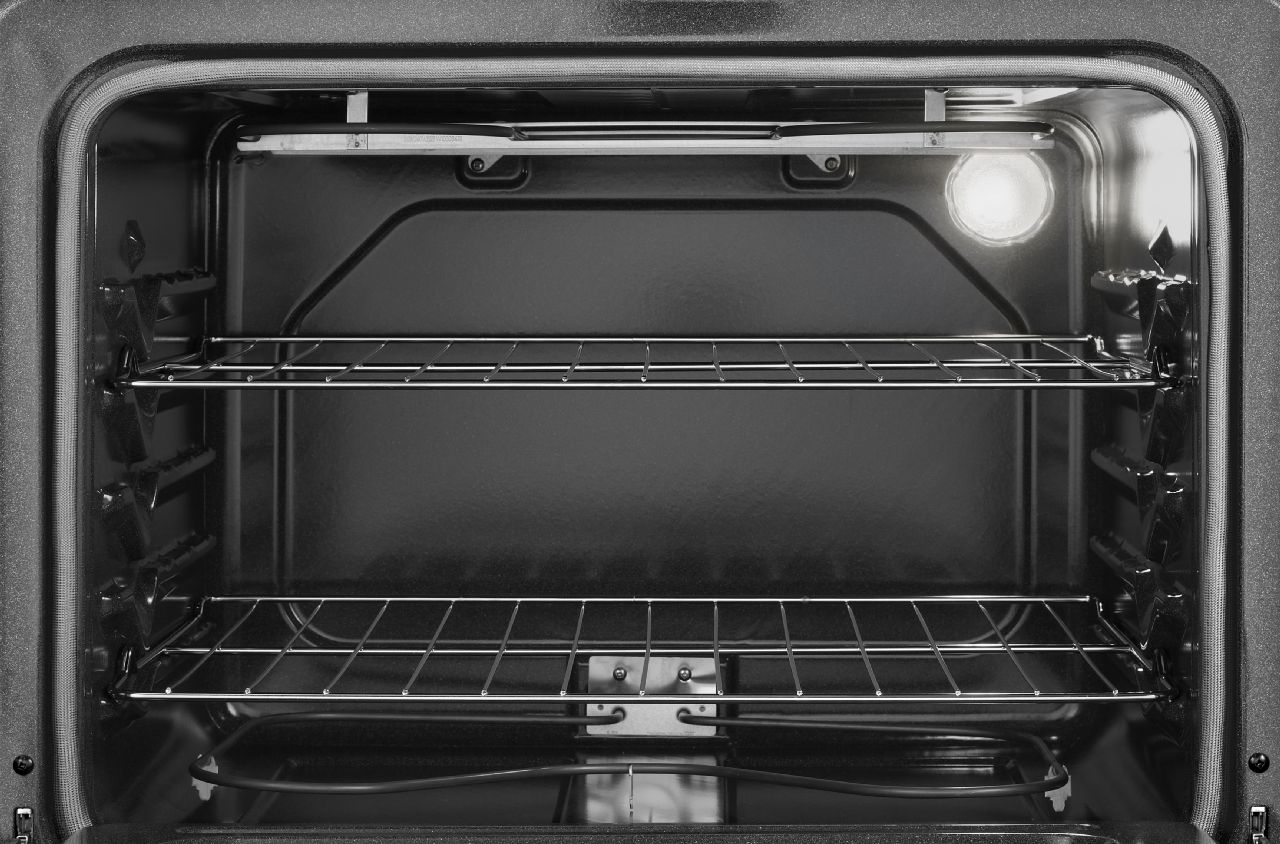
Locate Your Oven Light
Top Left or Top Right
Look inside your oven and find the light housing. It will be somewhere on the top interior panel of your oven, often to the right or left.
Type of Cover
Take a close look at the light cover to help you determine how it is fastened. The cover is very likely glass to withstand oven temperatures.
Remove the Light Cover
Twist and Pull
Many oven light covers come away with a simple twist and pull. Wiggle the cover in your hands and try to pull it out if you don’t see an obvious attaching mechanism. it might come away easily in your hand.
Release Metal Clips or Rings
If the cover doesn’t twist free, it might be secured with metal clips or a metal ring. Look closely and release any clips or rings that you find holding the light cover over the bulb.
Remove Mounting Screws
If you see any mounting screws, use your screwdriver to remove them. Set any clips or screws aside so you can reapply them very soon.
Remove the Old Bulb
Unscrew the Bulb
Carefully take hold of the small bulb between your fingers and twist counter-clockwise to loosen the bulb. Remove the bulb from its socket.
Inspect the Old Bulb for Damage
Take a close look at your bulb. If it looks burnt beyond a simple broken filament, keep an eye on the next bulb in case there is a socket electrical problem burning out bulbs faster than usual.
Install the New Bulb
Remove Packaging
Make sure you remove all the packaging from the new bulb before installing it. Look closely to be certain. Remember not to touch the glass directly. Hold it with your gloves or a tissue as you install the bulb.
Inspect the Bulb
Inspect the bulb. If it is incandescent, then ensure that the filament is intact. Look at the base to ensure it will fit in the socket.
Screw In the New Bulb
Gently screw the new bulb into the oven’s socket. Stop turning when the bulb feels firmly seated and you feel resistance to twisting. There’s no need to over-tighten a lightbulb.
Return the Light Cover
Fit the Light Cover Into Place
Place the light cover back over the bulb you just replaced. If it twisted free, twist it back to a secure position. Otherwise, hold it still to secure.
Return Clips, Rings, and Screws
If there were screws, screw them back in. If there were clips or rings, re-fasten them so that the light cover is held firmly in place.
Test Your Success
Put the Racks Back In
Take up your oven racks and put them back into the oven. Think about where you want the racks, as placement can influence how your baking comes out later. Then close the oven door.
Return Power to Your Oven
You can now return power to your oven. Plug the oven back in if you unplugged it. If you flipped the breaker, flip it back to the ‘on’ position.
Flip the Light Switch
Now it’s time to check if your bulb replacement did the trick. Try flipping the oven light on and off a few times. If it works, rejoice.
Open and Close Your Oven
The other way to test your oven light is to open and close the oven door. If your oven light has a ‘door open’ setting, it will flicker with this test as well.

Apr. 09, 2024
Your Guide to Whirlpool Microwave Replacement Parts

Apr. 09, 2024
What to Do When Your Kenmore Dryer Won’t Start

Apr. 09, 2024
How to Resolve the LG Washer LE Error Code

Mar. 06, 2024
Why Does My Oven Smell Like Gas? Causes and What to Do

Mar. 06, 2024
Maytag Dryer Not Heating? Here’s How to Fix It

Mar. 06, 2024
6 Common Reasons Your Speed Queen Dryer Isn’t Heating

Feb. 05, 2024
8 Reasons Your Samsung Refrigerator Is Not Cooling

Feb. 05, 2024
9 Most Reliable Washer and Dryer Brands

Feb. 05, 2024
How to Get Ink out of Your Dryer the Easy Way

Jan. 03, 2024
Why Is My Fridge Making Noise That Stops When the Door Is Open?

Jan. 03, 2024
Frigidaire Refrigerator Error Code H1: Causes & Solutions

Jan. 03, 2024
How to Clean a Dryer Vent Without Moving the Dryer

Dec. 11, 2023
9 Reasons Your LG Refrigerator Isn’t Cooling

Dec. 11, 2023
LG Refrigerator Not Making Ice? Here’s What To Do!

Dec. 11, 2023
How to Clean Your Dryer Lint Trap (Step-by-Step)
631 - 286 - 7899Text or ring! ring!