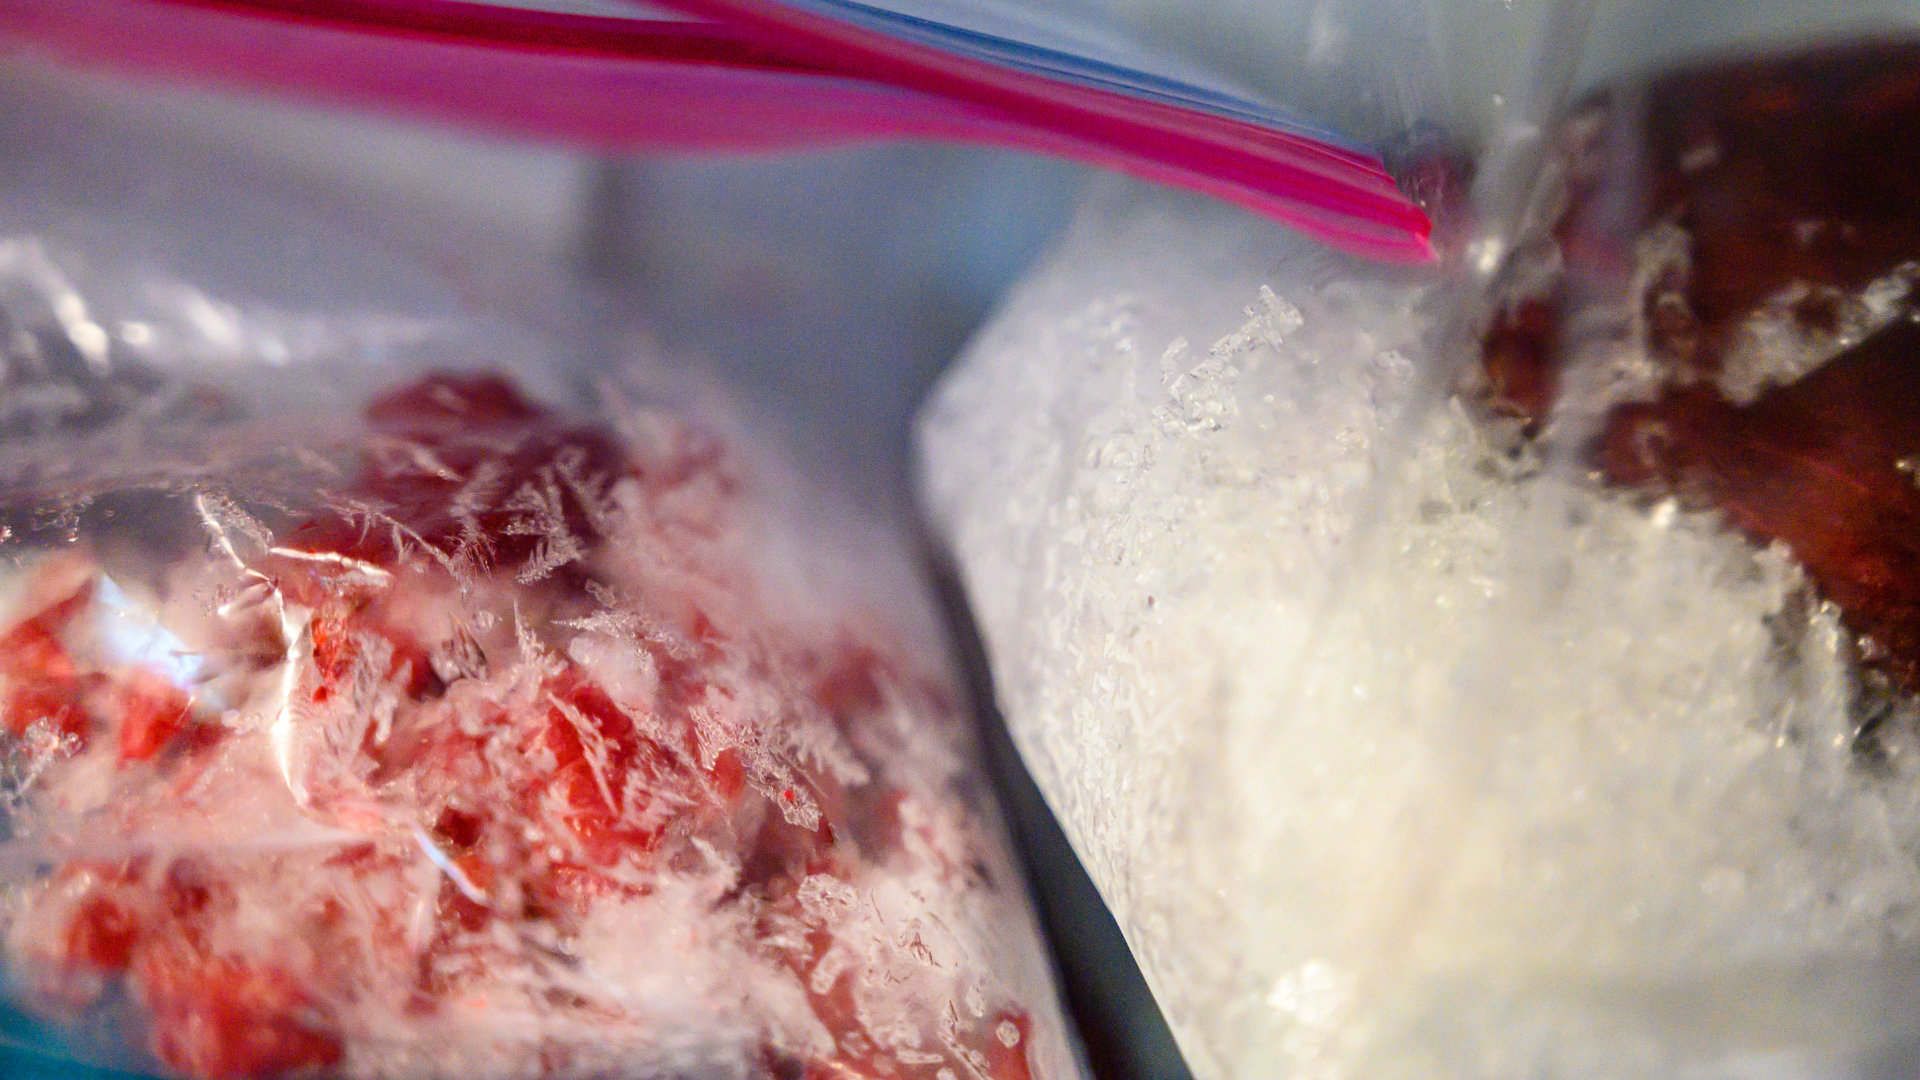
With the rising cost of living, it’s a great idea to freeze food in bulk when it’s on special and then defrost it when you need it. But what if you go to defrost that steak you were looking forward to and find it gray, dried out, and unappetizing? Freezer burn is a common problem with frozen food, but there are ways to prevent it. Read on for our top prevention tips.
Use proper storage containers
Picking the right storage containers is key to preventing freezer burn, as it helps preserve the moisture and quality of your frozen goodies. Freezer burn happens when food is exposed to the freezer’s air, causing the moisture to evaporate and form ice crystals on the surface. This process can lead to changes in the texture, taste, and appearance of your food, making it less appetizing. Freezer burned food often looks gray, dried out and just nasty!
Thankfully, there are some great storage options out there. Airtight containers, heavy-duty freezer bags, and vacuum-seal bags are perfect for keeping freezer burn at bay. They are specially designed to keep the air out, minimizing the chances of moisture loss and oxidation. By limiting your food’s exposure to air, you can significantly reduce the risk of freezer burn and keep your food looking good and tasting great..
Remove excess air with a vacuum sealer
Since air exposure is the main culprit behind freezer burn, it’s important to remove as much air as possible before storing food in your freezer. One way to do this is by using a vacuum sealer to extract all the air from a bag or container. You can find these online, and while they might be a bit of an investment, they’re definitely worth it if you freeze a lot of food.
Wrap food tightly
If you’re using plastic wrap, aluminum foil, or freezer paper, make sure to wrap the food tightly, covering all surfaces to prevent air exposure. Overall, it is better to use a plastic container or a vacuum-sealed bag, but if you need to use food wrap, ensure it is tight and doesn’t leave any gaps. We don’t recommend using any type of wrap if you are storing food in the freezer for long periods of time—this is best saved for things you plan on using pretty soon.
Portion and package food properly
Divide food into meal-sized portions before freezing to minimize the need to open and reseal containers, which can expose the food to air. It’s also important to make sure that you store food in containers that are as close to the size of the food as possible. Storing a small portion of meat in a huge plastic container means it is far more exposed to air than if you store it in a small container.
Cool food before freezing
This is a simple tip that makes a huge difference. Allow cooked food to cool down to room temperature before packaging and freezing it, as this helps reduce condensation inside the container.
Label and date food
Did you know that food can stay safe in your freezer indefinitely? Just because it is safe to eat, though, doesn’t mean it will be delicious. That’s why you should always keep track of how long each item has been frozen.
Label and date each package so you can track how long it has been stored and use a “first in, first out” rotation system to avoid keeping items in the freezer for too long. You can find a comprehensive list of recommended freezer storage times via the FDA website.
Maintain a consistent temperature
Keep your freezer temperature at or below 0 degrees Fahrenheit to ensure proper food preservation. Avoid opening the freezer door frequently, which can cause temperature fluctuations. Too many fluctuations in temperature can lead to more moisture evaporating out of your frozen food, leading to increased level of freezer burn.
Organize your freezer
Keep similar items together and avoid overfilling the freezer, as this can impede air circulation and cause temperature fluctuations. An organized freezer also means you know where everything is, so you’re less likely to be standing there with the door open, rifling through packages of frozen food trying to find what you’re looking for.
Regularly check and maintain the freezer seal
Ensure the door seal is in good condition and free of debris, as a damaged or dirty seal can allow cold air to escape and warm air to enter, increasing the risk of freezer burn. If necessary, you can replace your freezer seal by ordering a new one from your freezer manufacturer.
Sometimes your freezer seal can appear to be perfectly intact, but is still not sealing properly. Luckily, there’s an easy way to test if your seal is working correctly. Follow these steps:
- Cut a paper strip approximately 1-2 inches wide and 6-8 inches long.
- Pull open the door to prepare for the test.
- Position the paper between the seal and the freezer frame.
- Gently close the door, trapping the paper between the seal and the frame.
- Pull the paper out slowly. If you feel resistance, the seal is working well.
- Perform the test at various points around the entire seal for thorough examination.
Consider investing in a chest freezer
Chest freezers are known for their ability to maintain colder temperatures more effectively. This feature makes them ideal for storing items that require very low temperatures, such as ice cream or other frozen desserts. In addition, chest freezers are less likely to experience temperature fluctuations when you open the door, as the cold air tends to stay inside the unit due to its design. This lack of temperature fluctuations means your food is less likely to accumulate freezer burn.

Your Guide to Whirlpool Microwave Replacement Parts
What to Do When Your Kenmore Dryer Won’t Start
How to Resolve the LG Washer LE Error Code
Why Does My Oven Smell Like Gas? Causes and What to Do

Maytag Dryer Not Heating? Here’s How to Fix It
6 Common Reasons Your Speed Queen Dryer Isn’t Heating
8 Reasons Your Samsung Refrigerator Is Not Cooling

9 Most Reliable Washer and Dryer Brands

How to Get Ink out of Your Dryer the Easy Way

Why Is My Fridge Making Noise That Stops When the Door Is Open?
Frigidaire Refrigerator Error Code H1: Causes & Solutions

How to Clean a Dryer Vent Without Moving the Dryer
9 Reasons Your LG Refrigerator Isn’t Cooling
LG Refrigerator Not Making Ice? Here’s What To Do!


