

September 21, 2020
Washer Repair
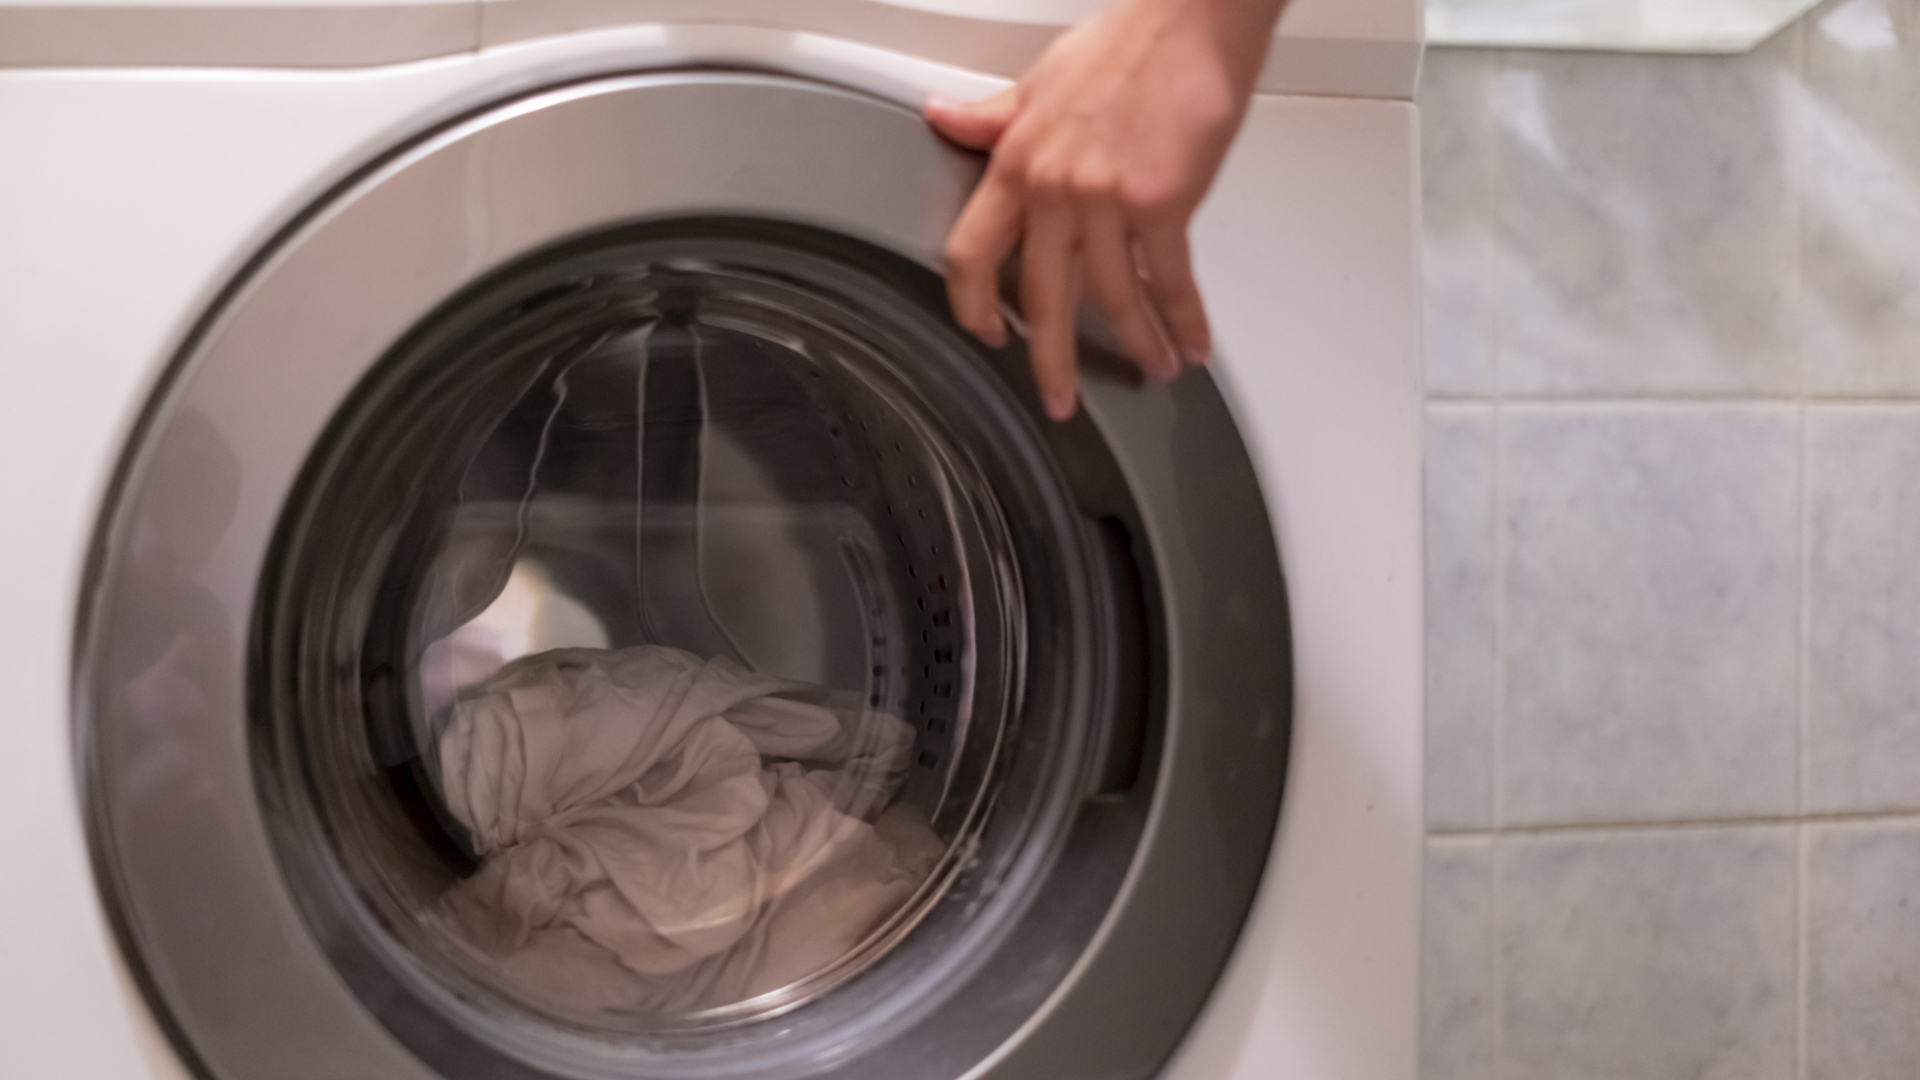
Maintaining a front load washing machine is more complex than a top-load washer. A top-load washer holds water in a vertical drum and spins on a horizontal axis, perpendicular from gravity. A front-load washer has to hold water behind a heavy rubber boot seal and spins the drum vertically both with and against gravity. Front-load washers offer many benefits, from a more convenient door opening to an attractive view during the cycle. However, front-load washers also often require more disassembly in order to perform basic maintenance tasks.
Things like changing the drain pump or repairing the drum will require you to fully remove the front panel of your washing machine, including uninstalling the rubber boot. Because this is an involved repair, we’ve dedicated one article to the process of opening the front washer to access the components inside. The following steps are generalized though and can vary by model and brand of your washer. You can look up how to replace specific components individually once your washer is opened.
Gather Your Supplies
- Work Gloves
- Screwdrivers
- Pliers
- Outer Spring Pliers
- Multimeter
The next step is to collect the tools you’ll need for the process. Just to open the front of your washer, you will need both types of screwdriver, pliers, work gloves, and a specialty set of outer spring pliers. You will likely also want to equip yourself with a multi-meter to test components and whatever part you are replacing.
Safety First
Now take your safety precautions. Opening your washer accesses electrical components which means full safety is necessary. Disconnect both the water and power.
- Unplug the Washer
- Reach behind your washing machine and unplug the power cord from the wall. The dryer is the giant cord, the washer should be plugged into a normal-sized outlet. It’s important that no power run through the washer when you handle the internal wires.
- Turn Off the Water
- You’ll also need to turn off the water. You’ll find two valves in the wall or floor. Turn both the hot and the cold handles so they are perpendicular to the water line. This will close the valves and prevent the washer from leaking as you repair it.
Remove the Top Panel
There are only two screws holding the top panel on, connected by plastic brackets in the back. You may need to push your washer far enough out to work behind it for this maneuver.
- Find Top Panel Brackets
- Move behind your washing machine and locate the two plastic brackets holding the mounting screws.
- Remove Securing Bracket Screws
- Use your screwdriver to remove the mounting screws from the brackets. Take out the lower screws to keep the brackets attached to the top panel.
- Lift away Top Panel
- Shake the panel loose from the housing within its edges. Lift the top panel and pull it away.
Remove the Control Panel
Now you need to remove the front control panel, which is partly used to secure the rest of the washer’s front.
- Remove the Control Panel Left Mounting Screw
- There is a single mounting screw on the left-hand side behind the control panel. This screw is on the inside, revealed by removing your top panel. Remove this left-side screw and set it aside where you can find it again.
- Remove Soap Dispenser Drawer
- Pull out your soap dispenser drawer. Wiggle it up and down to release the clips and pull the drawer free. Set it aside. This is a good time to soak your dispenser drawer. Soap dispenser drawers often have caked-on soap that is difficult to remove without soaking.
- Remove Soap Dispenser Housing Screws
- Behind the drawer are two screws, one to the right and left of the empty drawer slot. Remove both screws and set them aside somehwere safe you can find them again. Pull the soap dispenser housing out now.
- Disconnect Control Panel Wire Harness
- Identify the wires connecting the control panel to the washing machine internals. Release the wire harness and clip the washer-side wires nearby where you can easily reach them.
- Pull Away Control Panel
- With no more connections, you can pull your control panel free and gently set it aside. We suggest a sturdy surface where it cannot fall or be kicked.
Remove the Front Panel
You are finally ready to remove the front cover of your washing machine. This is also a multi-panel staged process. get your screwdriver ready.
- Open Drain Pump Cover
- Find the small square drain cover near the bottom of the washer, if there is one. Open the drain pump cover to remove the housing inside.
- Remove Pump Housing Screws and Housing
- Inside the pump cover you will find screws. Remove them, and then use that to pull free the pump cover and housing together.
- Uninstall the Door Boot Seal
- The boot seal is the most difficult part to remove. You will need a spring clamp to pull it free. You can also carefully work the boot free with a slot screwdriver, but be very cautious not to accidentally rip the seal with the sharp edge of the screwdriver.
- Remove Top Screws Securing Front Panel
- Behind the control panel is a set of seven or more screws along the top of the panel. Remove them all so that the top panel is released.
- Disconnect Door Lock Wire Harness
- Your final intermediate step is to release the wire harness that connects the door lock switch with the washing machine interior. This is the final tether between the front panel and the rest of the washer.
- Pull Away the Front Panel
- Now you can pull the front panel away. Hold it on both sides and then back away carefully, you may benefit from the help of a friend.
Continue with Your Repairs
Now that the front of your washing machine is opened up, you are free to perform any tests of repairs that were originally needed. If you were planning to replace your drain pump, now is the time to do it. If you need to inspect or work on the drum, now you can access it. Opening the front of your washing machine is only the beginning, the rest is up to you.

Apr. 09, 2024
Your Guide to Whirlpool Microwave Replacement Parts

Apr. 09, 2024
What to Do When Your Kenmore Dryer Won’t Start

Apr. 09, 2024
How to Resolve the LG Washer LE Error Code

Mar. 06, 2024
Why Does My Oven Smell Like Gas? Causes and What to Do

Mar. 06, 2024
Maytag Dryer Not Heating? Here’s How to Fix It

Mar. 06, 2024
6 Common Reasons Your Speed Queen Dryer Isn’t Heating

Feb. 05, 2024
8 Reasons Your Samsung Refrigerator Is Not Cooling

Feb. 05, 2024
9 Most Reliable Washer and Dryer Brands

Feb. 05, 2024
How to Get Ink out of Your Dryer the Easy Way

Jan. 03, 2024
Why Is My Fridge Making Noise That Stops When the Door Is Open?

Jan. 03, 2024
Frigidaire Refrigerator Error Code H1: Causes & Solutions

Jan. 03, 2024
How to Clean a Dryer Vent Without Moving the Dryer

Dec. 11, 2023
9 Reasons Your LG Refrigerator Isn’t Cooling

Dec. 11, 2023
LG Refrigerator Not Making Ice? Here’s What To Do!

Dec. 11, 2023
How to Clean Your Dryer Lint Trap (Step-by-Step)
631 - 286 - 7899Text or ring! ring!