

February 24, 2020
Washer Repair
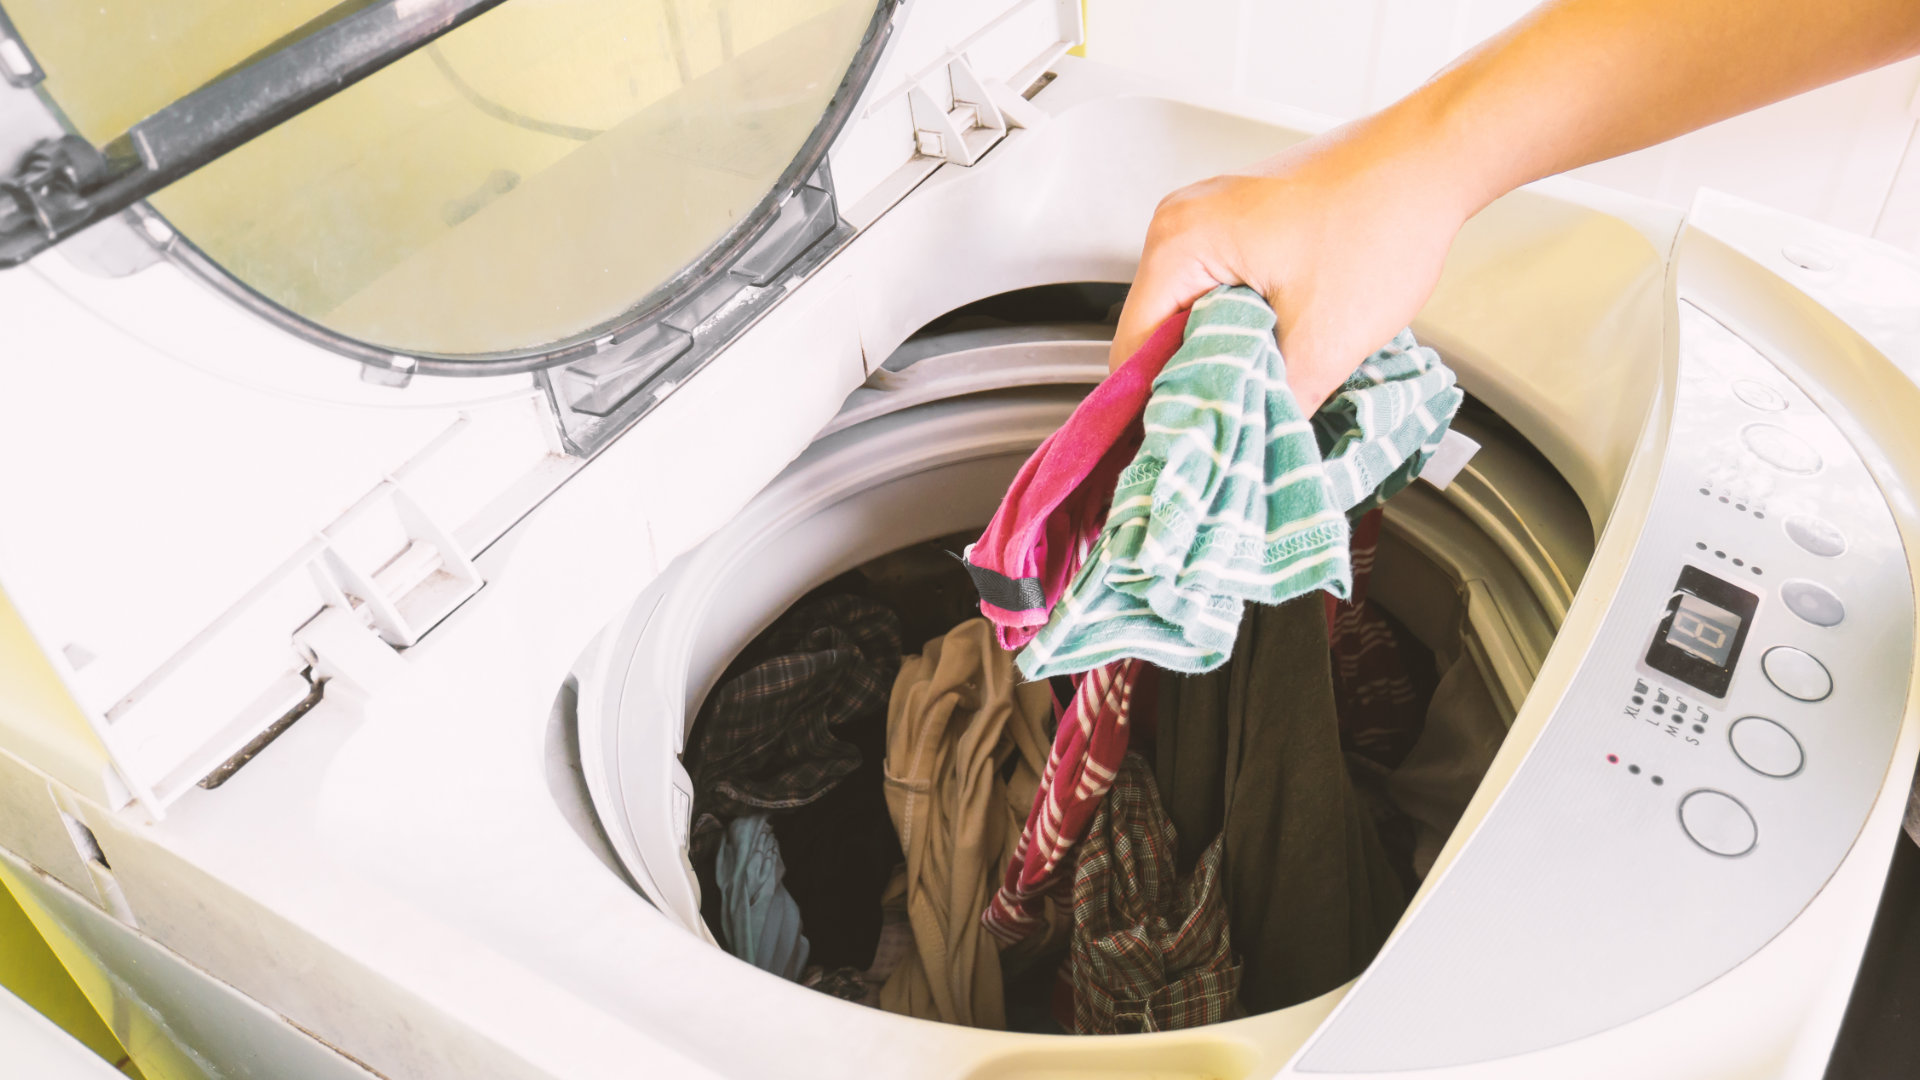
The water inlet valve on your washing machine is the gatekeeper for water flow. When the water lines are connected, the inlet valve controls whether water is allowed to flow into the washer during the fill and wash cycles. It is usually located in the back of your washer near the fill hose connections, for obvious reasons. However, when your inlet valve stops working, this can spell real trouble for residents. A failing inlet valve can fail in two different ways. It can stop triggering, blocking water from entering your washing machine entirely, or it can break and cause ongoing flooding from your washer.
In either case, you’ll need to replace your washer’s water inlet valve. We’ll take you through the step-by-step process of replacement.
These steps are generalized and can vary by the model and brand.
Gather Your Supplies
The first step in any repair is to gather your supplies. It’s important to have your tools and equipment ready so that you can perform the entire repair from beginning to end. Naturally, the most important item is your replacement water inlet valve. Research the correct replacement part number using the make and model of your washer.
- Screwdriver
- Channel Lock Pliers
- Needle-Nose Pliers
- Work Gloves
- Towel
- Bucket
Safety First
The next step is to make sure that your washer is safe to work with. The water inlet valve interacts with both electricity and water, so you’ll want to be extra careful and turn off both the power and water for this repair.
- Pull Out the Washer
- Start by pulling your washer away from the wall. This repair will involve accessing the back, so you’ll need room to work. The other two safety steps, disconnecting the power and water, can also be done more easily with the washer pulled out. Use the help of a friend, if necessary, to pull out your washer safely.
- Shut Off the Power
- You’ll need to disconnect the power from your washer. With your washer pulled away from the wall, you should be able to reach the plug to pull it out. If you still can’t reach the plug because it’s in an awkward place, switch off the breaker that powers your washer instead.
- Switch Off the Water
- Now turn off the water and disconnect the hoses. At the wall, there will be two water supply valves; one for hot and one for cold. Turn these closed and close them firmly. This will prevent flooding while you perform the rest of the repair.
Disconnect the Fill Hoses
- Visually Designate the Hot-Water Hose
- Identify the hot water hose on the outside of the washer. If it’s not already visually distinct, apply a piece of red tape or other way to tell which hose is which.
- Loosen Connections with Channel-Lock Pliers
- The external fill hoses are connected with a bolt that can be loosened with channel-locking pliers. Loosen these bolts until the hoses can pull free.
- Disconnect and Pour Out the Hoses
- Once the connections are loose, pull away from the hoses and point the bottom directly into the bucket. Let the hoses drain to prevent a puddle. Use your towel to mop up any small spills.
Remove the Top Panel
- Find the Back Mounting Brackets
- Walk to the back of your washer and look at the top panel. There should be two brackets holding the top panel in place, secured by screws.
- Unfasten the Mounting Screws
- Remove those mounting screws securing the brackets and set the screws aside somewhere safe. If the brackets come loose, set them aside with the screws.
- Slide Top Panel Backward
- The top panel slides toward the back, away from the front control panel. Grasp both sides, and pull backward. The top panel should come loose.
- Lift and Set Aside
- Lift the top panel up away from the washer, then carefully set it aside. Set it on a towel or cardboard to prevent scraping the floor.
Remove the Inlet Valve Assembly
- Snap a photo of the Wiring
- Once you identify your water inlet valve, take a close look at the wiring and snap a picture with your phone. This will help you remember how to reattach the wires later.
- Mark the Hot Water Hose
- There are two internal water lines connected to the inlet valve, one for hot and one for cold. Snap a photo and/or mark the hot hose line so you can reconnect these correctly.
- Remove the Wires
- Carefully remove the wires using needle-nose pliers. Be gentle so as not to accidentally damage the wires as you remove them.
- Release the Hose Spring Clamps
- For the two water line hoses, each is connected with a spring clamp. Pinch the spring clamp to release them so that the water lines are loose on the valve.
- Remove the Hoses from the Valve Assembly
- With the spring clamps released, pull the water lines away. Have your bucket and towel ready just in case of a small mess.
- Hold and Remove the Mounting Screws
- The inlet valve is now only connected by two mounting screws. Hold the valve so it does not fall and remove the two screws. Set the screws aside somewhere safe and discard the old inlet valve.
Install the New Water Valve Assembly
- Mount with the Mounting Screws
- Hold the new inlet valve in place and secure with the mounting screws you just removed.
- Connect the Hoses to the Valve Assembly
- Slip the hoses back on, being certain they are in the right order. Settle them tightly into place.
- Secure the Spring Clamps
- Secure the water line hoses on their mounting points with the spring clamps.
- Precisely Return the Wires
- Now reinstall the wires carefully, using your phone as a reference to ensure each wire goes where it’s supposed to.
Reassemble Your Washer
Now it’s time to put your washer back together. We’ll go through this part quickly, as it includes the previous steps done in reverse.
- Align the Top Panel
- Slide Into Place
- Secure the Mounting Screws
- Return the Fill Hoses
- Turn On the Water
- Plug-In the Washer
- Push the Washer Back Into Place
Test Your Success
Finally, it’s time to test and see if your repair was successful. Run a small load of laundry. If the clothes come out damp and there are no leaks, then your repair was a success. Congratulate yourself and add a notch to your screwdriver handle for another repair well-done.

Apr. 09, 2024
Your Guide to Whirlpool Microwave Replacement Parts

Apr. 09, 2024
What to Do When Your Kenmore Dryer Won’t Start

Apr. 09, 2024
How to Resolve the LG Washer LE Error Code

Mar. 06, 2024
Why Does My Oven Smell Like Gas? Causes and What to Do

Mar. 06, 2024
Maytag Dryer Not Heating? Here’s How to Fix It

Mar. 06, 2024
6 Common Reasons Your Speed Queen Dryer Isn’t Heating

Feb. 05, 2024
8 Reasons Your Samsung Refrigerator Is Not Cooling

Feb. 05, 2024
9 Most Reliable Washer and Dryer Brands

Feb. 05, 2024
How to Get Ink out of Your Dryer the Easy Way

Jan. 03, 2024
Why Is My Fridge Making Noise That Stops When the Door Is Open?

Jan. 03, 2024
Frigidaire Refrigerator Error Code H1: Causes & Solutions

Jan. 03, 2024
How to Clean a Dryer Vent Without Moving the Dryer

Dec. 11, 2023
9 Reasons Your LG Refrigerator Isn’t Cooling

Dec. 11, 2023
LG Refrigerator Not Making Ice? Here’s What To Do!

Dec. 11, 2023
How to Clean Your Dryer Lint Trap (Step-by-Step)
631 - 286 - 7899Text or ring! ring!