

June 3, 2024
Microwave Repair
Cleaning your microwave is important for both your own well-being and that of the appliance. It ensures a hygienic, odor-free cooking environment and stops food splatters and grime from blocking vents or corroding surfaces and components.
Cleaning your microwave isn’t something you only need to do a few times per year; you’ll want to do it regularly. Therefore, it’s worth learning how to clean a microwave effectively as it’s a simple skill that comes in very handy.
Cleaning a Microwave
Here’s how to clean a microwave in five steps.
Step 1: Gather Your Supplies
Before you start the actual cleaning, you’ll want to gather your supplies. Here’s the minimum you’ll need:
- Dish soap
- Water
- A microwave-safe bowl or container
- A sponge or cloth
For an even more thorough clean, you can also consider using vinegar, lemon juice, or baking soda.
Step 2: Use Steam to Loosen Tough Grime
Fill a microwave-safe bowl or container with water and place it inside your microwave. Then, run the microwave on full heat for three to five minutes. The hot steam that is produced will soften any food splatters and grime inside the microwave, making them easier to clean away.
You can make this step even more effective by mixing some vinegar or lemon juice into the water. The acidity of the vinegar or lemon further helps to break down grease and grime.
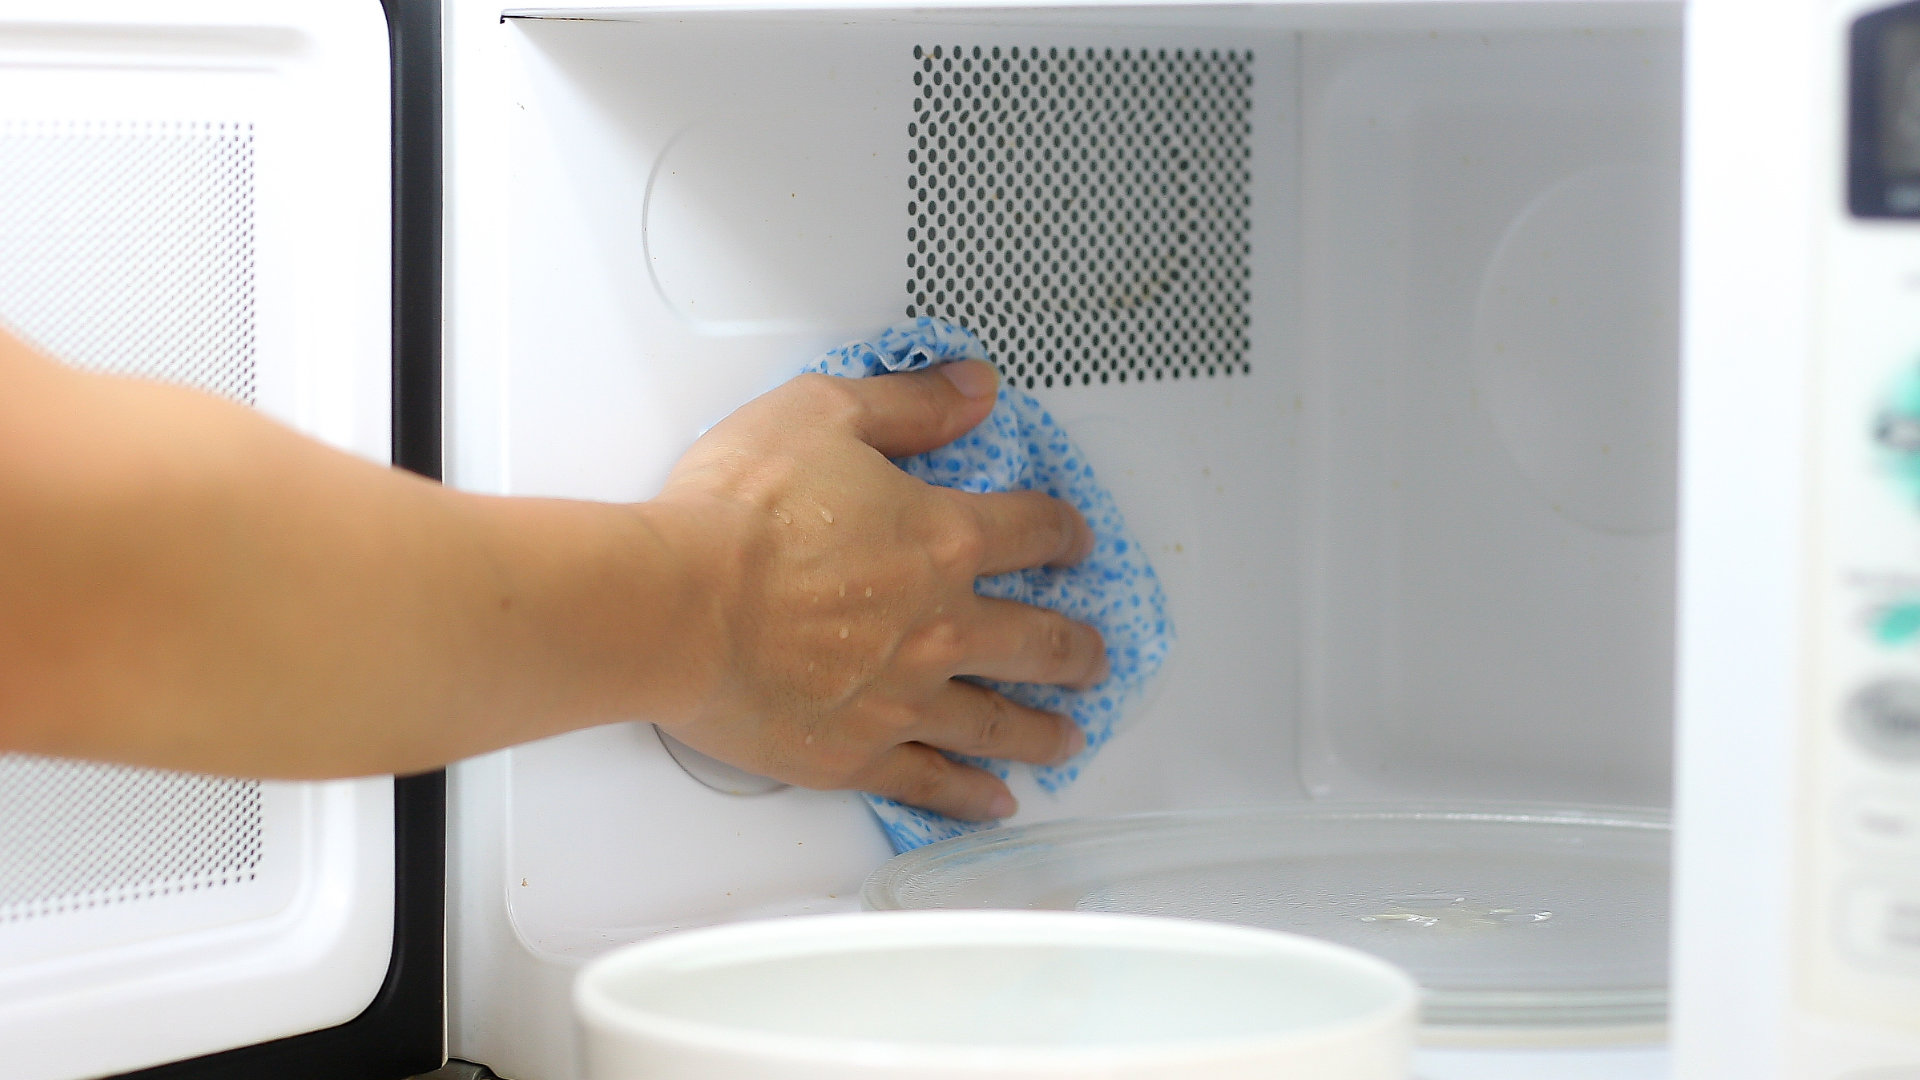
Step 3: Wipe Clean the Interior
Now that any dirt and grime have been loosened, it’s time to get on with the cleaning. First, remove the turntable from inside the microwave as it’s better to clean this separately.
Then, put some dish soap on a damp sponge or cloth and proceed to wipe the entire microwave interior. Be sure to scrub everywhere, including the inside of the door, the door frame, and all the nooks and crannies.
Then, rinse your wet sponge or cloth in water and wring it out to remove any remaining dish soap. Then, wipe the microwave interior again using just water and your sponge or cloth to rinse the soap bubbles and grime residue away.
Finally, wipe your microwave’s interior dry with a dry cloth or paper towels.
Step 4: Clean the Turntable
It’s important to remove the turntable, otherwise, the bottom of it and the area underneath tend to get missed during the cleaning and can harbor grime and odors. Plus, it’s just a lot easier to clean the turntable when it’s removed.
You have a couple of options. You can either wash it by hand or put it in the dishwasher if it’s dishwasher-safe. Most microwave turntables are suitable for the dishwasher, but check your user manual if you’re unsure.
To clean it by hand, use a soft sponge or cloth, dish soap, and water. Simply scrub the entire turntable until it’s visibly clean, then rinse away the soapy bubbles and grime with water, and finally dry it with paper towels or a cloth.
Once clean and dry, place it back inside the microwave. Don’t use the microwave without the turntable.
Step 5: Clean the Exterior
Cleaning the exterior is as important for hygiene as cleaning the interior since the buttons and door handle get a lot of daily use. Cleaning the exterior also ensures your microwave looks sparkling clean in your kitchen.
Similar to cleaning the interior and turntable, a wet cloth or sponge and dish soap are usually enough to do the job. If your microwave has a control lock feature, you can activate it to avoid inadvertently running the microwave or changing its settings as you clean the buttons. Alternatively, you can unplug the microwave.
Wipe the entire exterior of the microwave with a wet, soapy cloth or sponge. Wring out the sponge, then wipe and rinse the exterior with water to remove the soapy, grimy residue. Finally, use a dry cloth or towel to dry the exterior.
FAQs about cleaning a microwave
Here are some commonly asked questions about cleaning microwaves.
How often should I clean my microwave?
Cleaning your microwave once a week is ideal as this will ensure dirt and grime are unable to build up. However, food spills and splatters happen from time to time when microwaving and you should clean these immediately whenever they occur.
Is there anything I should avoid?
You’ll want to avoid using scouring pads, steel wool, and other overly abrasive cleaning items as they could wear away your microwave’s protective coatings, potentially exposing it to rust and other issues.
Also, avoid using harsh chemicals like bleach and other heavy-duty cleaners as they can damage your microwave’s surfaces and leave behind harmful residues.
When should I use baking soda, lemon juice, or vinegar?
Baking soda, lemon juice, and vinegar are great options when you need a bit of extra cleaning power. These natural products can help you remove stubborn grease and grime without having to resort to harmful chemical cleaners. They’re also great at removing unpleasant odors.
Here’s how you can use them:
- Baking soda: Mix some baking soda with water to form a paste and apply it to stubborn spots. Let it sit for 15 to 30 minutes and gently scrub away. Baking soda is a mild abrasive and has excellent odor removal properties.
- Vinegar: Add to a spray bottle undiluted or mixed with water, and then spray the microwave’s surfaces. Let it sit for 5 to 10 minutes and then wipe it away. Vinegar is excellent at cutting through grease and is strong enough to kill bacteria.
Lemon juice: Mix half and half with water and apply to your microwave’s surfaces. Let it sit for 10 to 15 minutes and then wipe it away. Lemon juice is also antibacterial, cuts through grease, and leaves behind a lovely, refreshing scent.

Jun. 03, 2024
Whirlpool Duet Washer Door Locked? Here’s What to Do

Jun. 03, 2024
How to Fix a GE Refrigerator Not Cooling
Jun. 03, 2024
How to Clean a Microwave (in 5 Steps)

May. 06, 2024
How to Clean Front Load Washer Mold (In 5 Steps)

May. 06, 2024
How Long Do Ovens Generally Last?

May. 06, 2024
Refrigerator Leaking Water Inside? Here’s Why

Apr. 09, 2024
Your Guide to Whirlpool Microwave Replacement Parts

Apr. 09, 2024
What to Do When Your Kenmore Dryer Won’t Start

Apr. 09, 2024
How to Resolve the LG Washer LE Error Code

Mar. 06, 2024
Why Does My Oven Smell Like Gas? Causes and What to Do

Mar. 06, 2024
Maytag Dryer Not Heating? Here’s How to Fix It

Mar. 06, 2024
6 Common Reasons Your Speed Queen Dryer Isn’t Heating

Feb. 05, 2024
8 Reasons Your Samsung Refrigerator Is Not Cooling

Feb. 05, 2024
9 Most Reliable Washer and Dryer Brands

Feb. 05, 2024
How to Get Ink out of Your Dryer the Easy Way
631 - 286 - 7899Text or ring! ring!