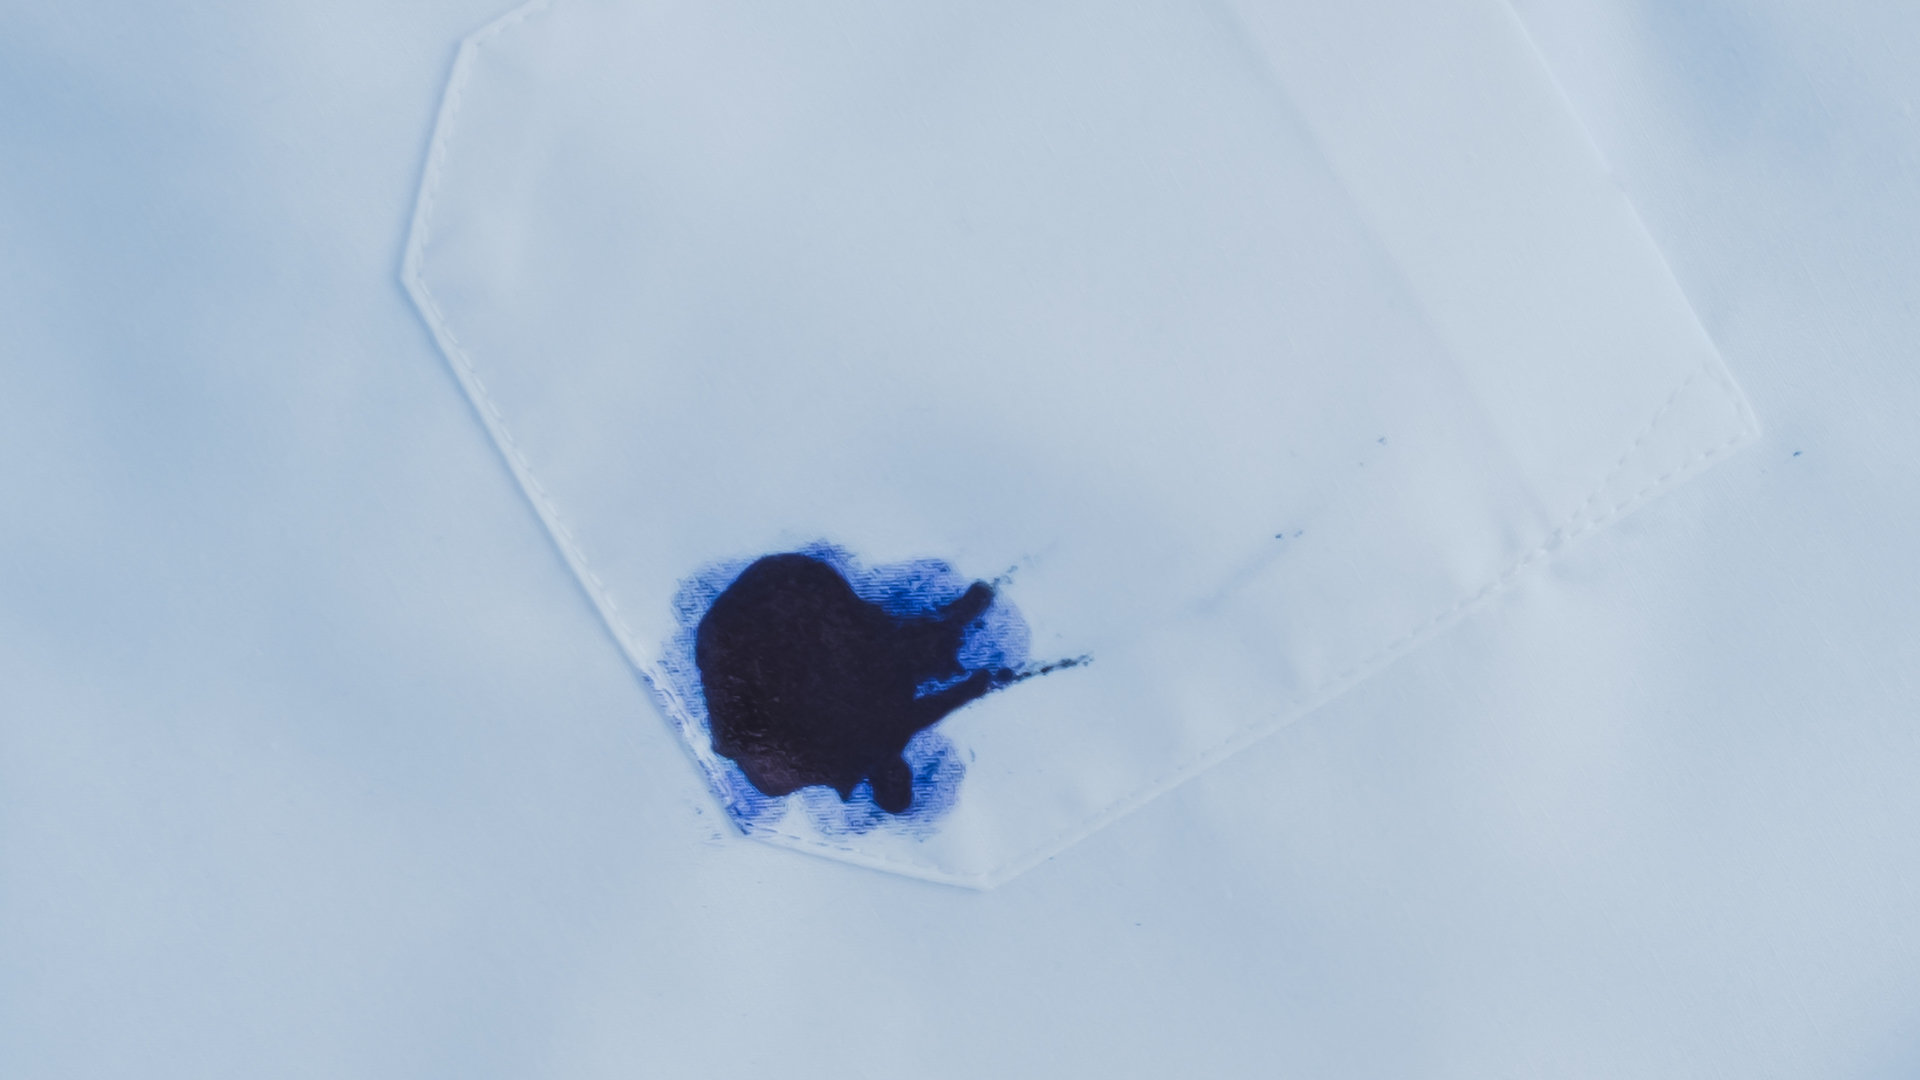
Oops! Did someone accidentally leave a pen in their pocket, which has now burst and created a real mess in the dryer? Don’t worry; it happens every now and then. Thankfully, there are ways to remove it, and in this article, we’ll show you how—the easy way.
We recommend two main methods, which we outline below. The one you choose will depend on your personal preferences. However, both will allow you to wipe that ink right off rather than having to go through multiple rounds of vigorous scrubbing.
We’re not going to lie; these methods will still require a little elbow grease on your behalf since ink tends to go absolutely everywhere, so there are presumably many splodges you need to clean.
However, these are the easiest methods, making for the most satisfying, least frustrating clean.
1. The Gentle Method
- Pros: It doesn’t require any harsh chemicals.
- Cons: Requires the extra step of pre-heating the dryer.
The gentle method allows you to use everyday dish soap or dish spray from popular brands like Dawn, which are safe, non-toxic, and don’t give off harsh fumes.
First, run the dryer with nothing inside on a regular or hot setting for around 10 to 15 minutes so the drum gets pretty hot. The heat will help soften the ink, allowing you to wipe it away more easily. The drum should be nice and toasty but not so hot that it will burn you.
Once hot, unplug the dryer for safety so you can begin cleaning. Then, wearing a pair of cleaning gloves, apply either dish soap to the surface of the drum using a damp sponge or spray it with dish spray instead.
Next, take an old rag or towel that you don’t mind getting dirty, and thoroughly rub the entire surface of the dryer drum, being sure to get in all the crevices so all the ink is removed.
Repeat the process of heating the drum, applying dish soap, and rubbing as many times as needed to complete the task. Also, gradually spin the drum around as you work to make accessing and cleaning each part easier.
Once all the ink has been removed, go back in with a wet cloth to remove any remaining residues, and then wipe it dry with a clean towel.
Important: Before using the dryer again on your best clothes, run a test load with a few old towels or clothing items to ensure all the ink is gone and the dryer is safe to use.
2. The Solvent Method
- Pros: It doesn’t require you to heat the dryer.
- Cons: Requires the use of heavy-duty solvents.
The solvent method allows you to wipe away any ink in the dryer with very little effort; however, it relies on strong solvents like acetone (nail polish remover) or rubbing alcohol, which some people may not like.
To begin, unplug the dryer and ensure it’s cooled down completely so it’s safe to begin the cleaning. Acetone and rubbing alcohol are both highly flammable, so turning off and unplugging the dryer is a step you must not skip.
Once unplugged, gather your solvent of choice (you only need one), some cotton balls, a cloth, a pair of rubber gloves, and a face mask. Put on a mask and gloves to reduce the inhalation of fumes and protect your skin.
Next, wet some cotton wool or a cloth with the solvent, then wipe the ink splodges inside the drum to remove them. Be sure to get in all the nooks and crannies and spin the drum around as you go to help you access each part. Use as many cotton balls as needed until the drum’s entire surface is clean.
When you feel confident all the ink is gone, rinse and wipe the entire drum with a wet cloth to remove any ink or solvent residues. Then, wipe it dry with a towel.
Important: Run a test load with a few old towels or clothing items inside to check all the ink is gone and the dryer is safe to use on your best clothes.
Alternate Methods
If these two methods just aren’t what you’re looking for, or you don’t have these products on hand, there are some alternatives you can try. They might not wipe away the ink quite as easily, but there’s a good chance these methods will still work. Here they are:
- Try a Melamine Sponge: If you have a Magic Eraser on hand, dampen it with warm water and use it to wipe away the stains.
- Try Bleach: Soak a towel in a 1:1 water and bleach solution, wring it out, and then place it inside the dryer. Run the dryer for 20 mins. Afterwards, tThoroughly clean your dryer with water after using bleach to prevent clothes from getting bleach stains.
- Try Vinegar and Hot Water: This only works if the ink is still wet and fresh. Mix equal parts vinegar and water, spray it on the drum, then scrub the ink stains for a few minutes with a cloth to remove them.
Summary
Getting ink in the dryer can seem like a nightmare, especially if many of your clothes get ruined. And yes, cleaning it up is a bit of a chore. But thankfully, with the two easy methods we’ve provided above, you can get the job done in a short afternoon.
So don’t throw away your dryer just yet, as replacing it would likely work out to be even more difficult and much more costly! Instead, try removing the ink; the results might be better than you expect. Just remember to run a test load before using the dryer again to ensure it’s safe for your clothes.

Your Guide to Whirlpool Microwave Replacement Parts
What to Do When Your Kenmore Dryer Won’t Start
How to Resolve the LG Washer LE Error Code
Why Does My Oven Smell Like Gas? Causes and What to Do

Maytag Dryer Not Heating? Here’s How to Fix It
6 Common Reasons Your Speed Queen Dryer Isn’t Heating

8 Reasons Your Samsung Refrigerator Is Not Cooling

9 Most Reliable Washer and Dryer Brands

How to Get Ink out of Your Dryer the Easy Way

Why Is My Fridge Making Noise That Stops When the Door Is Open?

Frigidaire Refrigerator Error Code H1: Causes & Solutions
How to Clean a Dryer Vent Without Moving the Dryer
9 Reasons Your LG Refrigerator Isn’t Cooling
LG Refrigerator Not Making Ice? Here’s What To Do!
