


June 3, 2024
General Electric Repair
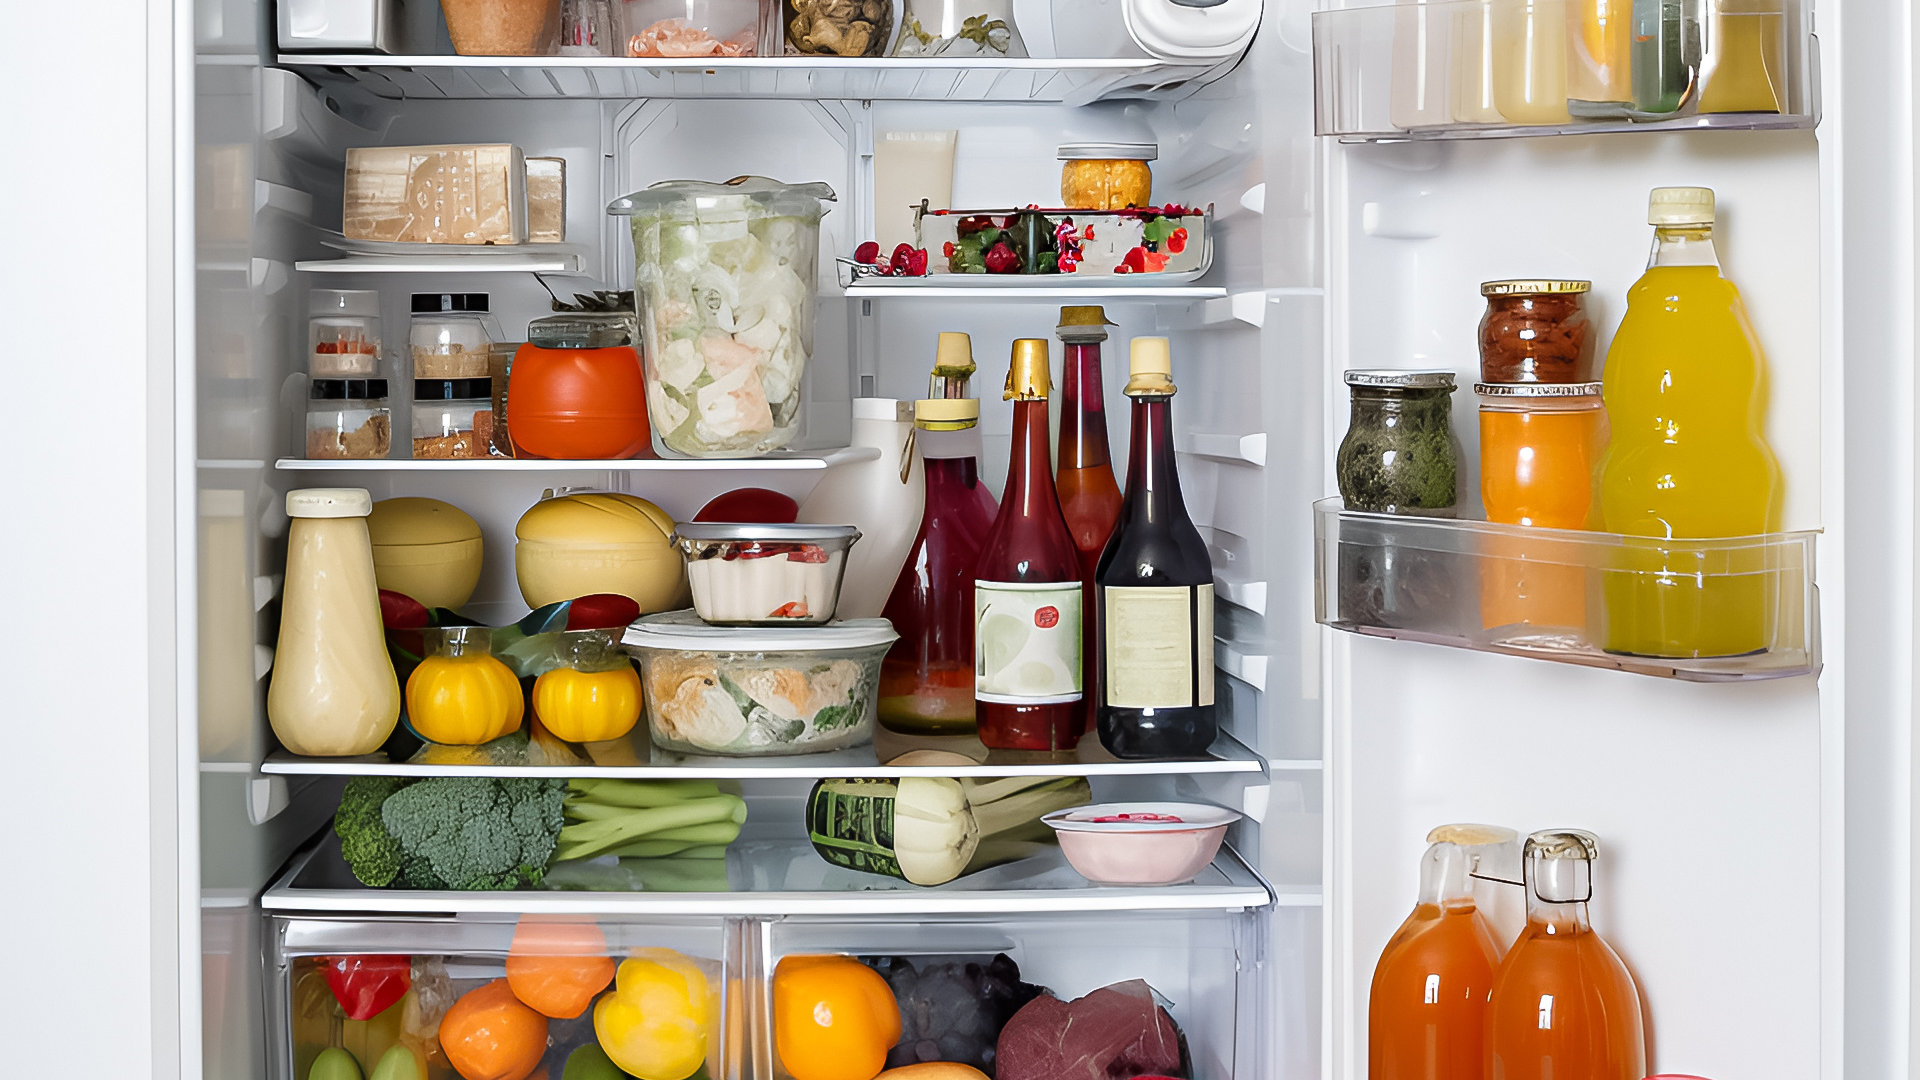
A refrigerator is pretty much useless if it doesn’t keep your food cool properly. It will only lead to food spoiling quicker and wasted money on electricity and groceries. Therefore, getting it fixed ASAP is likely a top priority.
There are several potential reasons your GE refrigerator is not cooling properly. Fortunately, you can fix some of these issues yourself, so don’t rush out to hire an expert just yet. Well, at least not until you’ve read through this quick guide and tried some of our troubleshooting tips.
Here’s how to fix a GE refrigerator not cooling:
Check the temperature settings
Whether your GE refrigerator has a dial or digital controls, ensure the temperature settings are set correctly. If you have digital controls on your model, set the fridge temperature to 37°F (2.8°C) and the freezer to 0°F (−18°C).
If your model has a dial, ensure it isn’t turned down to the lowest setting. Turning it to the middle, or number 5, is usually the default. However, you can try increasing it by one number, placing a thermometer inside the fridge, and waiting 24 hours to see if the temperature improves.
Check the door gasket
The door gasket is the rubber seal around the perimeter of the refrigerator door. It’s designed to create an air-tight seal that keeps the cold air inside the fridge and the warm outside air out.
However, if the gasket is dirty or damaged, it can fail at this job due to gaps appearing, making it difficult for the refrigerator to cool properly. Therefore, if the seal is dirty or moldy, it’s worth giving it a clean with a soft cloth or toothbrush and warm, soapy water.
If the gasket appears loose on inspection, you may be able to push it back into place. If damaged, it will need replacing, but you should be able to do this job yourself.
You should be able to order a compatible replacement gasket online, and fitting it just requires you to remove the old one, clean the area, and then carefully wrap the new one around the door and push it into place.
Ensure the door is not being left open
Just like with a faulty gasket, opening the door too frequently or leaving it open for long periods will allow the cold air to escape and warm air to enter, increasing the refrigerator’s temperature.
Check items are not blocking the vents
The vents on the back panel inside your GE refrigerator facilitate the circulation of cold air around the interior. Sometimes, these vents can be accidentally blocked by large containers pushed to the back of the interior. This prevents adequate airflow, leading to inefficient cooling and potentially other issues like the compressor overworking.
Also, be aware that placing hot items inside the refrigerator can increase its temperature.
Ensure the unit is installed in a suitable location
You’ll want to make sure your GE refrigerator is installed in a suitable location that doesn’t experience temperatures too cold or hot, specifically below 60°F or above 110°F. Otherwise, it may not cool properly.
Likewise, you’ll want to make sure it’s not placed in direct sunlight and that there’s at least a 1-inch gap of air clearance on both sides, the back, and the top of the refrigerator.
Check if the condenser coils are dirty
Before checking the condenser coils, it’s a good idea to unplug the appliance for safety. The condenser coils are essential to the refrigeration process, as they allow heat to be released from the refrigerator.
When they become dirty, they are unable to do their job properly, causing the refrigerator not to cool properly. Dust and hair that can build up on them act like insulation, preventing the release of heat.
However, this mainly applies to GE refrigerators that were manufactured before 2001 and compact refrigerator models. That’s because newer models have condenser coils that are designed to be maintenance-free and not require cleaning.
If you have an older model or compact refrigerator, you can clean the coils with these steps:
- Unplug the refrigerator.
- Pull the unit away from the wall for better access.
- Locate the condenser coils. They’re usually at the back or bottom of the refrigerator.
- Use a soft, slender brush and vacuum with a brush attachment to gently remove dust and hair.
Consider hiring an expert
If the steps above have not enabled you to get your GE refrigerator cooling properly, it may be time to hire a professional to diagnose and fix the cause of the problem.
You may have a faulty component, such as a broken fan, failing compressor, or frozen evaporator coils. A faulty compressor is very difficult to fix or replace yourself. However, if you are a keen DIYer, you may be able to fix the other issues yourself.
Follow these steps to do so:
- Unplug your GE refrigerator.
- Remove the refrigerator’s back panel and the interior back panels.
- Locate the evaporator fan, usually found at the back of the appliance.
- Clean the evaporator fan if it’s dirty, and remove any obstructions or ice blocking it. If the fan is damaged, replace it.
- Next, locate the condenser fan, usually found near the compressor at the bottom of the back of the appliance.
- Clean the condenser fan if it’s dirty, and remove any obstructions preventing it from spinning freely. Replace the fan if it is damaged.
- Next, check if the evaporator coils are frozen over, typically found behind the back panels in the freezer interior.
- If frozen, leave the refrigerator unplugged for a few hours for them to thaw naturally, or defrost gently with a hairdryer on the lowest setting.
Final thoughts
Nobody wants to deal with their GE refrigerator not cooling properly, but unfortunately, sometimes these types of issues can occur. This guide should give you some simple, actionable steps to follow to help you get it up and running again as pain-free as possible. If you’re still having issues after following these troubleshooting tips, it’s advised that you call in a professional appliance technician to help you fix the problem.
Jun. 03, 2024
Whirlpool Duet Washer Door Locked? Here’s What to Do
Jun. 03, 2024
How to Fix a GE Refrigerator Not Cooling
Jun. 03, 2024
How to Clean a Microwave (in 5 Steps)

May. 06, 2024
How to Clean Front Load Washer Mold (In 5 Steps)

May. 06, 2024
How Long Do Ovens Generally Last?
May. 06, 2024
Refrigerator Leaking Water Inside? Here’s Why

Apr. 09, 2024
Your Guide to Whirlpool Microwave Replacement Parts

Apr. 09, 2024
What to Do When Your Kenmore Dryer Won’t Start

Apr. 09, 2024
How to Resolve the LG Washer LE Error Code

Mar. 06, 2024
Why Does My Oven Smell Like Gas? Causes and What to Do

Mar. 06, 2024
Maytag Dryer Not Heating? Here’s How to Fix It

Mar. 06, 2024
6 Common Reasons Your Speed Queen Dryer Isn’t Heating

Feb. 05, 2024
8 Reasons Your Samsung Refrigerator Is Not Cooling

Feb. 05, 2024
9 Most Reliable Washer and Dryer Brands

Feb. 05, 2024
How to Get Ink out of Your Dryer the Easy Way
631 - 286 - 7899Text or ring! ring!