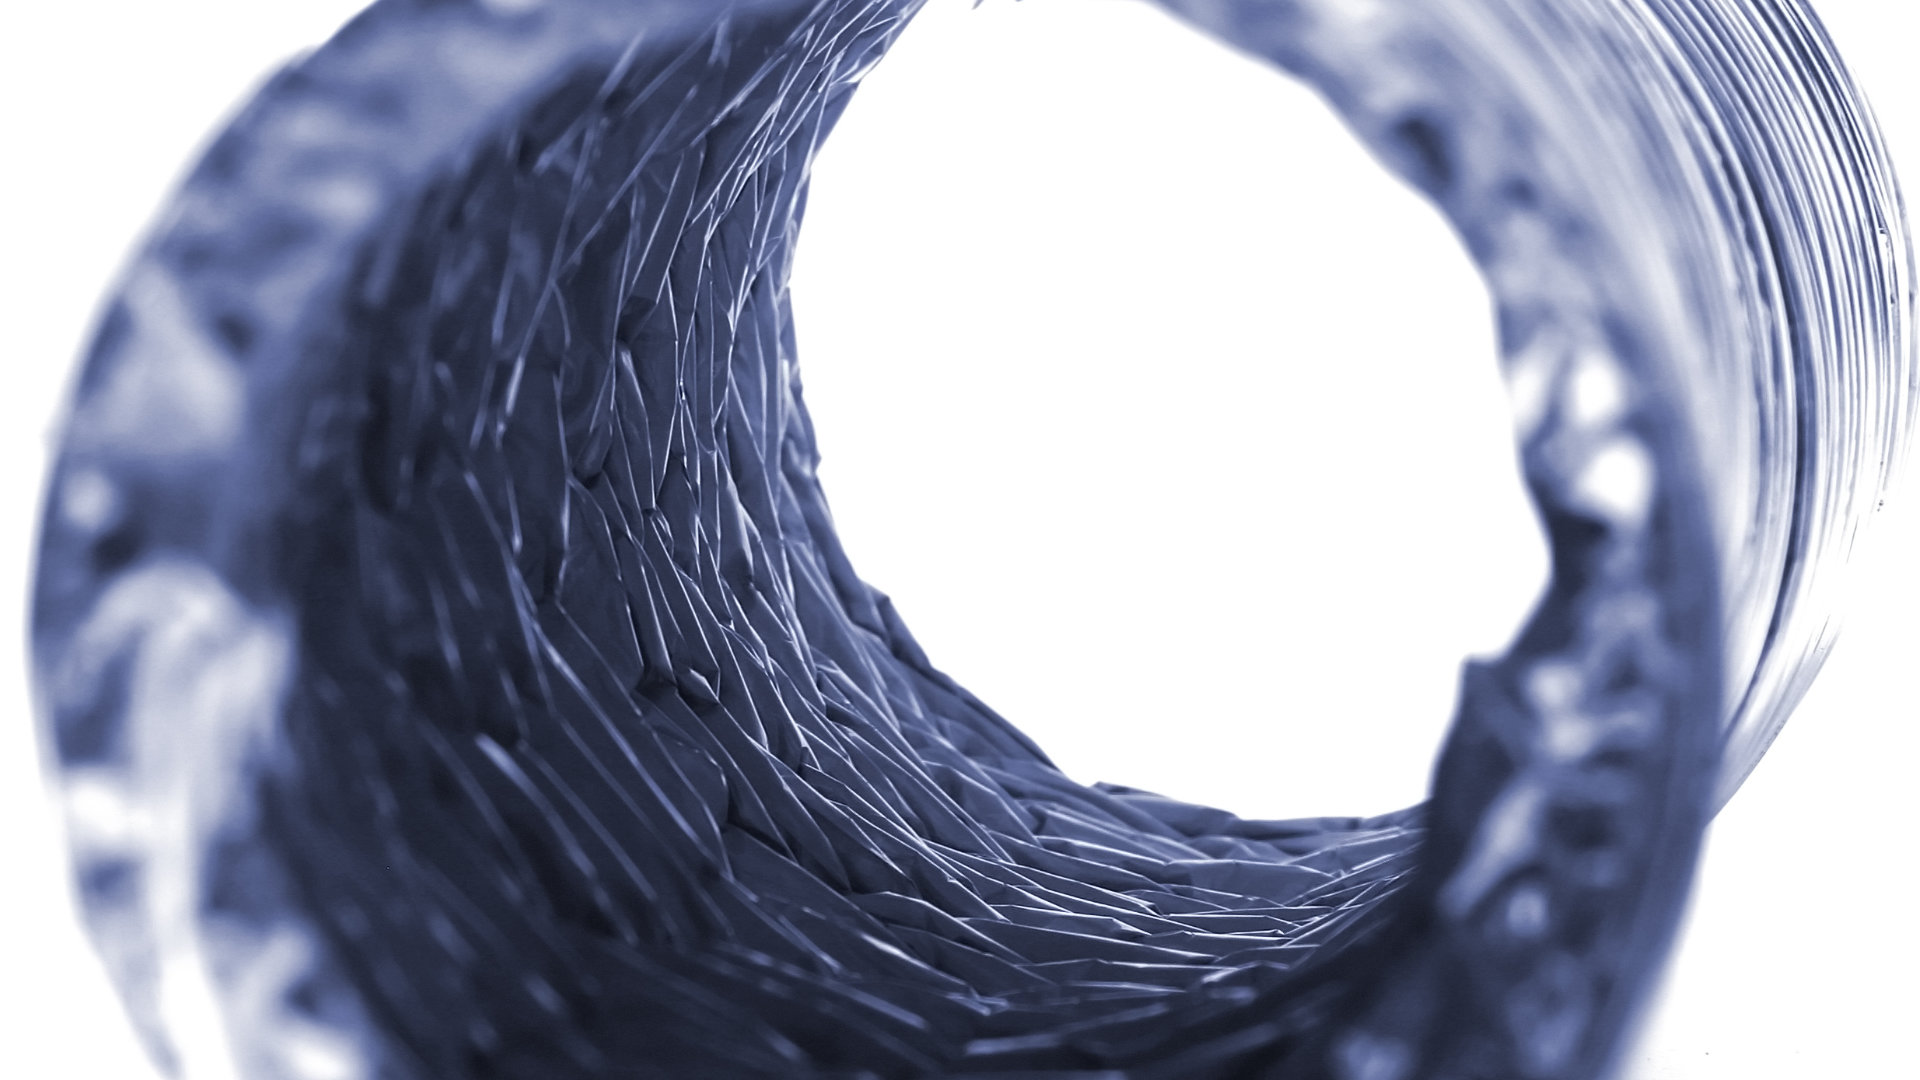
A dryer vent that is clogged with lint and other debris will not only cause your machine to be less efficient, meaning your clothes will take longer to dry, but it also poses a fire risk. Lint is a highly flammable substance, and lint blockages have caused numerous reported house fires.
That’s why cleaning your dryer vent is an important job that must be done at least once per year. Thankfully, cleaning a dryer vent is usually a simple project, and you can do it without moving your dryer if you really need to.
The method we outline today provides specific instructions on how to do it without moving your dryer. However, before we get started, there are a few tools you’ll need to do this job:
- Dryer vent cleaning kit
- Cordless drill
- Vacuum cleaner
- Dust mask and eye protection
If you don’t already have a dryer vent cleaning kit, they’re relatively inexpensive and worth investing in. The type of kit you want is one that comes with a brush head, extendable nylon rods, and a drill attachment.
Once you have these tools, you’re ready to begin.
Step 1 – Prepare Your Cleaning Kit
Start your preparations by attaching the drill adaptor from your dryer vent cleaner kit to your drill. You do this by opening your drill’s chuck, inserting the adapter, and then tightening the chuck.
You can then screw as many rods as you need to your drill for the length of your dryer vent. Dryer vent cleaner kits are usually extendable up to 20 feet or more, which should be enough no matter how far away your dryer is located from the outside vent cover.
If you have a long vent, you can use duct tape around the screw connections of the nylon rods as an extra security measure. This will help prevent rods from accidentally unscrewing and getting trapped in a hard-to-reach part of your vent piping.
Finally, ensure the drill is set to spin clockwise and not reverse, as this will also prevent rod detachment.
Step 2 – Locate Your Outside Vent Cover
Next, locate your outside vent cover, as this is where you will insert the dryer vent cleaning kit attached to your drill.
Check if the vent cover is louvered or flap style. If louvered, you will need to temporarily remove the individual louvers so you’re able to insert the vent cleaning brush attachment into the vent. If it is flap style, you may be able to peg or clamp the flap open to give you room to insert the cleaning tool.
Failing that, you can remove the outside vent cover entirely by removing the screws or fasteners that are keeping it attached.
You are now nearly ready to start cleaning your vent. But first, turn off your dryer’s power at the plug and don your face mask and eye protection.
Step 3 – Start Cleaning Your Vent
Begin by inserting the brush end into your vent from the outside. You don’t need to insert it all the way initially, just enough so it stays in place. Then, power your drill to spin the brush, which will pull it deeper into the vent effortlessly, thanks to its self-feeding design.
Keep spinning until you’ve reached the end of the vent. Then, do the same again, but this time in the opposite direction, pulling the cleaner kit back out of the vent as the drill spins. You don’t need to set the drill to reverse for this; keep it clockwise the whole time.
Repeat this process several times, going all the way in and all the way out of the vent, until you feel all the lint and debris have been loosened. Take your time and go gently, especially if any vent piping is made of foil, which can be fragile.
Obviously, the longer your vent is, the longer the job will take. But thanks to the self-feeding design, you shouldn’t have any trouble navigating elbows and bends in your ductwork.
Step 4 – Remove Any Visible Lint and Debris
While the brush cleaning kit will remove most of the lint, sometimes loosened lint and debris can gather at the end of the vent piping and around the vent hood flap.
After removing the vent cleaning tool, clear any visible loosened lint and debris still caught in the vent by:
- Using a vacuum with a hose attachment.
- Using a gloved hand to pull out debris.
Step 5 – Run the Dryer and Do a Final Clean
The steps you have already taken should have cleared most of the lint and debris from your dryer vent. However, an extra step you can take is to do one more quick final clean using the vent cleaning kit and drill, but this time with the dryer running.
When the dryer is running, it will blow air out through the vent, removing any lingering debris still inside. This, paired with a final clean using the drill attached cleaning kit, will ensure your vent is as clean as possible.
When doing this, it is best to set the dryer to a setting that allows it to run without heat, often labeled as “Air Dry,” “Air Fluff,” or “No Heat.” After completing this final clean, use a flashlight to check inside the vent to ensure it is clear.
Step 6 – Final Tidy and Reassembly
You have now successfully cleaned your dryer vent. All that is left to do now is to pack away your tools, check for any damage, reassemble the vent cover, and do a final tidy-up.
You can reassemble the vent cover by either reattaching the louvers, screwing in the vent cover, or unclamping the vent flap, depending on what step you took. It’s essential to complete this step to prevent pests, such as rodents and birds, from getting inside.
To check for damage, peek behind the dryer to ensure you didn’t puncture any pipes and that everything is still connected. Use a flashlight if you need to. Finally, sweep up or vacuum any lint or debris on the floor or wall.

Your Guide to Whirlpool Microwave Replacement Parts
What to Do When Your Kenmore Dryer Won’t Start
How to Resolve the LG Washer LE Error Code
Why Does My Oven Smell Like Gas? Causes and What to Do

Maytag Dryer Not Heating? Here’s How to Fix It
6 Common Reasons Your Speed Queen Dryer Isn’t Heating
8 Reasons Your Samsung Refrigerator Is Not Cooling

9 Most Reliable Washer and Dryer Brands

How to Get Ink out of Your Dryer the Easy Way

Why Is My Fridge Making Noise That Stops When the Door Is Open?

Frigidaire Refrigerator Error Code H1: Causes & Solutions

How to Clean a Dryer Vent Without Moving the Dryer
9 Reasons Your LG Refrigerator Isn’t Cooling
LG Refrigerator Not Making Ice? Here’s What To Do!
