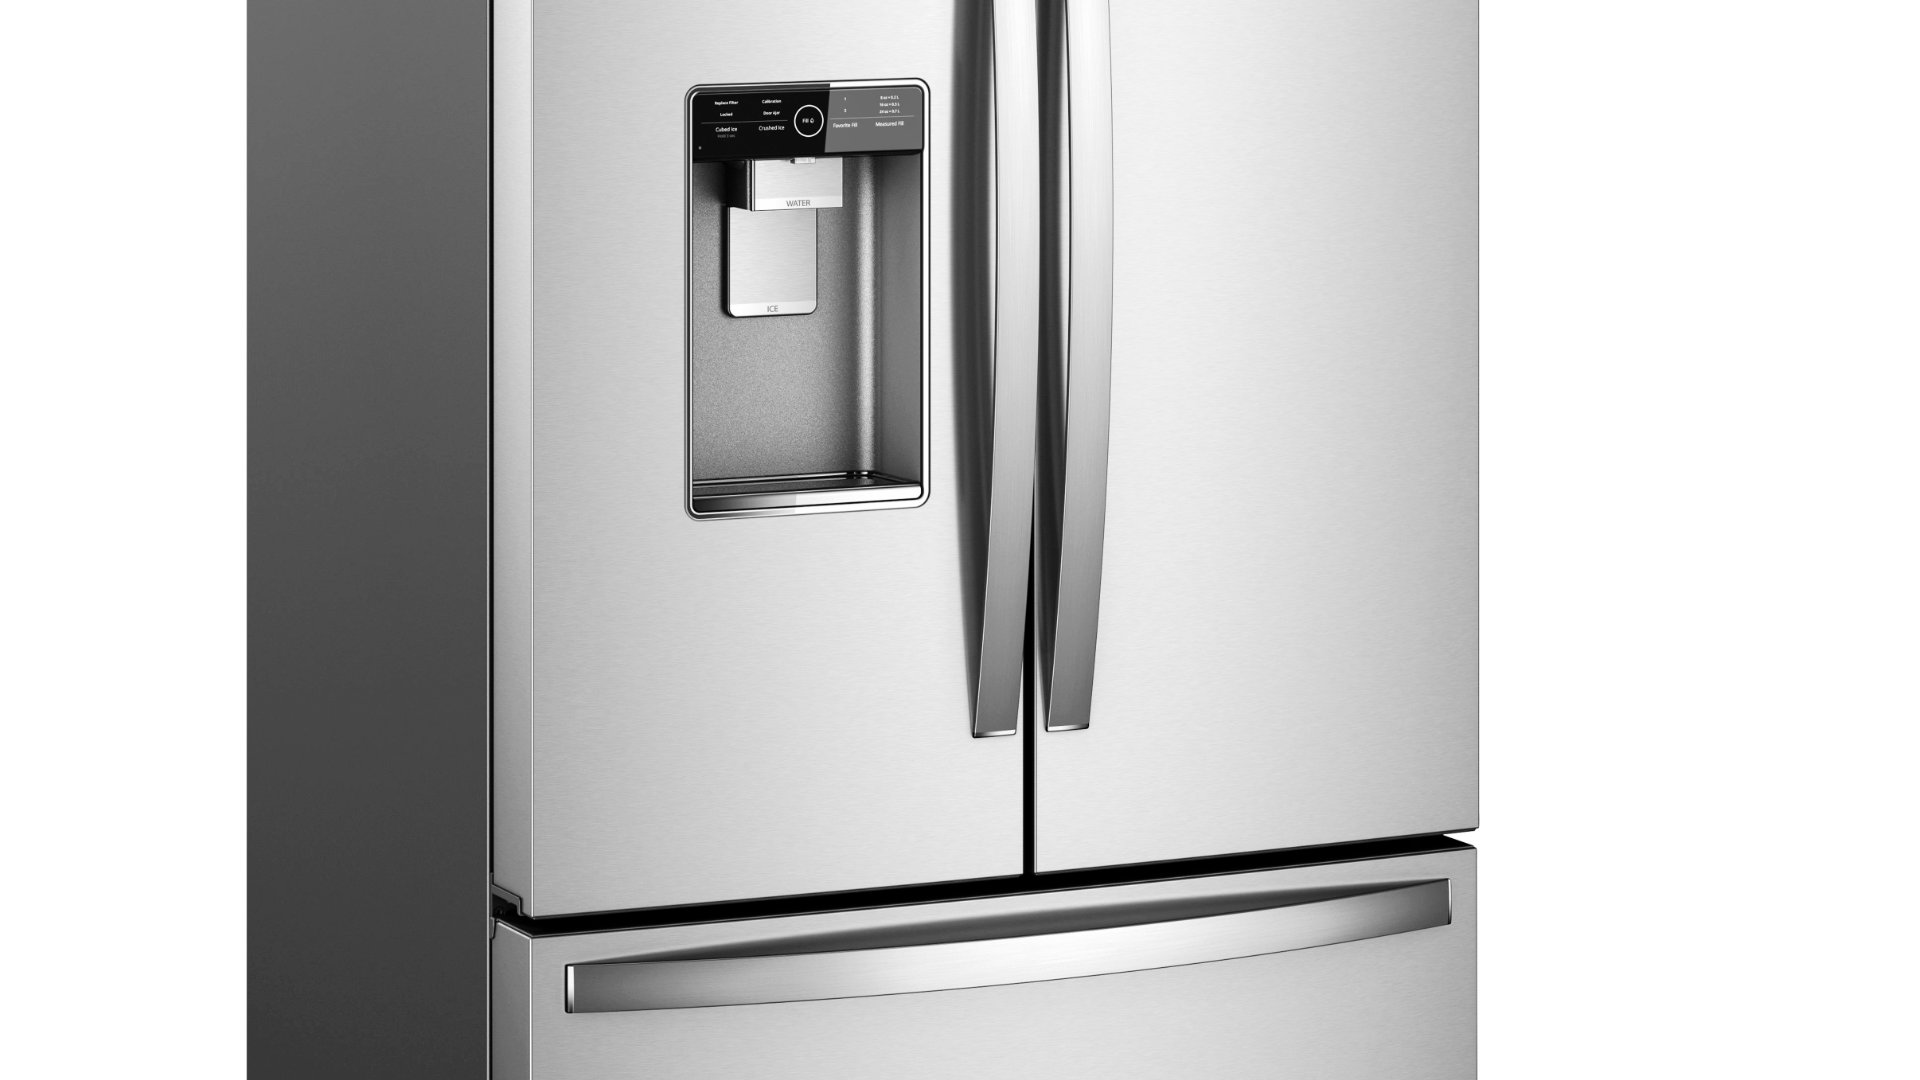
If you’ve noticed a decline in your LG refrigerator’s cooling efficiency, addressing the issue promptly is essential. This comprehensive guide covers the primary reasons for cooling problems and provides detailed step-by-step solutions. For more complex issues, it’s advisable to consult with a professional technician.
This guide applies to most LG refrigerator models, including:
LFC25760SB
LFC25760ST
LFC25760SW
LFC25760TT
LFX21960ST
LFX25950SB
LFX25950SW
LFX25950TT
LFX25960ST
LFX25976ST
LFX28968ST
LFX28978ST
LFX31925ST
LRDC22743ST
LRDC22744ST
LRFC25750TT
LRFD25850ST
LRSC26923TT
LRSC26925TT
LRSC26980SB
LSC26905TT
LFXS26596S
LFXC22526S
LSXS26366S
LTCS24223S
LDCS24223S
LFXS30796D
LFXS28596S
LSFXC2476S
1. Power supply issues
When your LG refrigerator isn’t cooling, the first crucial step is confirming it receives power. Begin by checking the power cord for any signs of damage. Next, inspect the outlet to ensure a proper connection, and remember to assess the circuit breaker. If you find damaged cords, promptly replace them. Ensure there is a secure connection to the outlet, and reset the circuit breaker if required.
2. The wrong temperature
Efficient cooling relies on setting the thermostat to the correct temperature. Accidental changes can occur, so it’s wise to verify that the thermostat aligns with the recommended setting in the refrigerator’s manual. Typically, the thermostat should be set between 35°F (1.6°C) and 38°F (3.3°C).
Depending on the issue and the refrigerator model, you may find that adjusting the thermostat to a lower temperature setting and monitoring the cooling performance solves the problem.
3. Blocked air vents
Proper airflow is crucial for effective cooling. Check for obstructed air vents in both the freezer and refrigerator compartments. Rearrange items for better airflow, enhancing the refrigerator’s cooling efficiency.
4. Inadequate door seals
Damaged or worn-out door seals permit warm air to enter the refrigerator, affecting its cooling efficiency. Inspect the door seals for visible damage or wear. If any issues are found, replace faulty seals and ensure proper door alignment to maintain an airtight seal.
5. Dirty condenser coils
Dirty or dusty condenser coils can hinder the cooling efficiency of the refrigerator. Over time, these coils accumulate debris, reducing their ability to dissipate heat.
Unplug the refrigerator, locate the condenser coils (usually at the back), and use a vacuum cleaner or a condenser coil brush to remove dirt and debris. Regular cleaning of the coils can significantly enhance cooling performance.
6. Malfunctioning evaporator fan motor
The evaporator fan is essential for circulating cold air throughout the refrigerator. When the fan motor malfunctions, the cooling efficiency may be compromised.
- Listen for unusual noises emanating from the freezer—a properly functioning evaporator fan should produce a consistent humming sound.
- Assess the airflow by opening the freezer door. Minimal or no airflow may indicate an issue.
- Power off the refrigerator and locate the evaporator fan (usually behind a panel in the freezer compartment).
- Inspect the fan blades for obstructions, such as ice buildup or debris. Clear any blockages that could impede the fan’s rotation.
- Turn the fan blades by hand. They should move freely without resistance. Difficulties turning the blades signal a problem with the motor.
To perform a more in-depth check:
- Ensure that the refrigerator power is disconnected.
- Remove the fan motor from the refrigerator.
- Using a multimeter, test the fan motor for continuity (a continuous electrical path). A properly functioning motor should display a resistance reading within the specified range outlined in the refrigerator’s manual.
- Reconnect the refrigerator to the power source.
- Use the multimeter to check for voltage at the fan motor terminals, following the refrigerator’s manual for the correct voltage specifications.
7. Faulty compressor
The compressor is the heart of the refrigerator’s cooling system. If it fails, the entire cooling process is compromised. Listen for clicking sounds or noise that indicates a struggling compressor. If found faulty, the compressor may need professional repair or replacement.
Repairing a faulty compressor in a refrigerator typically requires the expertise of a certified appliance repair technician with specific training in refrigeration systems.
8. Refrigerant leak
Low refrigerant levels resulting from a leak can significantly impact cooling efficiency. While handling refrigerant requires specialized knowledge and equipment, there are steps you can take to diagnose the issue yourself.
Listen for signs:
- Be attentive to any clicking or hissing sounds, as they indicate a refrigerant leak.
Visual inspection:
- Examine the refrigerant lines, connectors, and components for telltale signs of oil stains or greasy residue. Refrigerant often carries oil, leaving visible traces in case of leaks.
Soapy water solution:
- Prepare a soapy water solution and apply it to potential leak points, such as connections and joints in the refrigerant lines.
- Watch closely for the formation of bubbles. The presence of bubbles indicates the escape of refrigerant.
Professional consultation:
- If you detect a refrigerant leak or suspect one, it’s crucial to consult a professional technician for accurate identification and timely repair.
By following these steps, you can initiate a preliminary assessment of the situation, allowing for informed communication with a professional technician if further action is needed.
9. Defective temperature control thermostat
If the temperature control thermostat is defective, it may not signal the compressor to run, leading to insufficient cooling. Diagnosing the control thermostat requires a multimeter to test for continuity (a continuous electrical path).
To test the Temperature control thermostat:
- Disconnect the power to the refrigerator.
- Find the temperature control thermostat within the refrigerator and carefully remove it.
- Set your multimeter to the resistance or ohms mode. Proceed to test the thermostat for continuity.
- Verify if there is continuity in the thermostat. If there’s none, it likely indicates a defective thermostat.
- Refer to the refrigerator’s manual or the thermostat’s specifications to determine the recommended resistance values at different temperature settings.
- Adjust the temperature control on the thermostat to various settings while continuously testing for continuity. The multimeter reading should change accordingly, confirming that the thermostat is responsive to temperature adjustments.
Final thoughts
Troubleshooting an LG refrigerator that is not cooling involves a systematic approach to identifying and addressing specific issues. Regular maintenance, including cleaning coils and inspecting door seals, plays a crucial role in preventing cooling problems. Timely addressing of issues ensures optimal refrigerator performance. For more complex problems, seeking professional assistance guarantees a safe and accurate diagnosis and repair.

Your Guide to Whirlpool Microwave Replacement Parts
What to Do When Your Kenmore Dryer Won’t Start
How to Resolve the LG Washer LE Error Code
Why Does My Oven Smell Like Gas? Causes and What to Do

Maytag Dryer Not Heating? Here’s How to Fix It
6 Common Reasons Your Speed Queen Dryer Isn’t Heating
8 Reasons Your Samsung Refrigerator Is Not Cooling

9 Most Reliable Washer and Dryer Brands

How to Get Ink out of Your Dryer the Easy Way

Why Is My Fridge Making Noise That Stops When the Door Is Open?
Frigidaire Refrigerator Error Code H1: Causes & Solutions
How to Clean a Dryer Vent Without Moving the Dryer

9 Reasons Your LG Refrigerator Isn’t Cooling
LG Refrigerator Not Making Ice? Here’s What To Do!


