

January 18, 2020
Dryer Repair
Every so often, you will hear about a house fire on the news. In some cases, it may have been a short circuit or an accident, but sometimes, it will be because of the dryer in the home. Cloth items, when dried, will produce lint. By design, your dryer should catch that lint in the lint trap so you can clean it away. However, if you forget to clean that lint trap and it builds up, it can get stuck in the dryer vent and may lead to a fire. If you want to avoid the hazard that is dryer fires, you need to know how to clean that vent out.
How A Vent Full of Lint Causes a Fire
A lint trap in a dryer isn’t perfect. It can’t catch every piece that blows through. However, with regular cleaning, only a few small pieces of lint are blowing into that flexible metal hose that connects the dryer to the vent installed in your home. However, when this lint builds up over time or from neglecting to clean the lint trap, it can actually clog the pipe. This actually leads to decreased energy efficiency in your dryer as well as it becoming a fire hazard.
In many instances, your dryer will actually display signs when you need to look into cleaning the vent. These signs include:
- Clothing not drying fully or as quickly
- A burning smell
- The exterior of your dryer is hot to the touch during a cycle
- The laundry room becomes more hot and humid when the dryer is in use
- There is an increased amount of lint in the lint trap from backflow
There are times when an actual dryer problem can cause some of these symptoms, but it is best to be safe rather than sorry and check the dryer vent first.
How to Clean Lint From Your Dryer
In order to thoroughly clean the lint from your dryer, you need to focus on three key areas to ensure all lint is removed so you don’t end up with the same problem in a different area once you run your dryer again.
Cleaning the Lint Trap
Ideally, you should be cleaning the lint trap in your dryer after every load or before every load. This will help minimize the lint build up further in the system. Trust us when we say that the further lint clogs in the system, the more difficult it is to remove, so you want to catch it at the filter. You will also occasionally want to inspect the area around the lint filter for build up. If you have pets, for example, there may often be a lot of ambient pet hair you want to remove surrounding the lint trap.
If the area is hard to access by hand, you can use a strong suctioned vacuum hose to help get the remainder out.
Cleaning the Exhaust Hose
The exhaust hose is the flexible metallic hose that is connected between the back of your dryer and the wall. Usually, it is connected by a hose clamp that can be loosed at both the back of the dryer and the wall. You can then remove the hose. Now you will want to check for lint blockages in it. Be careful not to crush this hose and check it for any tears that will decrease your energy efficiency while drying.
If the hose is torn, crushed, or has a pretty sturdy blockage of lint, it is best to just replace it. The replacements are really cheap and it will be easier than trying to fix it.
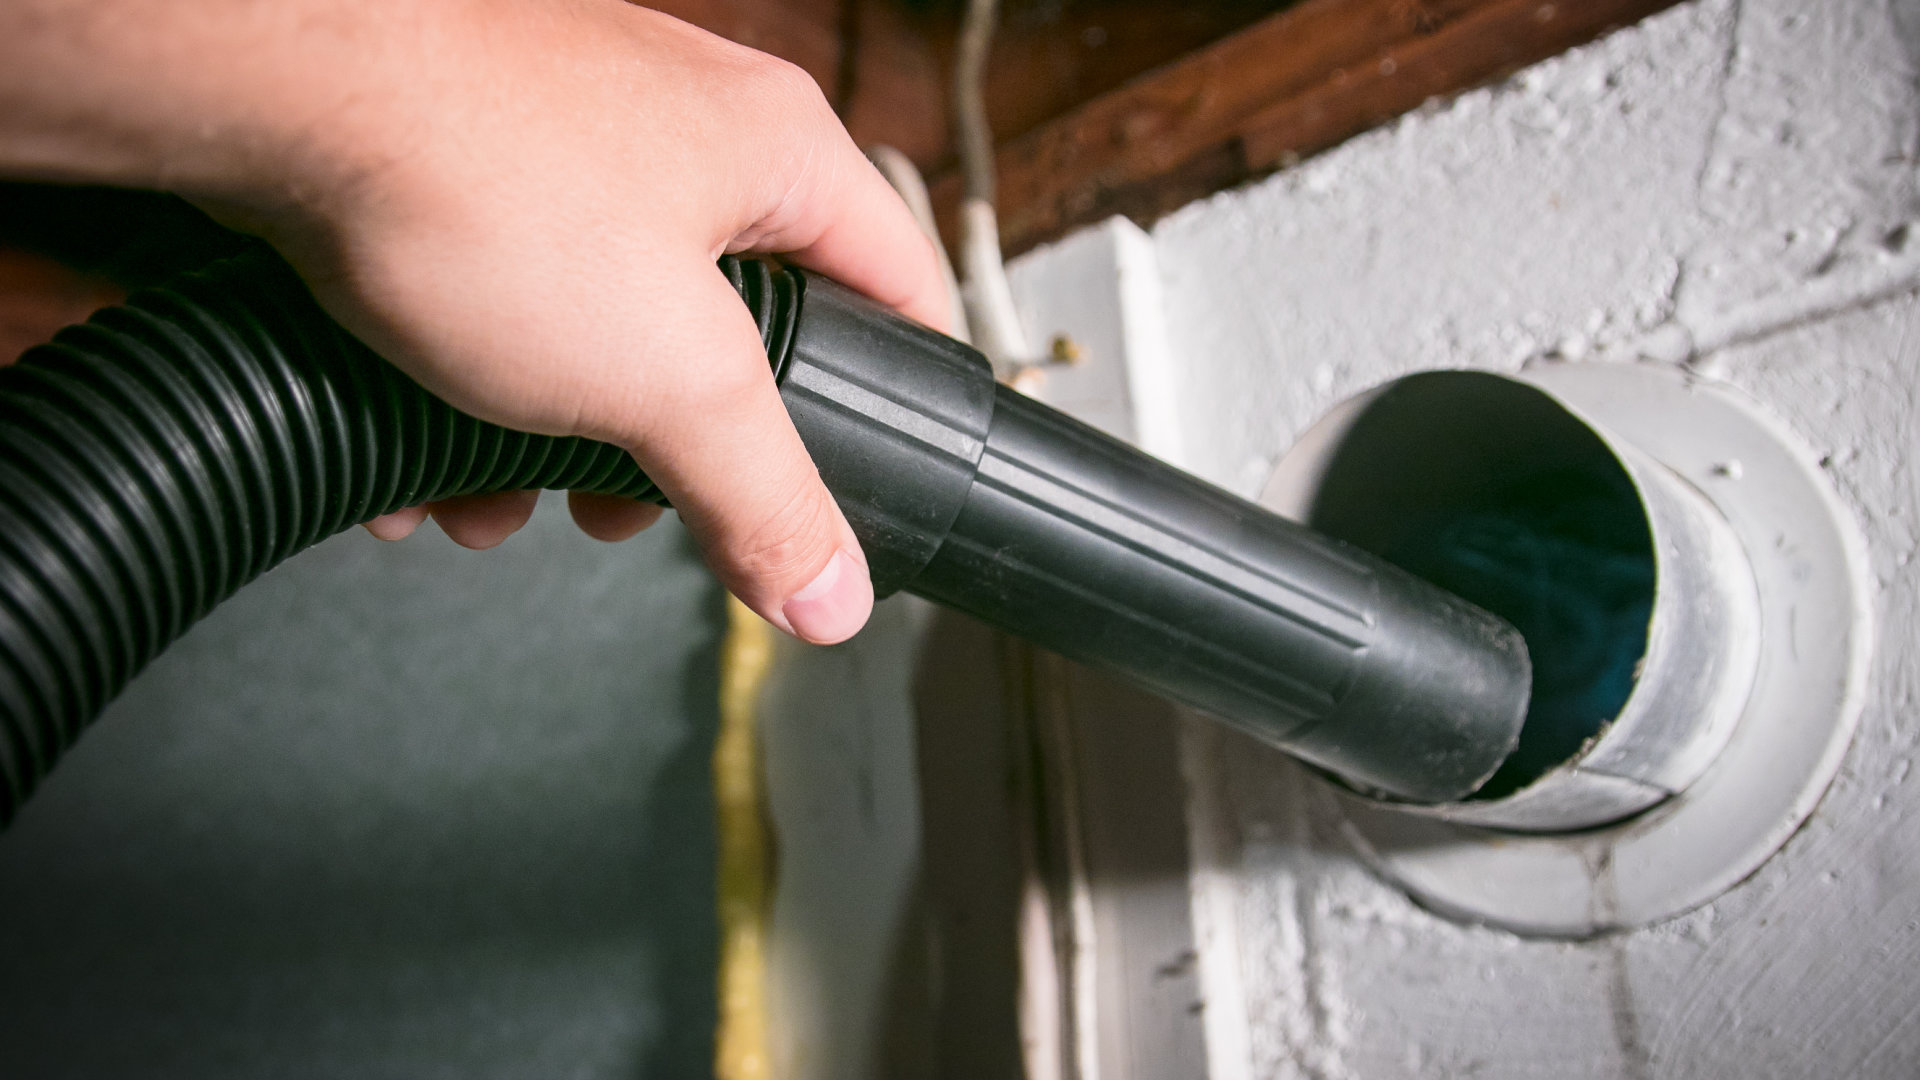
Cleaning the Dryer Vent
The dryer vent encompasses the tube that runs through your wall into the actual vent that sits on the exterior of your home. When the dryer is on, you will want to check to make sure hot air is actually being blown through the vent. A weak breeze that is not enough to blow open the vent flaps is a good indicator of a clog.
Unfortunately, if you have a lint clog in the actual vent, it can be very difficult to remove. You will want to remove the vent flaps on the exterior of your home and make sure the clog isn’t easily removed there. Next, you will want to check where the exhaust hose connects to your wall.
If both areas check out, then the clog is likely deeper. One trick you can try is to get a shop vac or leaf blower to blow a strong gust of air into the vent pipe. If using a leaf blower, make sure it is electric as you should not use gas-operated tools inside.
With the exterior vent cover off, the strong gust from the shop vac or leaf blower has the potential to dislodge the clog. If it doesn’t, you will need to look into professional intervention. If the clog is particularly compacted, it may even require cutting into your walls. However, regularly cleaning your dryer vents will prevent it from getting to this point. What you want to avoid is sticking objects in the dryer vent that will either pack the lint in tighter or have the potential to get stuck in there. Neither outcome is particularly great for you.
What Next?
After you believe you have dealt with the clog, you will want to run a dry cycle. If the exterior dryer vents are blowing open and strong, then you have solved the problem. This means that your dryer vents are now clean and healthy. However, after a cleaning, you can expect to see some lint particles being blown out, but this is a good sign. After all, lint is better out the in.
Now you will want to be diligent in cleaning the lint trap after each use. However, even when checking the lint trap as suggested, you will want to inspect and clean your dryer vent at least every year if not every six months. It is a simple maintenance task, but it can protect your home and your family.

Apr. 09, 2024
Your Guide to Whirlpool Microwave Replacement Parts

Apr. 09, 2024
What to Do When Your Kenmore Dryer Won’t Start

Apr. 09, 2024
How to Resolve the LG Washer LE Error Code

Mar. 06, 2024
Why Does My Oven Smell Like Gas? Causes and What to Do

Mar. 06, 2024
Maytag Dryer Not Heating? Here’s How to Fix It

Mar. 06, 2024
6 Common Reasons Your Speed Queen Dryer Isn’t Heating

Feb. 05, 2024
8 Reasons Your Samsung Refrigerator Is Not Cooling

Feb. 05, 2024
9 Most Reliable Washer and Dryer Brands

Feb. 05, 2024
How to Get Ink out of Your Dryer the Easy Way

Jan. 03, 2024
Why Is My Fridge Making Noise That Stops When the Door Is Open?

Jan. 03, 2024
Frigidaire Refrigerator Error Code H1: Causes & Solutions

Jan. 03, 2024
How to Clean a Dryer Vent Without Moving the Dryer

Dec. 11, 2023
9 Reasons Your LG Refrigerator Isn’t Cooling

Dec. 11, 2023
LG Refrigerator Not Making Ice? Here’s What To Do!

Dec. 11, 2023
How to Clean Your Dryer Lint Trap (Step-by-Step)
631 - 286 - 7899Text or ring! ring!