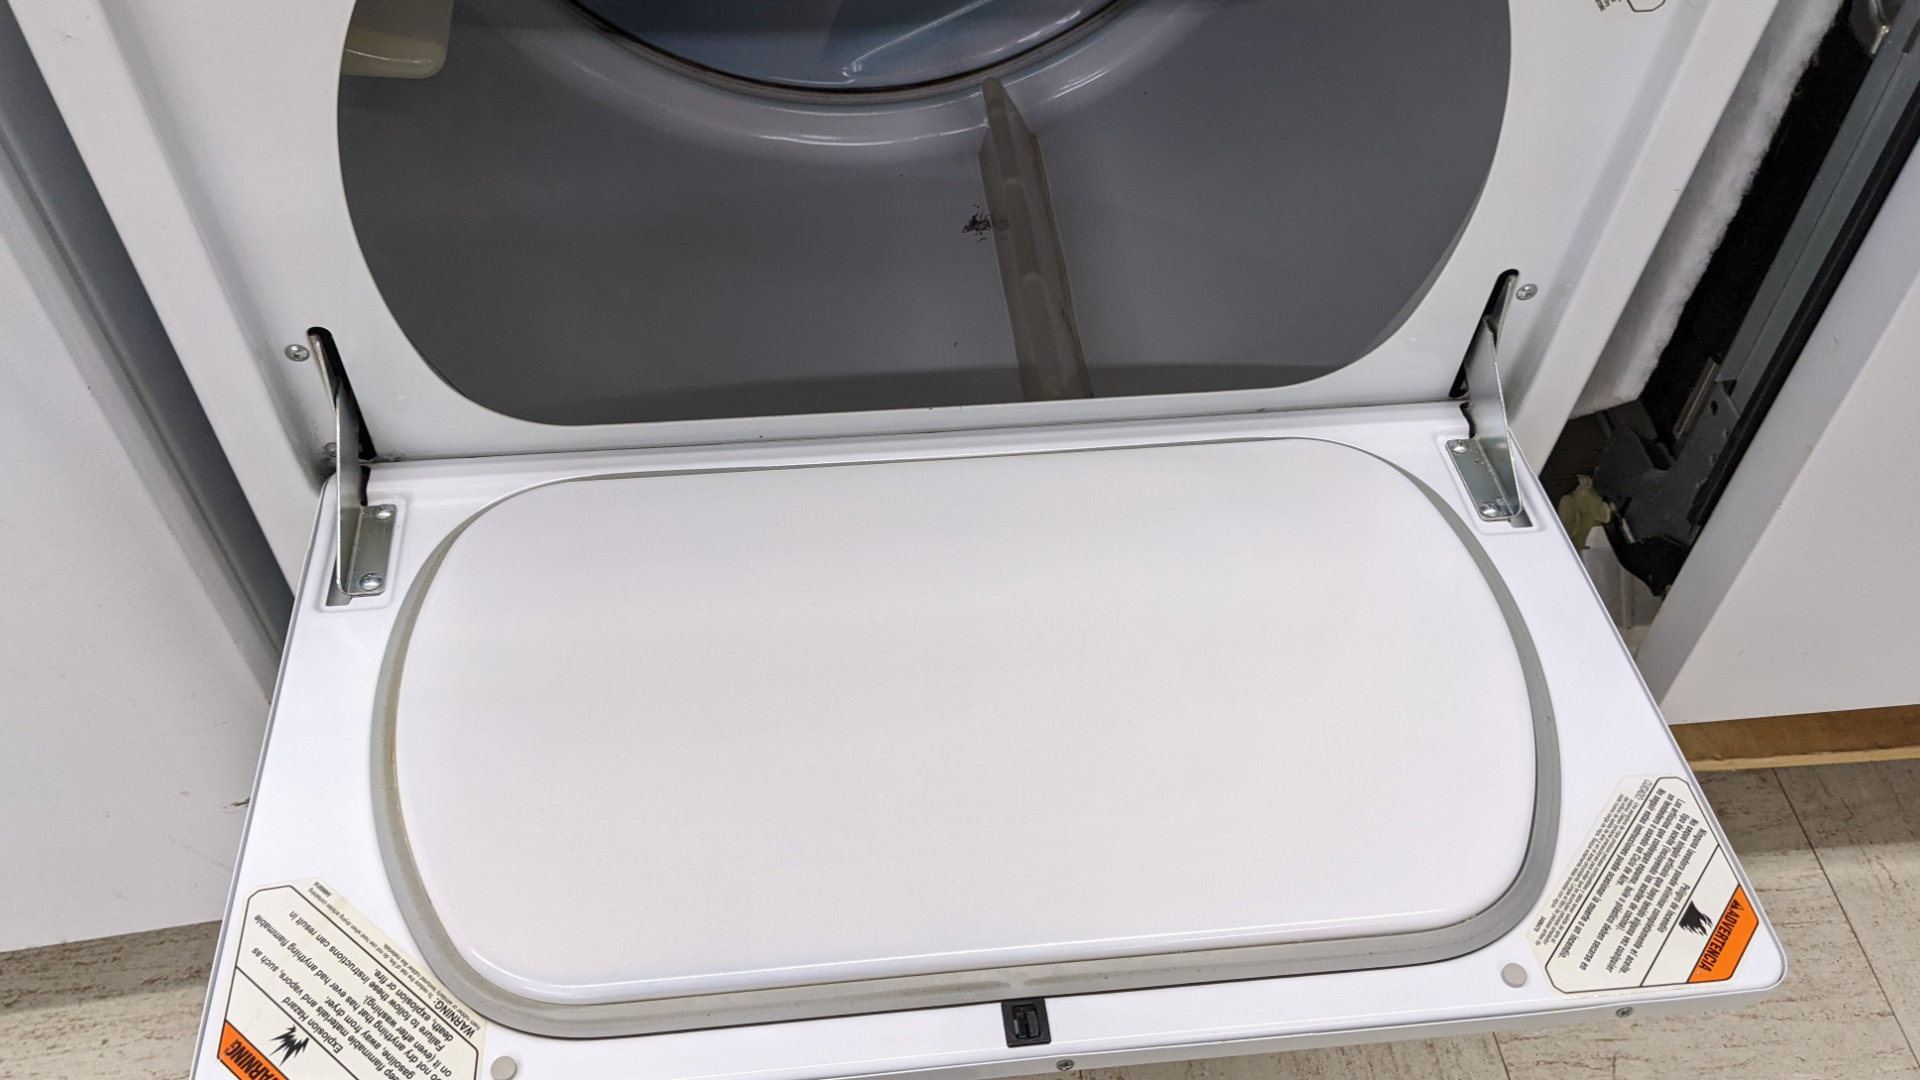
If your dryer isn’t heating to a high enough temperature or not at all, it could be due to the heating element becoming defective. When this happens, the heating element needs to be replaced.
Thankfully, fixing a heating element in a dryer is relatively straightforward and can be carried out by people with good DIY skills.
In this article, we will give you step-by-step instructions for how to test the heating element to ensure it’s defective, remove the old element, and finally install the new one.
Step 1 – Turn the power off
The first step is to switch the power off to your dryer at the wall or turn the circuit breaker off. This is an important safety measure as you’re going to be dealing with electrical components within the dryer.
Step 2 – Locate the heating element
- Disconnect the exhaust hose from the back of your dryer.
- Remove the back panel. You’ll need to unthread the screws and then the panel should clip off.
- At the back of your dryer, you should be able to see a long metal housing unit that protects the heating element. On top of the housing is a black sensor—remove this sensor by disconnecting the wires and unthreading the screws that hold it in place.
- Next, remove the second sensor that’s on the bottom of the housing by disconnecting the wires and unthreading the screws that hold it in place.
- Once both sensors have been removed, locate the heating fuse (it’s usually on the left-hand side of the housing unit) and remove it by disconnecting the wires and unthreading the screws that hold it in place.
- Check if the housing has any screws securing it to the dryer, and if so, unthread them. You should now be able to remove the dryer housing and you’ll have access to the heating element.
Step 3 – Test the heating element, sensors, and fuses (optional)
If you have a multimeter, it’s a good idea to test the heating element, the two sensors, and the heating fuse to make sure they are working or not. Sometimes, you might think the heating element is faulty when it could just be a faulty sensor or heating fuse. If you don’t have a multimeter or if you know the element is defective, you can skip this step and remove the heating element.
Here’s how to test the heating element, sensors, and heating fuse:
- Start by testing the two sensors. This can be done by using your multimeter to test each to see if they have continuity. If defective, you will need to order replacement parts.
- Next, test the heating fuse with your multimeter. If the fuse is defective, you will need to order a replacement part.
- Finally, test the heating element with the multimeter. If the heating element doesn’t have continuity, it will need to be replaced. When ordering replacement parts, make sure you get the correct parts from your hardware store or online retailer.
Step 4 – Remove the heating element
The next step is to remove the heating element so you can install the new one. Once you have the correct replacement element, here’s what you need to do:
- The heating element is held in place with a screw. The screw is usually located at the bottom of the element, so you might need to turn your dryer upside down to access it.
- Once you’ve located the screw, unthread and remove it.
- You should then be able to pull the heating element out.
Step 5 – Install the new heating element
Once the defective heating element has been removed, you can install the new one. Here’s how:
- Remove the new heating element from the packaging.
- Place the heater element into position.
- Reattach the screw that you removed earlier.
- Turn your dryer back upright.
- Reattach the heating fuse and secure it in place with the screw you removed earlier. If the old heating fuse is faulty, make sure you install a new one.
- Reattach the housing over the heating element.
- Reattach the two sensors and secure them in place with the screws you removed earlier. If your old ones were faulty, make sure you replace them with new ones.
- Reattach the back panel onto your dryer that was removed earlier and secure its place with the screws.
- You can now put your dryer back into position and reattach the exhaust hose.
- Turn the power back on to your dryer.
- Turn your dryer on and check that the new heating elements work. If so, you can start using your dryer again.

Your Guide to Whirlpool Microwave Replacement Parts
What to Do When Your Kenmore Dryer Won’t Start
How to Resolve the LG Washer LE Error Code
Why Does My Oven Smell Like Gas? Causes and What to Do

Maytag Dryer Not Heating? Here’s How to Fix It
6 Common Reasons Your Speed Queen Dryer Isn’t Heating
8 Reasons Your Samsung Refrigerator Is Not Cooling

9 Most Reliable Washer and Dryer Brands

How to Get Ink out of Your Dryer the Easy Way

Why Is My Fridge Making Noise That Stops When the Door Is Open?

Frigidaire Refrigerator Error Code H1: Causes & Solutions
How to Clean a Dryer Vent Without Moving the Dryer
9 Reasons Your LG Refrigerator Isn’t Cooling
LG Refrigerator Not Making Ice? Here’s What To Do!


