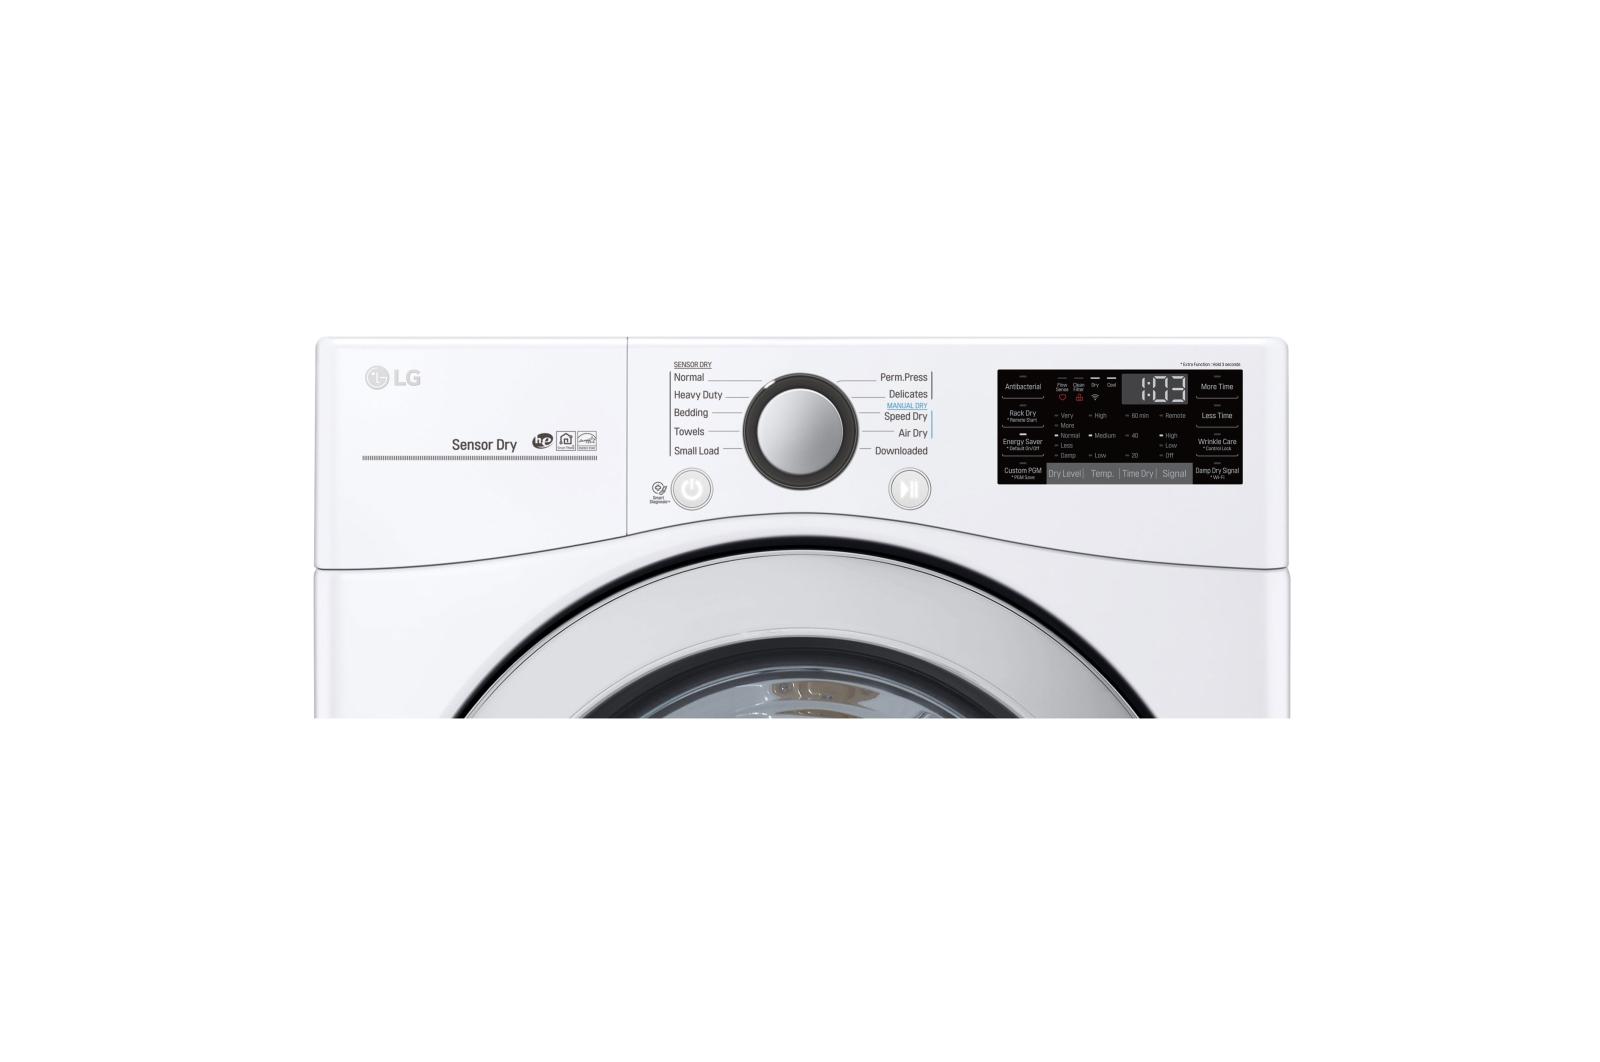
A non-heating electric LG dryer model DLE3500W can disrupt your daily schedule and lead to all sorts of chaos as you desperately try to determine the cause of the malfunction. While no-heat is a symptom attributed to a number of faulty components, a burned-out thermal fuse is one of the more common culprits. Your dryer’s thermal fuse acts as a safety device that is triggered when the appliance starts to overheat.
When the temperature in the dryer surpasses a certain point, the fuse opens and cuts off power to the motor. This important action ensures the motor, along with other components in your appliance, is not damaged. Once the fuse blows it cannot be reset, meaning you’ll need to replace the component before your dryer is operational again. If you believe your dryer’s thermal fuse is the reason your appliance won’t heat, the step-by-step directions below will help you replace the part.
Dryer Repair Safety Tips
- Start your dryer repair by unplugging the appliance from the wall or switching it off at your home’s circuit breaker.
- Wearing work gloves and safety goggles will protect your hands and eyes from sharp objects as you work to replace your dryer’s faulty component.
- Repairing your dryer or any appliance is a complicated process that can quickly become overwhelming. If at any point you feel as though cannot safely complete the repair, please put down your tools and call a dryer repair technician to finish the job.
How to Test the Thermal Fuse
Before you swap out your dryer’s thermal fuse, it’s best to test the component for continuity. A blown or defective fuse will not have continuity while a functional one will. Continuity means the part has a continuous electrical path. In order to test the component, you must first remove it from your dryer. Once the part is out, you’ll need to use a multimeter to determine whether the fuse works. Simply touch the probes of the multimeter to the thermal fuse terminals. If the multimeter reads zero, the fuse is operational. However, if the multimeter needle does not respond or the numbers on the digital screen do not significantly change, the part does not have continuity.
How to Replace a Blown Thermal Fuse in Your LG Dryer
- Unthread the screws on the back of your dryer securing the top panel to the appliance. Then, pull the panel back and lift it up and off your dryer.
- Once the top is off, take out the screws that hold the control panel to the front of the appliance. Next, disengage the control panel locking tabs by carefully lifting the top of the panel up. After the screws are out and you’ve released the locking tabs, pull the control panel off the support bracket and place it on-top of the dryer.
- With the control panel out of the way, remove the support bracket from the dryer. To do so, unthread the screws holding it in place. Then, disconnect the door switch wire harness and unhook the wire from the retainer. Finally, pull the support bracket off the dryer and set it down next to the control panel.
- Open the dryer door, and unthread the bottom two screws. Then, shut the door and take the front panel off the dryer by tilting it forward before pulling it up and off the appliance.
- Find the light switch harness and the moisture sensor harness and disconnect them.
- Unthread the screws from the front bulkhead and the screw that secures the duct housing to the blower. After all the screws are out, take the front bulkhead off the dryer.
- Get on your hands and knees and reach under the dryer drum and pull forward the idler pulley to release the drive belt from the idler and motor pulley.
- Next, use the drive belt to lift the dryer drum out of the appliance cabinet.
- Locate the thermal fuse on the heating element housing and disconnect the wires running to the fuse’s terminals. Then, unthread the mounting screws securing the component to the heating element, and remove the burned out fuse from your dryer.
- Grab the new thermal fuse and install the component on the heating element housing with its mounting screws. Next, reattach the wires that run to the fuse terminals.
- Now that the new thermal fuse is installed, begin reassembling your dryer by inserting the dryer drum back into the appliance’s cabinet. Use the drive belt to help line up the back of the drum with the dryer’s rear rollers. Once the drum is in place, reach under it, and rethread the drive belt to the idler pulley and the motor pulley.
- Reinstall the front bulkhead by sliding the bulkhead tabs into the slots on the side walls of the dryer cabinet. Then, lift the dryer drum up to rest the front of the drum on the dryer’s front rollers. Once the bulkhead and drum are positioned correctly, secure the part by replacing the mounting screws you took out earlier. Don’t forget to rethread the duct housing screw before moving on to the next step.
- Reconnect the light switch harness and the moisture sensor harness.
- Reattach the front panel by lining up the slots on the bottom of the panel with the tabs on the dryer frame, and then push the panel upright. Open the dryer door, and secure the front panel with the two screws you removed.
- Install the support bracket by inserting the tabs on the bracket into the side panel slots. Then, reconnect the door switch wire harness and clip the wire into the plastic retainer. Next, rethread the screws that support the bracket.
- Snap the front control panel into place and reinstall the screws that secure the component to the dryer.
- Place the main top on the dryer and push it forward to reattach it. Then, rethread the screws on the back of the dryer to hold down the top panel.
- Complete your electric dryer repair by plugging in the appliance or turning it back on at the circuit breaker.
If the new thermal fuse in your LG dryer ends up burning out too, you should take a look at the dryer vent. Excessive lint in the vent can cause the appliance to overheat, which leads to a blown thermal fuse. If you have a question about your dryer, please contact us today and we’ll be happy to answer them.

Your Guide to Whirlpool Microwave Replacement Parts
What to Do When Your Kenmore Dryer Won’t Start
How to Resolve the LG Washer LE Error Code
Why Does My Oven Smell Like Gas? Causes and What to Do

Maytag Dryer Not Heating? Here’s How to Fix It
6 Common Reasons Your Speed Queen Dryer Isn’t Heating
8 Reasons Your Samsung Refrigerator Is Not Cooling

9 Most Reliable Washer and Dryer Brands
How to Get Ink out of Your Dryer the Easy Way

Why Is My Fridge Making Noise That Stops When the Door Is Open?

Frigidaire Refrigerator Error Code H1: Causes & Solutions
How to Clean a Dryer Vent Without Moving the Dryer
9 Reasons Your LG Refrigerator Isn’t Cooling
LG Refrigerator Not Making Ice? Here’s What To Do!


