

January 6, 2020
Dryer Repair
This repair will work with the Kenmore brand family of dryers including Whirlpool, Maytag, Amana, and GE dryers, provided that yours is a model with an access panel in the bottom front of your dryer with a lint assembly in the door rather than the top.
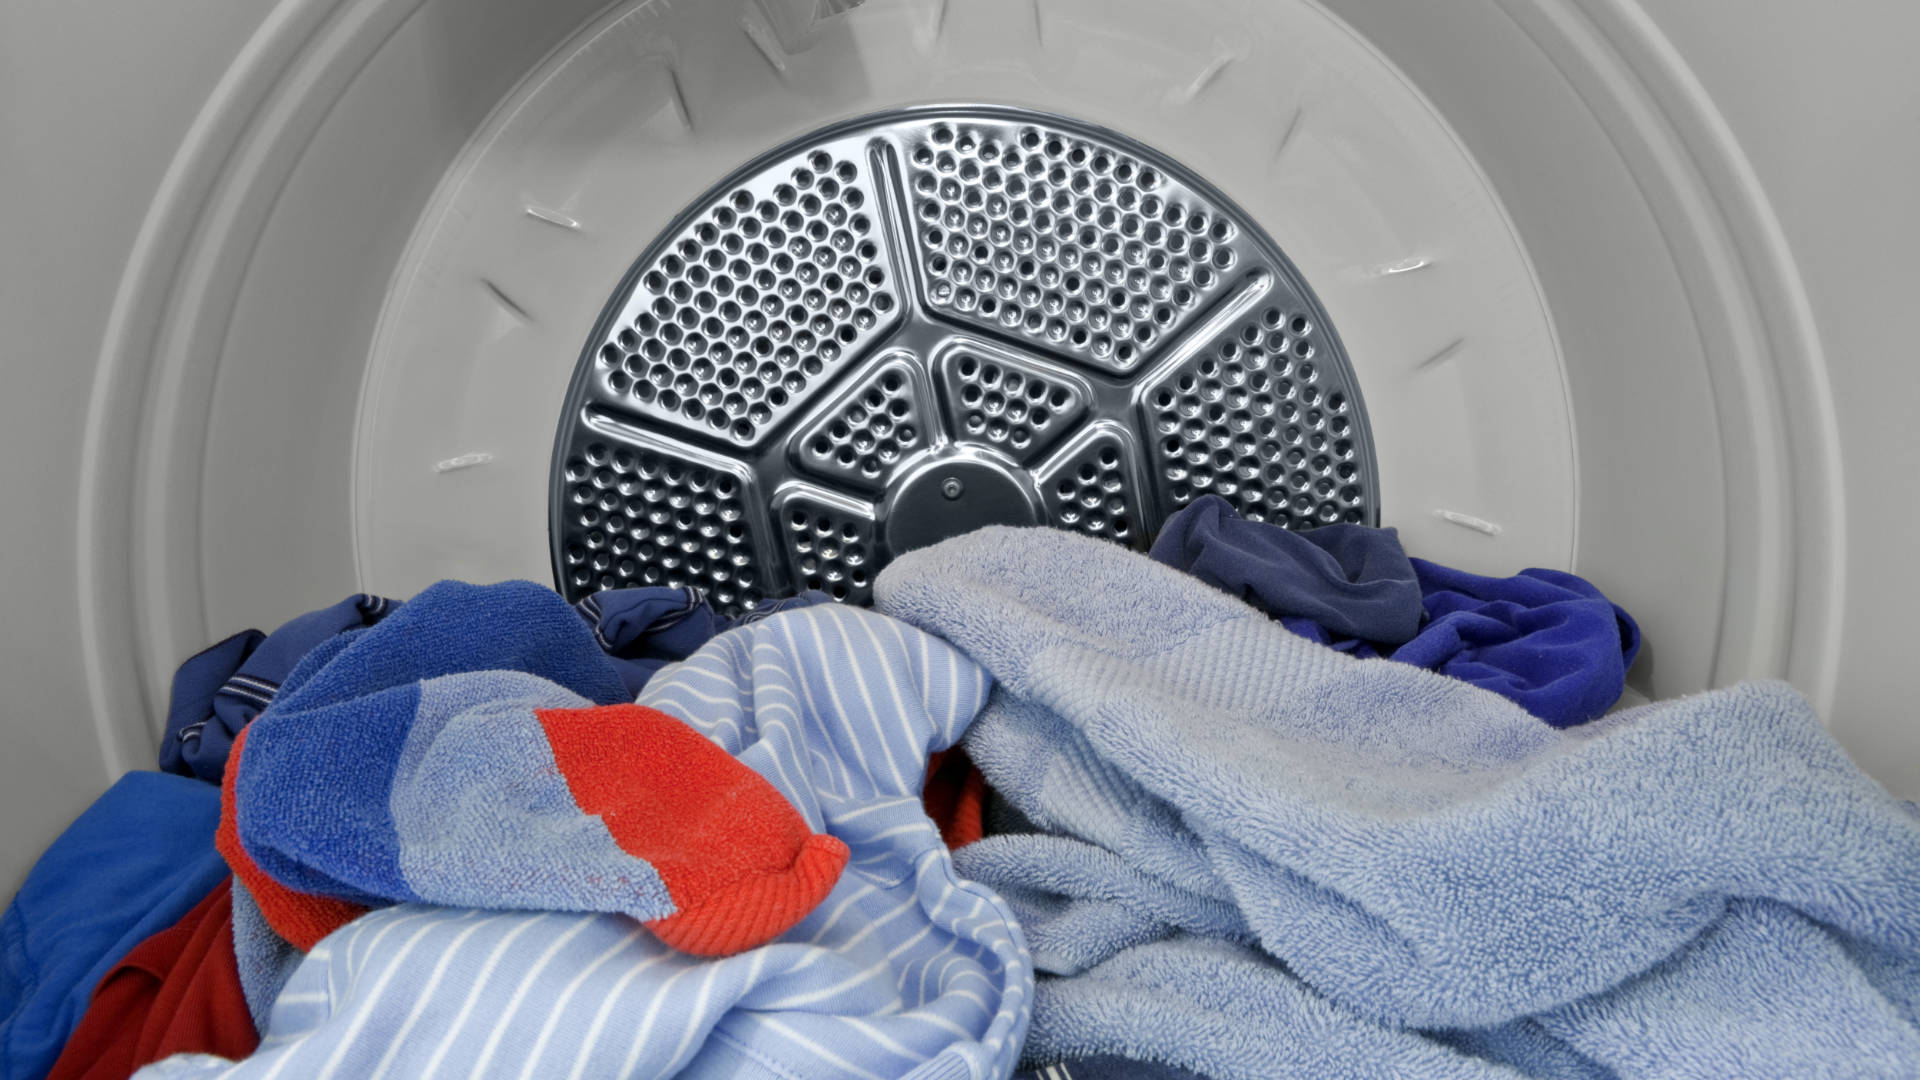
—A dryer that has stopped heating is a real problem, as clothes stop getting dry and simply tumble cold and damp for an hour. If your dryer works at all. Some dryers can detect there is something wrong and will display an error code, some will keep on tumbling cold until the dryer owner does something to fix the problem. Either way, you’re stuck hanging clothes to dry until your dryer works again.
There are a few different reasons why your dryer is no longer heating including two or three different thermometers and the heating element itself. However, if you have already determined that the problem is with your dryer thermistor, one of the sets of temperature sensors, then this guide will help you replace the broken thermistor and repair your dryer’s heating capabilities.
Safety First
The first thing you need to do for almost any dryer repair is to unplug your dryer. The thermistor is an electronic part inside the dryer housing, so you will want to be safe from sparks and shocks during this repair. Make sure your dryer is unplugged or flip the fuse that powers the dryer, whichever is easiest for you.
- Unplug Your Dryer
Gather Your Supplies
Next, gather all the supplies you will need for this repair. It’s best to have all your tools before the repair begins so you don’t have to stop in the middle to find something. Most importantly, be sure you have the correct replacement thermistor by checking the part number in the manual for your make and model of dryer. In addition, you will need a screwdriver, socket wrench set, a putty knife with masking tape (or a flat-head screwdriver) and work gloves.
- Screwdriver
- Socket Wrench Set
- Putty Knife or Flat Screwdriver
- Work Gloves
- Replacement Thermistor
Remove the Front Access Panel
- Identify Your Access Panel
- The access panel you’ll need for this repair should be located at the bottom front of your dryer. You’ll notice the bottom of your dryer has a groove running along the panel just below knee-height. This is where your access panel begins.
- Insert the Putty Knife
- Wrap your putty knife or screwdriver in a layer of masking tape to protect the paint finish of the dryer. Then insert the putty knife into the slot between the main front panel and the lower access panel. Sliding along the edge, you will feel to points of resistance.
- Release the Access Panel Tabs
- Those points are the tabs holding your access panel in place. Press on them with the putty knife to release each tab.
- Take Away the Front Access Panel
- Pull the front access panel away by tilting it forward and then lifting up. Set it aside somewhere nearby.
Remove the Lint Duct
- Open the Dryer Door
- For this next part, you’ll need to open the dryer door to access the top of the lint duct.
- Remove the Lint Filter
- Pull the door-mounted lint filter out, clear it, and set it aside.
- Unfasten the Lint Duct Mounting Screws
- Now you are looking at a shiny plate that is your lint duct, blocking much of what else is behind your access panel. The duct is connected by a perimeter of screws. Remove them one by one and set them aside.
- Take Away the Lint Duct Assembly
- When the lint duct assembly is released from the screws, carefully remove it and set it aside as well.
Uninstall the Old Thermistor
- Locate Your Thermistor
- Find the thermistor that you will be replacing. It likely looks like a small white plastic diamond, set flat on top of the blower assembly. You can also match it visually with the replacement part you have ready.
- Take a Phone Photo
- Before you disassemble the old thermistor, take a photo to record how the wires are connected. There are two, and you want to put them back on the new thermistor correctly later.
- Disconnect the Wires from the Electric Tabs
- Now you can pull the wires off of the two metal tabs on top of your thermistor.
- Unfasten the Thermistor Mounting Screws
- With the wires gone, use your socket wrench, likely a 1/4 inch, to remove the two screws holding the thermistor to the blower assembly.
- Throw Away the Old Thermistor
- Pull away the old thermistor and throw it away or keep it for electronics recycling.
Install the New Thermistor
- Align the New Thermistor in Place
- Set the new thermistor over the bolt holes where the old thermistor just came from, facing the same direction.
- Fasten the Mounting Screws
- Place the screws in their slots and then twist them in by hand. Then tighten with the socket wrench when they are secure.
- Reattach the Wires According to Your Photo
- Return the wires to the thermistor tabs, checking your phone to make sure they are put back exactly as you found them.
Reassemble Your Dryer
- Reinstall the Lint Duct Housing
- Carefully hold the lint duct in the place where you removed it and return each screw. You may benefit from asking a friend to hold the lint duct still while you do the first two screws. The rest will go in easily after that.
- Return the Lint Filter
- Slide the dryer lint filter back into the duct that you just reinstalled. Make sure it’s clean.
- Fit the Front Access Panel Into Place
- Set the bottom of the front access panel into place, then push it upward to align with its locking tabs.
- Press Firmly on the Access Panel
- Press firmly on the front access panel until you feel the locking tabs click home, securing your dryer back together.
Test Your Success
- Plug the Dryer Back In
- Return the dryer plug to the wall outlet or flip the breaker on to restore power to your dryer
- Dry Something Wet
- Run a test-dry on something damp and give your dryer time to tumble. You can open your dryer partway through the cycle to see if the item is warm. If it is, you have succeeded.
- Enjoy Warm Dry Clothes Again
- If your repair was a success, then you can return to enjoying warm dry towels and clothes. Congratulate yourself by getting all your backed up laundry finished.
—Good job completing this dryer repair guide and restoring your dryer to functionality. If you’d like more home appliance repair guides or the assistance of a professional appliance technician, contact us today!

Apr. 09, 2024
Your Guide to Whirlpool Microwave Replacement Parts

Apr. 09, 2024
What to Do When Your Kenmore Dryer Won’t Start

Apr. 09, 2024
How to Resolve the LG Washer LE Error Code

Mar. 06, 2024
Why Does My Oven Smell Like Gas? Causes and What to Do

Mar. 06, 2024
Maytag Dryer Not Heating? Here’s How to Fix It

Mar. 06, 2024
6 Common Reasons Your Speed Queen Dryer Isn’t Heating

Feb. 05, 2024
8 Reasons Your Samsung Refrigerator Is Not Cooling

Feb. 05, 2024
9 Most Reliable Washer and Dryer Brands

Feb. 05, 2024
How to Get Ink out of Your Dryer the Easy Way

Jan. 03, 2024
Why Is My Fridge Making Noise That Stops When the Door Is Open?

Jan. 03, 2024
Frigidaire Refrigerator Error Code H1: Causes & Solutions

Jan. 03, 2024
How to Clean a Dryer Vent Without Moving the Dryer

Dec. 11, 2023
9 Reasons Your LG Refrigerator Isn’t Cooling

Dec. 11, 2023
LG Refrigerator Not Making Ice? Here’s What To Do!

Dec. 11, 2023
How to Clean Your Dryer Lint Trap (Step-by-Step)
631 - 286 - 7899Text or ring! ring!