

May 16, 2019
Dryer Repair
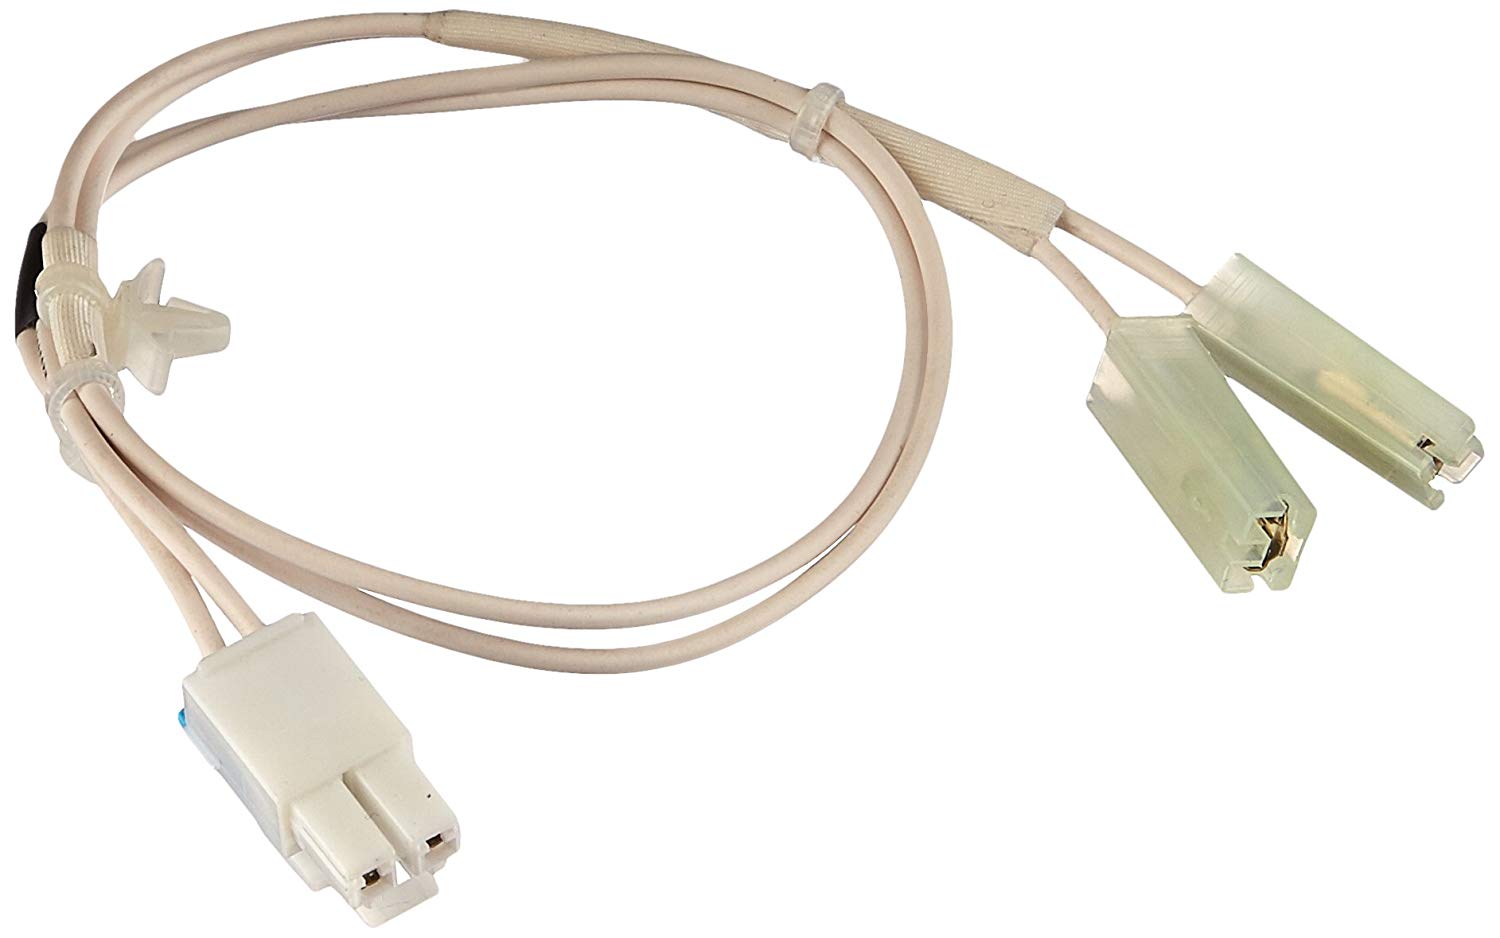
For most smart dryers, the moisture sensor senses when the clothes aren’t dry and need an additional tumble dry sensor. However, the sensor can only do its job when it receives a steady connection through the moisture sensor wire harness. If the wires or damaged or your dryer’s sensor isn’t doing its job, replace the wire harness.
Order replacement part #6631EL3003B for most LG dryers and then follow these steps to replace the part yourself.
1. Unplug the dryer.
Always unplug an appliance before you start any repairs or installations. Because you will need to remove the top panel during this repair, you may also need to pull the machine far away enough from the wall so you can push the panel a few inches back. Try to do so without dislodging the exhaust vent.
2. Dismantle the exterior of the machine.
Go to the rear of the dryer and remove the three screws that secure the top access panel to the back of the machine. Then slide the panel to the rear and lift it free. Set it aside.
Next, remove the control panel on the front of the dryer. Reach to the back of the control board and release the central wire harness. Then remove the two screws (one in each upper corner of the panel’s interior) and pry up the tabs along the top of the control panel’s edge. Now you can push the left corner up and pull the panel towards you as you stand at the front of the machine. As you pull it away from the dryer, be careful that the control board doesn’t knock against the frame and that none of the wires get tugged.
Unclip the long back wire harness so you can rotate the control panel and set it on top of the machine.
Start to remove the front panel. In order to do that, open the door and remove the two screws that secure the front panel to the frame of the machine. Then shut the door. Also, pry up the metal tabs along the top edge of the front access panel (underneath where the control panel typically lives). Now you can remove the screws along the top edge of the control panel. Tilt the panel slightly forward so you can unplug the wire harness at the middle of the top edge. Then tilt the panel further down and pull it free of the bottom groove so you can set it aside.
3. Access the moisture sensor under the lint grill.
First, pull the lint trap free from the bottom of the tub. Also, reach behind the grill that housed the lint trap and remove the screws along the bottom curve. Pull the grill out of the machine and set it aside. Take the lint guide out with it. This should give you access to the end of the moisture sensor. Locate it but leave it plugged in for now.
4. Remove the moisture sensor wire harness.
Locate the moisture sensor wire harness in the bottom right corner. Unplug the bottom of the harness from the plug with the red and black wires. Follow the white sensor wire up to the retaining clip. Instead of pulling the length of wire free from the front, depress the tabs of the clip on the back of the metal panel to pull the wires and the retaining clip free of the hole. Return to the lip of the drum and unplug the wires from the moisture sensor that you accessed in the previous step. There are two separate prongs for the wires, and the casings at the end of the wire harness are pretty long. If they don’t slide free easily, use a flathead screwdriver to push them free. Slide the end of the harness down and pull it completely out of the tub.
5. Install the new moisture sensor wire harness.
First, push the “top” end of the wire harness, or the end of the wire harness with two separate prongs, up into the tub through the hole behind the lip. Slide both wire casings over the moisture sensors prongs. Use needle nose pliers and a flathead screwdriver to make sure the harness is fully installed over the prongs.
Next, line the retaining clip up with the hole in the metal panel. Press the pointed end into the hole and make sure the tabs snap into place on the other side to secure the wire.
After that, plug in the bottom end of the moisture sensor wire harness into the plug with the red and black wires at the bottom of the dryer. You should be able to hear it click into place.
6. Reassemble the dryer.
First, reinsert the lint filter housing. It should just slide into place. Next, place the grill back into place along the tube and retighten the three screws you removed earlier. Then slide the lint filter back into place.
Next, reinstall the front access panel. Hold it at an angle and slip the bottom into the groove at the bottom of the dryer. Then tilt the panel up until it’s nearly flush with the front of the dryer. Plug in the wire harness at the middle of the top of the dryer (the door switch wiring harness). Then push it flat against the front of the dryer and retighten the screws along the top edge of the panel. Also, bend down the metal locking tab you bent up earlier.
To finish securing the front panel. open the door and retighten the two screws. Then shut the door.
After that, reinstall the control panel. Carefully swing the panel around and orient it so it’s just an inch or so in front of the housing. Then snap the black length of wire back into its retaining clip. Slide the control panel back into place, making sure not to bump the control board on the back. Click the tabs along the top back into place.
Once it’s in place, plug in the wire harness at the top left corner. Reattach the two screws (one at each top corner) to finish securing the control panel.
Set the top access panel on the rails approximately an inch back from the rear side of the control panel. Then slide it toward the front of the machine along the rails so the four top knobs lock into the panel. Secure it with three screws along the rear of the dryer. Now you can push the dryer back into place and make sure the exhaust ent hasn’t been knocked out of place. Plug the dryer back in.
For more repair guides and appliance repair help, contact our team at Fleet Appliance.

Apr. 09, 2024
Your Guide to Whirlpool Microwave Replacement Parts

Apr. 09, 2024
What to Do When Your Kenmore Dryer Won’t Start

Apr. 09, 2024
How to Resolve the LG Washer LE Error Code

Mar. 06, 2024
Why Does My Oven Smell Like Gas? Causes and What to Do

Mar. 06, 2024
Maytag Dryer Not Heating? Here’s How to Fix It

Mar. 06, 2024
6 Common Reasons Your Speed Queen Dryer Isn’t Heating

Feb. 05, 2024
8 Reasons Your Samsung Refrigerator Is Not Cooling

Feb. 05, 2024
9 Most Reliable Washer and Dryer Brands

Feb. 05, 2024
How to Get Ink out of Your Dryer the Easy Way

Jan. 03, 2024
Why Is My Fridge Making Noise That Stops When the Door Is Open?

Jan. 03, 2024
Frigidaire Refrigerator Error Code H1: Causes & Solutions

Jan. 03, 2024
How to Clean a Dryer Vent Without Moving the Dryer

Dec. 11, 2023
9 Reasons Your LG Refrigerator Isn’t Cooling

Dec. 11, 2023
LG Refrigerator Not Making Ice? Here’s What To Do!

Dec. 11, 2023
How to Clean Your Dryer Lint Trap (Step-by-Step)
631 - 286 - 7899Text or ring! ring!