

July 18, 2019
Dryer Repair
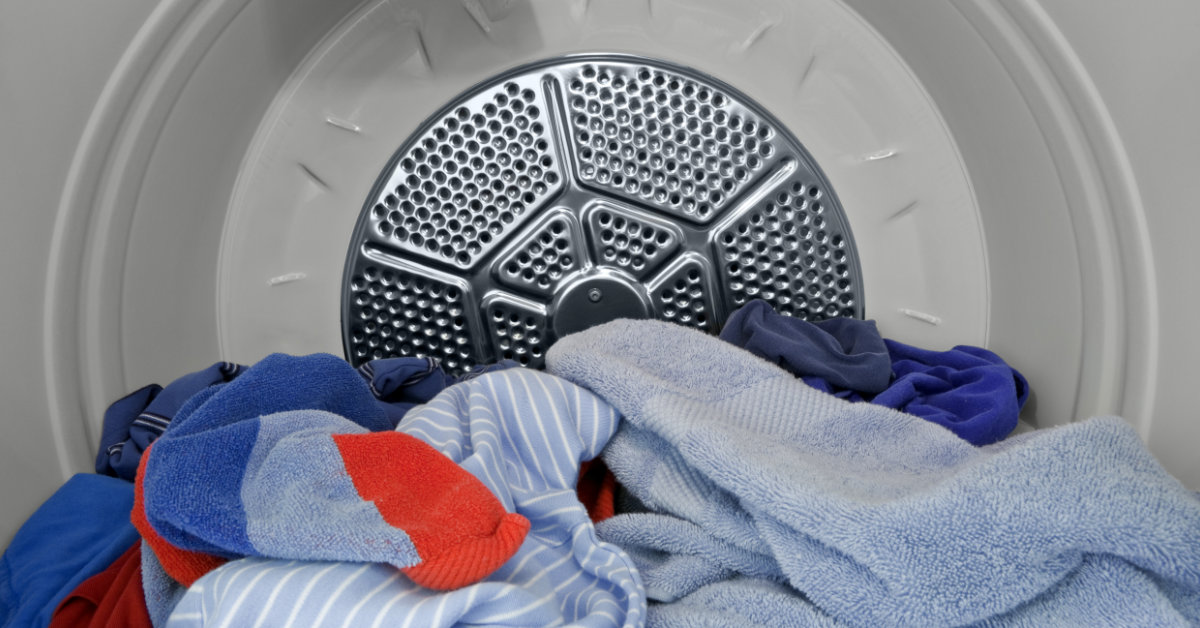
The modern clothes dryer is among the best things about living in a post-1950s world. Dryers not only speed up the time it takes to dry clothes but if you’ve ever hung-dried a whole load of clothes because your dryer is busted, you know there’s a serious fluffiness factor as well. Clothes that hang dry tend to be stiffer and less soft even when they are completely dry. Which is exactly why you want to get your dryer fixed fast when the appliance stops working or stops working correctly, for some unknown reason.But wait, before you call the repair service, there’s a chance that your dryer troubles are something that you can easily solve with a few quick checks and adjustments. Dryers shake and rattle a lot, and they can build up lint in a surprising number of places. Just in case your dryer troubles can be solved fast, try these twelve troubleshooting tips right off the bat.
1) Check the Plug
It sounds pretty basic, but the best place to start with any appliance troubleshooting is the power source. Dryers shake when they run and can also be bumped by people doing laundry, pets, or fallen items. So it is actually surprisingly possible that the problem could simply be a loose or fallen dryer power plug.Check the plug by hand. Make sure that it is not only in the socket but firmly in the socket as some dryers can shake their cords loose without the plug fully falling away from the wall.
2) Check the Circuit Breaker
If the dryer is plugged in but it still seems like it’s not getting power, head over to your circuit box. There should be a breaker labeled Dryer, Laundry, or something similar. If you can easily identify the correct circuit, flip it off and back on again to be sure that the circuit is in the on position. If not, test your circuits one by one (be careful about computers and other appliances) until you’re sure the dryer’s circuit has been flipped. Then go back and test your dryer to see if it works now.
3) Check the Door Latch
Most dryers won’t actually start unless the door latch has clicked closed and the door sensor confirms that it’s safe to start the machine. Some won’t even light up or respond while others simply refuse to start the cycle until the door is closed.Do some checking around the dryer door latch to discover if this is the source of your problem. A door latch that doesn’t click closed or a door sensor that is not performing properly can get in the way of your dryer functioning the way it should. If there are obstructions or debris in the door hinges, latch, or seal, clear them. If the door appears to be damaged or bent, you might have to replace it.
4) Clear Out Built-Up Lint
Next, check on the lint situation. Not everyone remembers to clear the lint before running a new load and it can really build up over time. And in more places than you might think. Start by pulling the lint filter and swiping that clean into the trash. Then take a look at the filter housing to see if lint has been packing into felt in there with nowhere to go. Clear out the lint filter housing as best you can and see if that helped.
5) Straighten the Dryer Vent
Peer behind your dryer. See that shiny silver vent that looks like a short section of a wide crinkly hose? That’s the dryer exhaust vent. It channels hot moist air away from the dryer so that the clothes can dry faster without the humidity they create, However, that dryer vent is also unusually easy to crush or compress by accident simply by nudgng your dryer or pushing it into place. And if moist air can’t escape through the vent because it’s been compressed, your dryer will slowly lose effectiveness over time.
6) Clear Out the Dryer Vent
It’s not supposed to, but the dryer vent can also collect lint that comes off clothes. And because it’s never cleared, that lint can build up to a significant amount over time. There’s even a chance that the lint will eventually clog the vent and the aperture beyond that to help the dryer air escape from the house. This may take some doing, but you can detach one side of the dryer vent in order to clear it by scooping out piles of built-up lint. Check the terminus of the vent to make sure it’s clear as far as you and your tools can reach.
7) Balance the Feet
Now take a look at your dryer feet. If you tip the dryer in each direction, does it wobble? That wobble can cause real problems with the suspended drum and belt inside the dryer and could be the cause of your dryer troubles. Many dryers have adjustable feet that can help deal with uneven floors or floor coverings beneath the dryer. If your dryer can’t adjust, a find something sturdy at the right height like a book, box, block of wood, or folded junk mail.
8) Check Under the Panel
Even if you don’t have appliance repair skills, some problems are easy to spot if you just take a look. Pry open the panel underneath or at the top of your dryer and check to see if there are any obviously loose connections, frayed wires, or corrosion. In general, don’t touch the wires inside the panel without unplugging your dryer first.
9) Check for a Gas Line
Some dryers are gas dryers, meaning they use natural gas and a pilot light to create the drying heat. These are most common with large commercial dryers but there are a few rare homes and dryers that use gas. If you have a gas dryer, check the gas line to make sure it is on and functioning properly but don’t mess with it, as natural gas can be dangerous. Sniff for the rotten-eggs smell of a gas leak.
10) Clean Behind the Knobs
Is your dryer not responding to the controls? Sometimes, this is more of a gunk problem than an electrical one. If your dryer has knobs that come off, pull the knobs and clean the undersides. Clean the knob posts, the post holes, and the general area usually covered by the knobs. This alone can restore some dryers back to immediate functionality.
11) Warm Up Your Laundry Room
Electric dryers can’t work properly if the ambient temperature surrounding the dryer is lower than about 45 F. So those of you in cold climates with garage-located dryers, beware. Dryers fighting against near-freezing or freezing temperatures may have a hard time getting clothes warm enough to dry. There have also been instances where the dryer vent froze shut or iced over causing event-related problems.
12) Check the Humidity
Finally, check the ambient humidity around your dryer. Dryers dry your clothes by heating them up and tumbling them which promotes evaporation. Evaporation creates moist air which is channeled out of the dryer through the vent. However, if the air surrounding the vent outflow is already heavy with humidity and if your dryer air intakes are full of humid air, it can be difficult for your clothes to get dry enough.
—You don’t always have to be an appliance expert to get your dryer from ‘broken’ to fixed. If you discovered the solution using one of these twelve troubleshooting techniques, congratulations! If not, it is now safe to call a repair service, confident that your problem isn’t some silly mistake or minor oversight. For more appliance repair tips and guides, contact us today!

Apr. 09, 2024
Your Guide to Whirlpool Microwave Replacement Parts

Apr. 09, 2024
What to Do When Your Kenmore Dryer Won’t Start

Apr. 09, 2024
How to Resolve the LG Washer LE Error Code

Mar. 06, 2024
Why Does My Oven Smell Like Gas? Causes and What to Do

Mar. 06, 2024
Maytag Dryer Not Heating? Here’s How to Fix It

Mar. 06, 2024
6 Common Reasons Your Speed Queen Dryer Isn’t Heating

Feb. 05, 2024
8 Reasons Your Samsung Refrigerator Is Not Cooling

Feb. 05, 2024
9 Most Reliable Washer and Dryer Brands

Feb. 05, 2024
How to Get Ink out of Your Dryer the Easy Way

Jan. 03, 2024
Why Is My Fridge Making Noise That Stops When the Door Is Open?

Jan. 03, 2024
Frigidaire Refrigerator Error Code H1: Causes & Solutions

Jan. 03, 2024
How to Clean a Dryer Vent Without Moving the Dryer

Dec. 11, 2023
9 Reasons Your LG Refrigerator Isn’t Cooling

Dec. 11, 2023
LG Refrigerator Not Making Ice? Here’s What To Do!

Dec. 11, 2023
How to Clean Your Dryer Lint Trap (Step-by-Step)
631 - 286 - 7899Text or ring! ring!