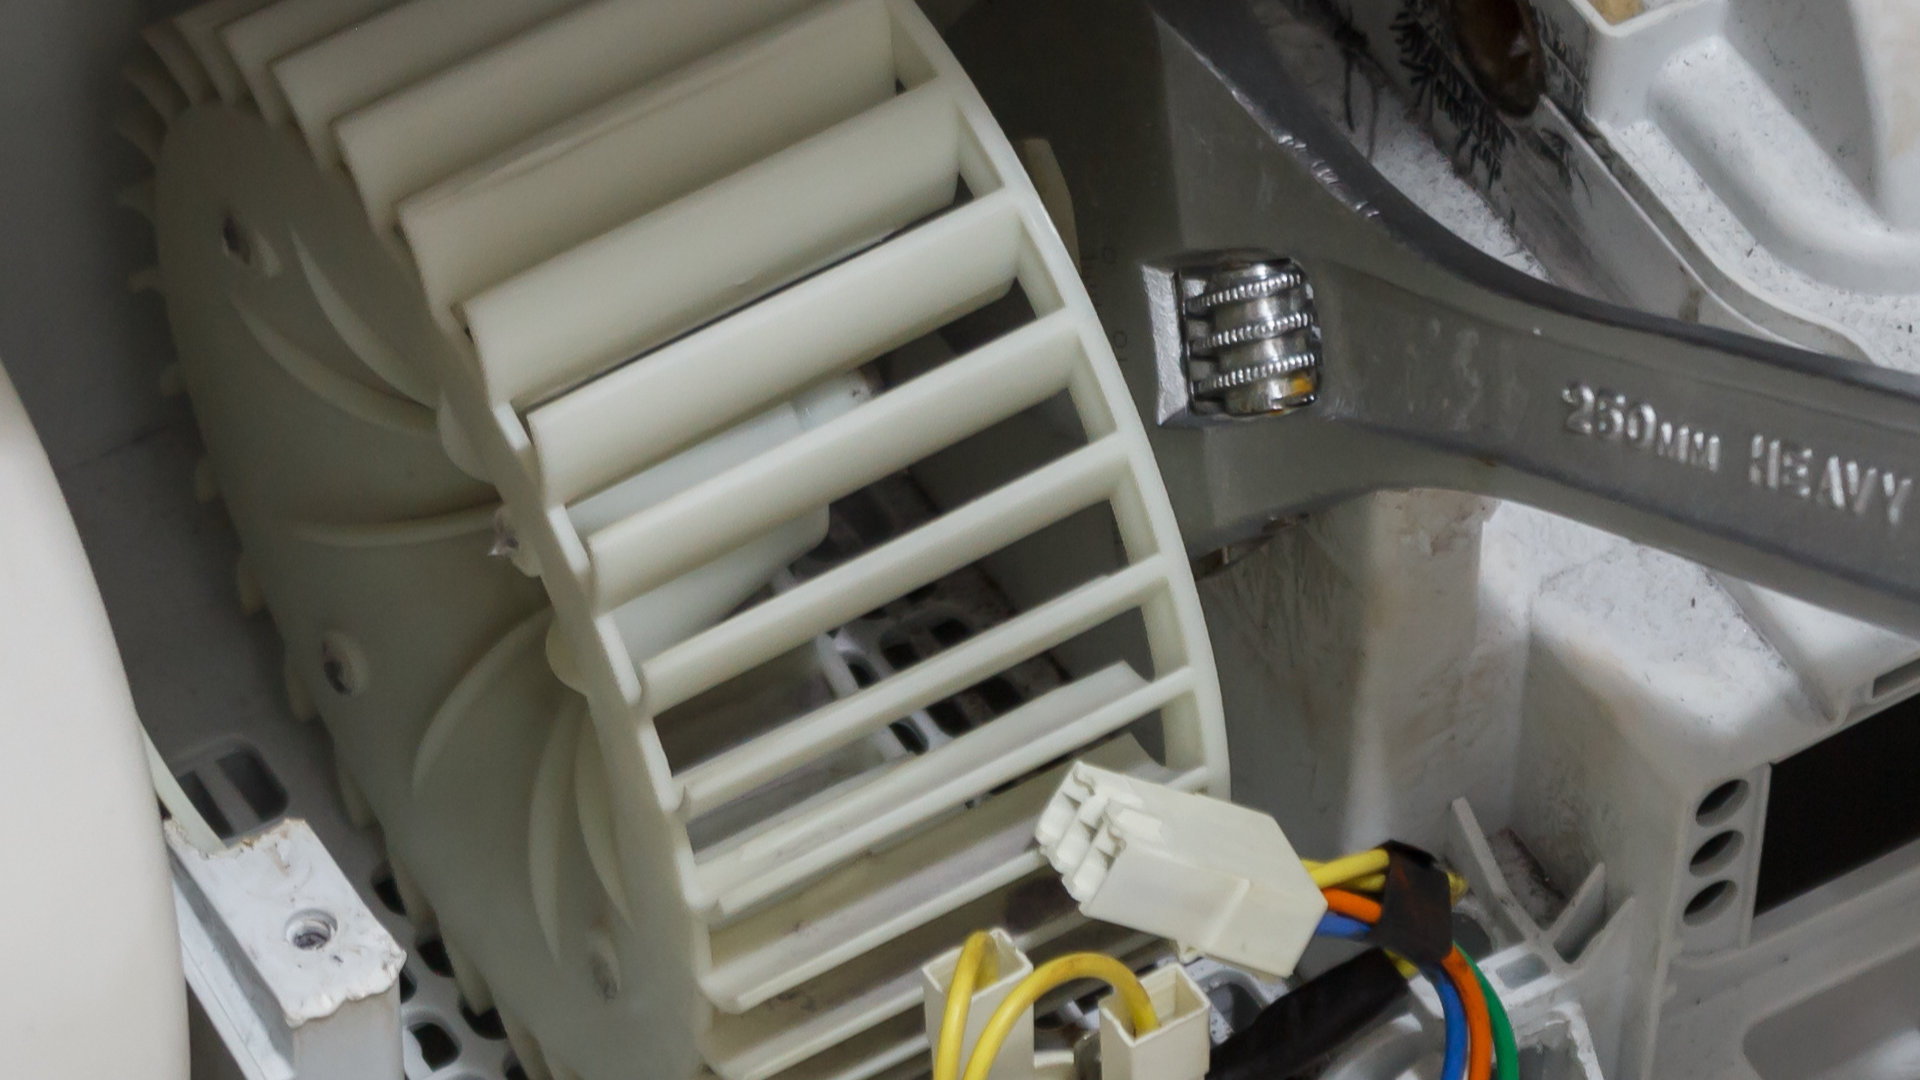
If your GE dryer is not turning, you’re in the right place. To help you find and fix the problem’s underlying cause, we have compiled this extensive guide outlining all the main components that might be preventing your GE dryer from turning.
All major GE dryer models are covered by this guide, including:
CADE165RAL
CADG265RAL
CADG265RBL
CADG265RCL
DBLR333ET0AA
DBLR333ET0WW
DBXR300EG3WS
DHDSR46EG8WW
GHDX100EM0WW
GTDP180ED2WW
GTDP180ED3WW
GTDP200EM0WW
GTDP200EM1WW
GTDP200EM2WW
GTDP220EF0WW
GTDP220EF1WW
GTDP220EF2WW
GTDX200EM0WW
GTDX200EM1WW
GTDX200EM2WW
GTDX205EM1CC
Step 1 – Inspect the drive belt
The first potential culprit of your GE dryer not turning is a faulty drive belt. The drive belt is one of your dryer’s most important components, as it helps the drum turn when you turn it on to a drying cycle. When the drive belt becomes defective, your GE dryer cannot turn.
Follow these instructions to inspect the drive belt:
- Begin by opening your dryer door and attempting to manually rotate the drum. If the drum rotates freely without any resistance, it indicates a likely fault in the drive belt, so it must be replaced. If you encounter some resistance while turning the drum, you can assume that the drive belt is functioning correctly and proceed to the next step.
This is how to replace the drive belt:
- Remove the panels covering the internal components of the dryer.
- Locate the drive belt within the dryer.
- Remove the old drive belt.
- Install a new drive belt. Make sure the two pulleys it passes through are also in proper working condition. The pulleys should also be replaced if they show any signs of damage or malfunction.
- Once replaced, check if your dryer can now turn. If not, proceed to the next step.
Step 2 – Inspect the drum rollers
The drum rollers help the dryer to turn when in operation. If defective, your dryer will not be able to turn properly or not at all.
This is how to inspect the drum rollers:
- Start by manually attempting to rotate the drum to ensure no obstructions hinder its movement. If the drum rotates freely without any obstructions, you can proceed to inspect the next component.
- If the drum is obstructed, you will need to remove the dryer panels and locate the drum rollers.
- Once located, carefully examine the rollers for any visible signs of damage. If you observe any damage, it is essential to replace the rollers.
- Once replaced, test your dryer drum to see if it operates correctly. If the dryer still doesn’t turn, proceed to the next step.
Step 3 – Inspect the drum bearing
The drum bearing supports the drum so it can turn correctly. When faulty, you will most likely hear a grinding noise coming from your dryer when it rotates.
This is how to inspect the drum bearing:
- Ensure that the power to the dryer is turned off, and if you haven’t already done so, remove the dryer panels.
- Take the drive belt off the dryer drum.
- Rotate the drum manually. Carefully listen for any discernible grinding noises as you turn it. If you can hear a grinding noise, this indicates that the bearing requires replacement. However, if no such noise is present, proceed to the next step.
- Once replaced, check if your dryer can now turn. If not, proceed to the next step.
Step 4 – Inspect the drum glides
The drum glides (or slides) ensure the dryer drum stays in the correct position. If faulty, the drum might fail to turn correctly.
This is how to inspect the drum glides:
- Ensure that the power is turned off, and if you haven’t already, remove the panels covering the internal components.
- Find the drum glides and carefully inspect them for any signs of wear and tear.
- If you discover any damage to the drum glides, replace them. If the glides appear to be in good condition, you can proceed to the next step.
- Once replaced, check if your dryer can now turn. If not, proceed to the next step.
Step 5 – Test the start switch
The start switch lets the control panel know it can safely start the cycle. If faulty, your dryer will fail to start. To test the start switch, you will need a multimeter. If you don’t have one, you will need a technician to inspect your dryer.
This is how to test the start switch:
- Ensure the power is still switched off; if you haven’t already done so, remove the dryer’s panels so you can access the start switch.
- Locate the start switch and disconnect it. If you’re uncertain about its location, refer to your user manual for guidance.
- Using a multimeter, test the start switch for continuity.
- If the start switch is found to be defective during testing, it should be replaced. If the switch passes the test, proceed to the next step.
- Once replaced, check if your dryer can now turn. If not, proceed to the next step.
Step 6 – Test the door switch
The door switch activates when the dryer door is closed. It then signals to the control panel that it’s safe for the dryer to start. When faulty, the dryer won’t start.
This is how to test the door switch:
- Ensure that the power is turned off, and if you haven’t already, remove the panels covering the internal components.
- Locate the door switch. Consult your user manual for assistance if you’re uncertain about its location.
- Using a multimeter, test the door switch for continuity.
- If the door switch is found to be defective during testing, it should be replaced. If it passes the test, proceed to the next step.
- Once replaced, check if your dryer can now turn. If not, proceed to the next step.
Step 7 – Test the thermal fuse
The thermal fuse turns your dryer off when it overheats. If the thermal fuse is blown or faulty, your dryer will turn off when it shouldn’t.
This is how to test the thermal fuse:
- Ensure the power is switched off, and if you haven’t already, remove the dryer’s panels to access the internal components.
- Locate the thermal fuse. Consult your user manual for guidance if you’re unsure about its location.
- Using a multimeter, test for continuity in the thermal fuse.
- If the thermal fuse is defective, it should be replaced. If it passes the test, proceed to the next step.
- Once replaced, check if your dryer can now turn. If not, proceed to the next step.
Step 8 – Test the timer
The timer’s purpose is to control how long the dryer runs for each cycle. When it becomes defective, your dryer will turn off when it shouldn’t.
This is how to test the timer:
- Ensure that the power is switched off, and if you haven’t already, remove the panels of the dryer to access its internal components.
- Locate the timer. If you’re unsure about its location, refer to your user manual for guidance.
- Using a multimeter, check the timer for continuity.
- If the timer is defective, it should be replaced. If it passes the test, proceed to the next step.
- Once replaced, check if your dryer can now turn. If not, proceed to the next step.
Step 9 – Test the drive motor
The drive motor is the main component that turns the dryer during a cycle. If the drive motor is faulty, your dryer will not turn correctly or start up.
This is how to test the drive motor:
- Ensure the power is switched off, and if you haven’t already, remove the dryer panels to access the drive motor.
- Locate the drive motor. If you’re unsure about its location, refer to your user manual for guidance.
- Using a multimeter, test the drive motor for continuity.
- If the drive motor is found to be defective during testing, it must be replaced. If it passes the test, you will need to get a technician to come and inspect your dryer.
- If you replace the drive motor, turn your dryer back on and check whether the dryer drum can now turn. If not, you will need to get a technician to come and inspect your dryer.

Your Guide to Whirlpool Microwave Replacement Parts
What to Do When Your Kenmore Dryer Won’t Start
How to Resolve the LG Washer LE Error Code
Why Does My Oven Smell Like Gas? Causes and What to Do

Maytag Dryer Not Heating? Here’s How to Fix It
6 Common Reasons Your Speed Queen Dryer Isn’t Heating
8 Reasons Your Samsung Refrigerator Is Not Cooling

9 Most Reliable Washer and Dryer Brands

How to Get Ink out of Your Dryer the Easy Way

Why Is My Fridge Making Noise That Stops When the Door Is Open?

Frigidaire Refrigerator Error Code H1: Causes & Solutions

How to Clean a Dryer Vent Without Moving the Dryer
9 Reasons Your LG Refrigerator Isn’t Cooling
LG Refrigerator Not Making Ice? Here’s What To Do!


