

August 2, 2021
Washer Repair
Washing machines are in almost every house and are one of the most used appliances that people own. Unfortunately, sometimes they can break down and need to be repaired.
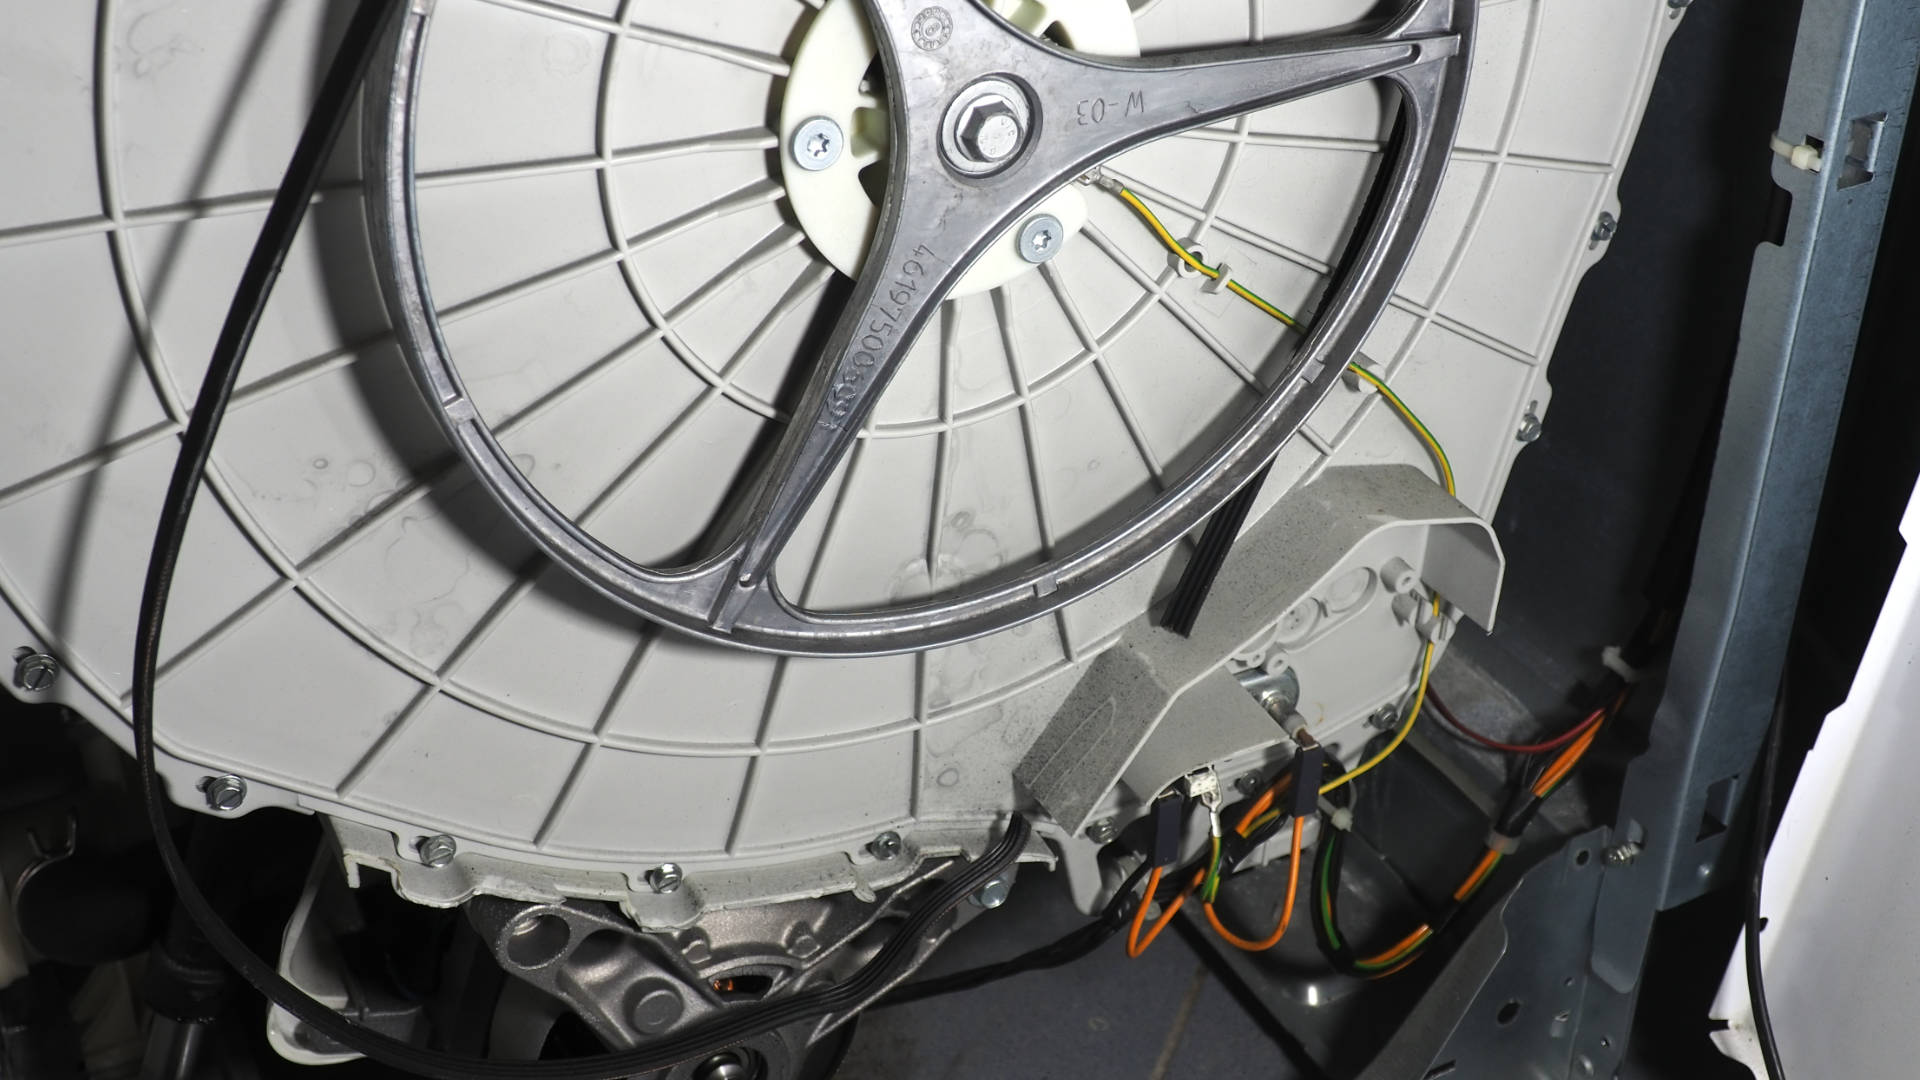
One of the main components of your washing machine that commonly breaks is the washer belt. The belt helps the washer drum rotate during a washing cycle, so when it becomes defective, your washing machine will stop working.
Thankfully, it is quite an easy repair to make if you have the right tools and take your time.
To replace the washer belt, follow our step-by-step instructions below, and you will hopefully have your washing machine working again quickly.
Step One – Preparation
The first step is to gather up the tools and supplies you need to replace the washer belt. The most important thing to have is the correct replacement washer belt that is suitable for your specific make and model of washing machine. In terms of tools, you will need a Phillips-head screwdriver, a flat-head screwdriver, and a wrench set. On top of these tools, it’s a good idea to have a couple old towels to place on the floor to soak up any water, and you should also have somebody else in the house with you who can help you lift the washer.
Step Two – Disconnect the Power and Turn the Water Off
The next step is to turn the power off to your washing machine and then pull it out from the wall and disconnect the water hoses. Once the hoses are disconnected, you can pull the washer completely out from the wall and place it on some towels.
Step Three – Find the Access Panel
Some models of washing machines have what is called a hinged access panel, which means you don’t need to turn it on its side to remove the belt. If your washer is a standard model, then the washer will need to be turned on its side so you can access the access panel. Be careful when lifting your washing machine and ask a friend or family member to help you so you don’t put your back out. Once you locate the access panel, you need to take it off by unthreading the screws that hold it in place, and it should then clip off.
Step Four – Remove the Old Belt
The next step is to remove the old belt. Here’s how to do that:
- Locate the belt – it goes around the washer drum and is black and rubber (check your washing machine’s manual if you’re not sure).
- Once located, release the belt clamps that connect the rubber coupling to the belt and the motor. Once you’ve released the clamps, they can be taken out.
- You should now be able to take the old belt off the drum and take it out from the washer unit. Pay attention to the location of the belt for when you install the new one.
Step Five – Install the New Belt
Now that you’ve successfully removed the old belt, it’s time to install the new one. To do that:
- Take the belt out of the packaging.
- Place the new belt onto the drum and over the gears in the correct position. Simply place it exactly where the old one was.
- Once it is properly aligned, you can reattach the belt clamps in the same position as they were before on the old belt. Once the clamps are properly secured, your new belt is attached.
Step Six – Put Your Washer Back Together
Now that your new belt is successfully attached, you need to get your friend or family member again to help you lift the washing machine back up (if you had to turn it over).
Once the washer is upright, you can reattach the access panel by screwing the screws back in.
The next step is to reconnect the water hoses by connecting them to the water faucets and your washing machine. Once connected, you can turn the water supply back on.
You can now connect the power back up and push your washing machine back against the wall or into its cabinet. If you turned the circuit breaker off, you’ll need to switch it back on.
Step Seven – Test That the New Belt Works
Now that your washing machine is set back up correctly, the last step is to turn your washing machine on to a cycle and test that the new belt is working correctly.
When you turn it on, pay attention when it starts spinning to see that the washer drum spins around correctly without any issues. If so, your washing machine is fixed and ready to go.

Apr. 09, 2024
Your Guide to Whirlpool Microwave Replacement Parts

Apr. 09, 2024
What to Do When Your Kenmore Dryer Won’t Start

Apr. 09, 2024
How to Resolve the LG Washer LE Error Code

Mar. 06, 2024
Why Does My Oven Smell Like Gas? Causes and What to Do

Mar. 06, 2024
Maytag Dryer Not Heating? Here’s How to Fix It

Mar. 06, 2024
6 Common Reasons Your Speed Queen Dryer Isn’t Heating

Feb. 05, 2024
8 Reasons Your Samsung Refrigerator Is Not Cooling

Feb. 05, 2024
9 Most Reliable Washer and Dryer Brands

Feb. 05, 2024
How to Get Ink out of Your Dryer the Easy Way

Jan. 03, 2024
Why Is My Fridge Making Noise That Stops When the Door Is Open?

Jan. 03, 2024
Frigidaire Refrigerator Error Code H1: Causes & Solutions

Jan. 03, 2024
How to Clean a Dryer Vent Without Moving the Dryer

Dec. 11, 2023
9 Reasons Your LG Refrigerator Isn’t Cooling

Dec. 11, 2023
LG Refrigerator Not Making Ice? Here’s What To Do!

Dec. 11, 2023
How to Clean Your Dryer Lint Trap (Step-by-Step)
631 - 286 - 7899Text or ring! ring!