

October 19, 2020
Oven Repair
Ovens are an essential part of the home. They’re older than electricity, older than natural gas. Ovens in the home have existed before we could smelt metal, we had ovens made of clay and rock and earth. Fortunately, home ovens are no longer made of clay, and you don’t have to stoke them with coals. Electric and electric-gas ovens today are pretty darn well-made, with all the comforts that today’s technology can provide. But most people don’t know the full extent of what their ovens can do, and what they can do with their ovens. Today, we want to highlight seven things that are very handy to know about using your oven to cook and keeping it in good condition.
You Can Calibrate the Temperature Setting
Does your oven always seem a little cool or hot? Most people compensate simply by altering recipe temperature settings by ten or fifteen degrees. This isn’t actually necessary. It is surprisingly easy to fix an oven that does not reach set temperatures. First, get a metal oven-safe thermometer and confirm it’s accuracy. Then set your oven to 350 F and allow it to preheat for 10-30 minutes. When the oven is fully heated, check the thermometer. Ideally, check it through the glass without opening the door. This is the accurate reading of the true heat inside the oven when set at 350 F. Is it high or low? By exactly how much? Write that down.
Then look up the recalibration steps for your oven. For most ovens, you hold two of the available buttons (ex: START and TIMER) until you see 00 or a specific message displayed. Then enter the + or – value and Enter. From now on, your oven will heat to the correct temperature set by the dial.
You Can Choose Which Side to Toast
Most ovens, by default, have two heating elements: one on the top and one on the bottom. This allows it to cook food evenly top-to-bottom. With only one element, thick items like cakes and casseroles would be overcooked on one side and soggy on the other.
By default, your oven ‘Bakes’ with both the top and bottom elements at once. However, not all recipes call for the same kind of heating. Some recipes, and especially some preparation steps, benefit from top-only heating. The ‘Broil’ setting does exactly that, it heats using only the top element. This is used for toasting and browning foods. You can make toast, or brown the tops of certain dishes for which this adds both texture and aesthetic value.
You Can Fix Uneven or Falling Oven Racks
Uneven oven racks are the bane of careful chefs and casual bakers everywhere. Your oven racks need to be even so that sauces don’t run to one side of the pan and so that your cakes made from batter aren’t lop-sided. So what can you do?
There are a few different fixes for various uneven-rack problems. First, set your racks on the counter, table, or floor. If they lie flat, it’s not the rack at fault. In this case, check your oven tracks with a bubble-level. If those are even, then the problem is that your oven walls expanded. Use 4 paper clamps (the triangular kind with little metal arms that fold back) to slightly expand the width of your oven tracks.
If the oven racks are uneven, bend them back into shape or replace them. If the oven tracks are uneven, you may need a new oven or specialize in leaning-tower cakes.
Preheating Takes About 10 Minutes
The preheat function on an oven is darn handy. For most ovens, there is a light and possibly an audible beep when the oven preheats. But this feature is not always available, especially with older ovens. Some ovens do not have a preheat feature, and many have a long-unrepaired preheat feature. You can whip out the gloves and screwdriver to replace your preheating sensor or light. But you don’t need to.
There are two ways to easily replace the preheat feature. First, preheating takes about ten minutes. Obviously, every oven and temperature is a little different, but ten minutes is about right for an average-slow oven to reach about 450, and there’s always some wiggle room as your dish reaches temperature inside the oven.
If you set a timer for ten minutes, this a reliable preheat function. In addition, you can also use an oven thermometer to confirm your preheat if your oven does not display its current temperature.
The Lower Drawer is For Warming Stuff
Your oven has a clunky metal drawer underneath, something most of us associate with a giant crumb-catcher. But as it turns out, that drawer has a purpose. It actually absorbs some of the above-oven’s heat. If you keep this drawer clean, you can use it as a warming drawer for dishes that need to be thawed, kept warm, or let to rise in a warm place.
The warming drawer is handy for dough, and also for preparing large multi-dish or multi-course meals for the family.
You Can Quickly Clean an Oven – With the Right Gear
Cleaning your oven can seem like a daunting task, but it’s easier than you might think. For example, there’s a lot less scrubbing and chiseling than most would assume. Start by running the ‘Clean’ function. Your oven will lock and it will heat to extremely high temperatures. This should turn all or most residual food particles into ash, which sweeps or wipes out easily.
After the cleaning cycle, wipe out the inside of your oven. If there is anything left, follow that up with an oven-cleaning foam product. Close your oven for the specified amount of time (15-90 minutes). Then put on a face-covering (bandana or mask) and wipe out the inside of the oven. That should be that.
Some Part Replacements are Simple
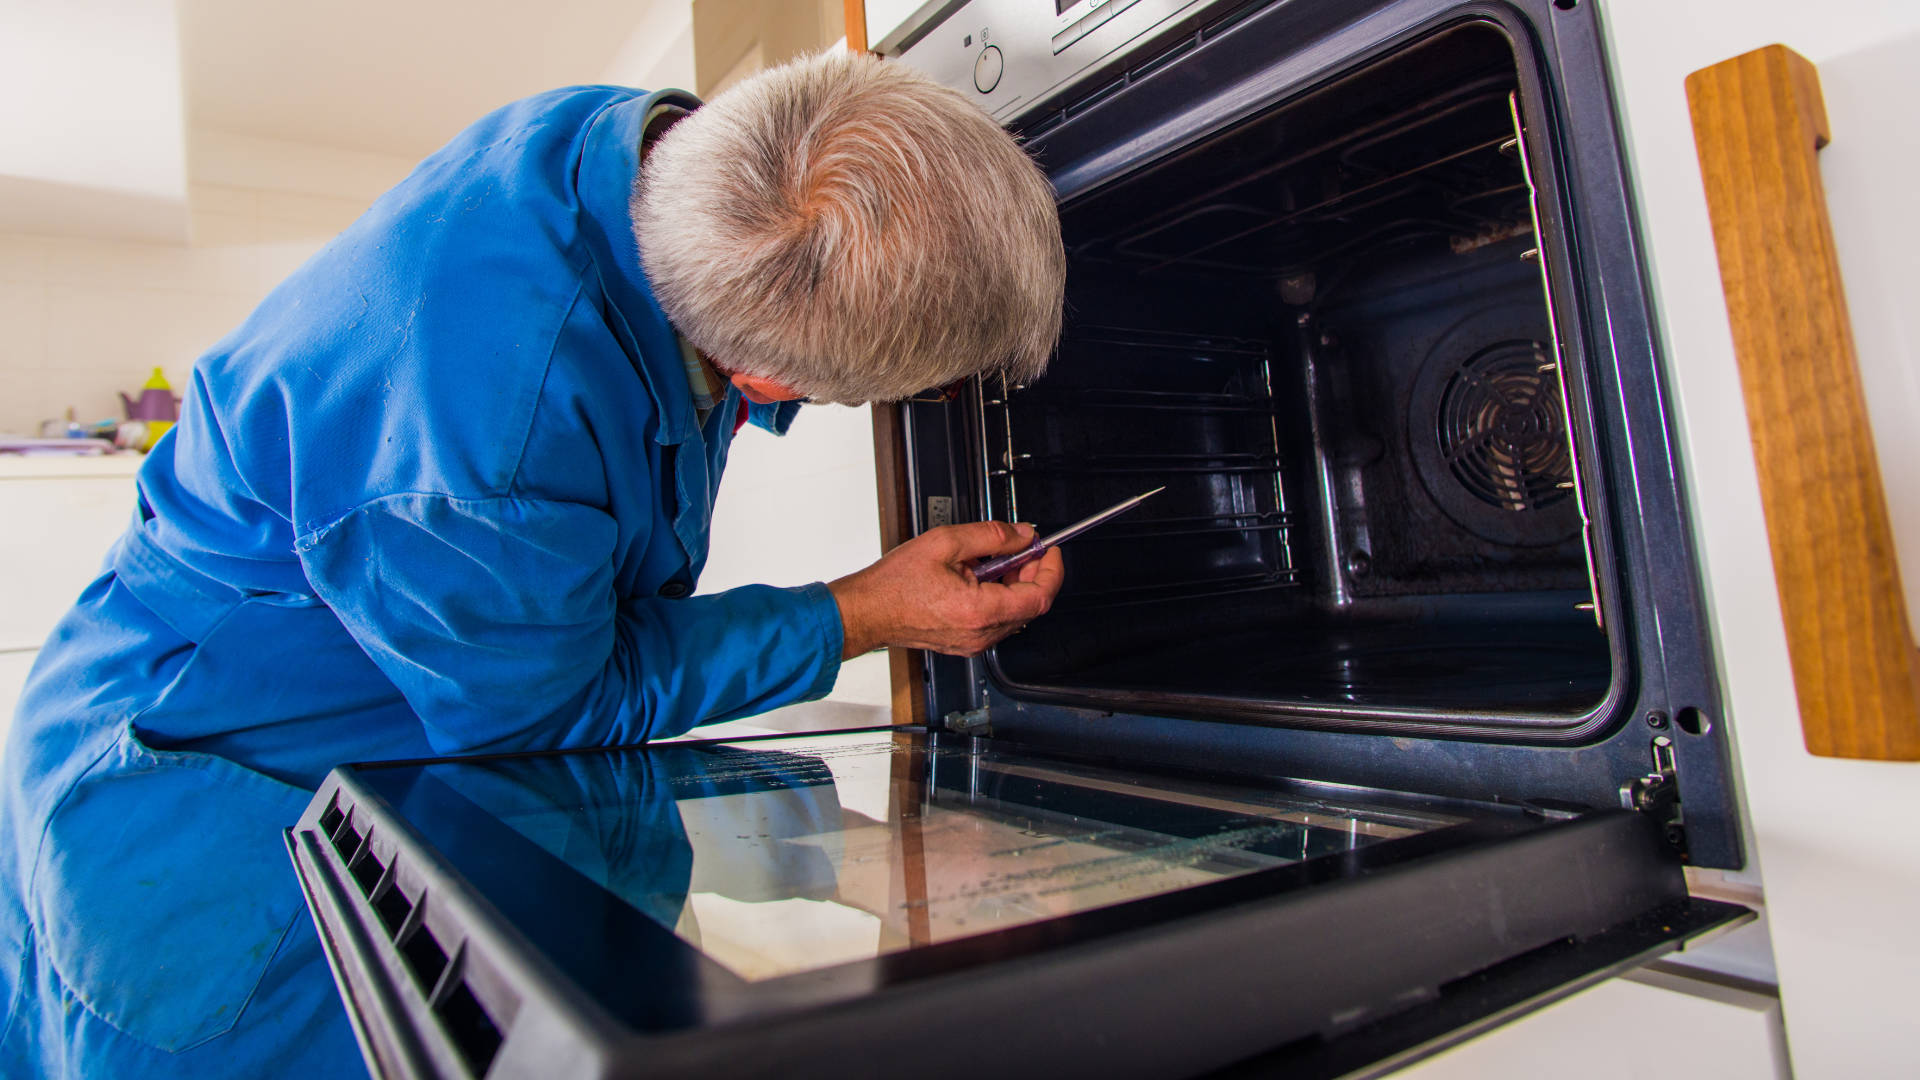
Finally, it’s important to know that some oven parts are very straightforward to replace. There aren’t even exposed wire ends. If you are confident with a screwdriver and don’t mind replacing a small part, there are many things about your oven that can be fixed. Replacing elements and repairing deranged sensors is often an approachable process for DIY. Anything you don’t want to DIY, we would be glad to help with it.

Apr. 09, 2024
Your Guide to Whirlpool Microwave Replacement Parts

Apr. 09, 2024
What to Do When Your Kenmore Dryer Won’t Start

Apr. 09, 2024
How to Resolve the LG Washer LE Error Code

Mar. 06, 2024
Why Does My Oven Smell Like Gas? Causes and What to Do

Mar. 06, 2024
Maytag Dryer Not Heating? Here’s How to Fix It

Mar. 06, 2024
6 Common Reasons Your Speed Queen Dryer Isn’t Heating

Feb. 05, 2024
8 Reasons Your Samsung Refrigerator Is Not Cooling

Feb. 05, 2024
9 Most Reliable Washer and Dryer Brands

Feb. 05, 2024
How to Get Ink out of Your Dryer the Easy Way

Jan. 03, 2024
Why Is My Fridge Making Noise That Stops When the Door Is Open?

Jan. 03, 2024
Frigidaire Refrigerator Error Code H1: Causes & Solutions

Jan. 03, 2024
How to Clean a Dryer Vent Without Moving the Dryer

Dec. 11, 2023
9 Reasons Your LG Refrigerator Isn’t Cooling

Dec. 11, 2023
LG Refrigerator Not Making Ice? Here’s What To Do!

Dec. 11, 2023
How to Clean Your Dryer Lint Trap (Step-by-Step)
631 - 286 - 7899Text or ring! ring!